The site plan shows the property lines, existing structures, the new building and the setbacks. It is step 3 of the permit wizard on a project's Permitting tab. A permit package can't be generated until the site plan is confirmed. See Generate a permit package.
Start from your survey
- Open the project's Permitting tab and go to Site plan.
- Select Upload survey (image or PDF).
- Wait while it shows Reading survey…. The boundary is read from the survey where possible.
- Compare every line with the survey shown beside the map. Select Open full size to see it larger.
If the survey can't be read, draw the boundary by hand. You can also skip the upload and enter the lot yourself. To use a different file, select Replace survey.
Draw the lot
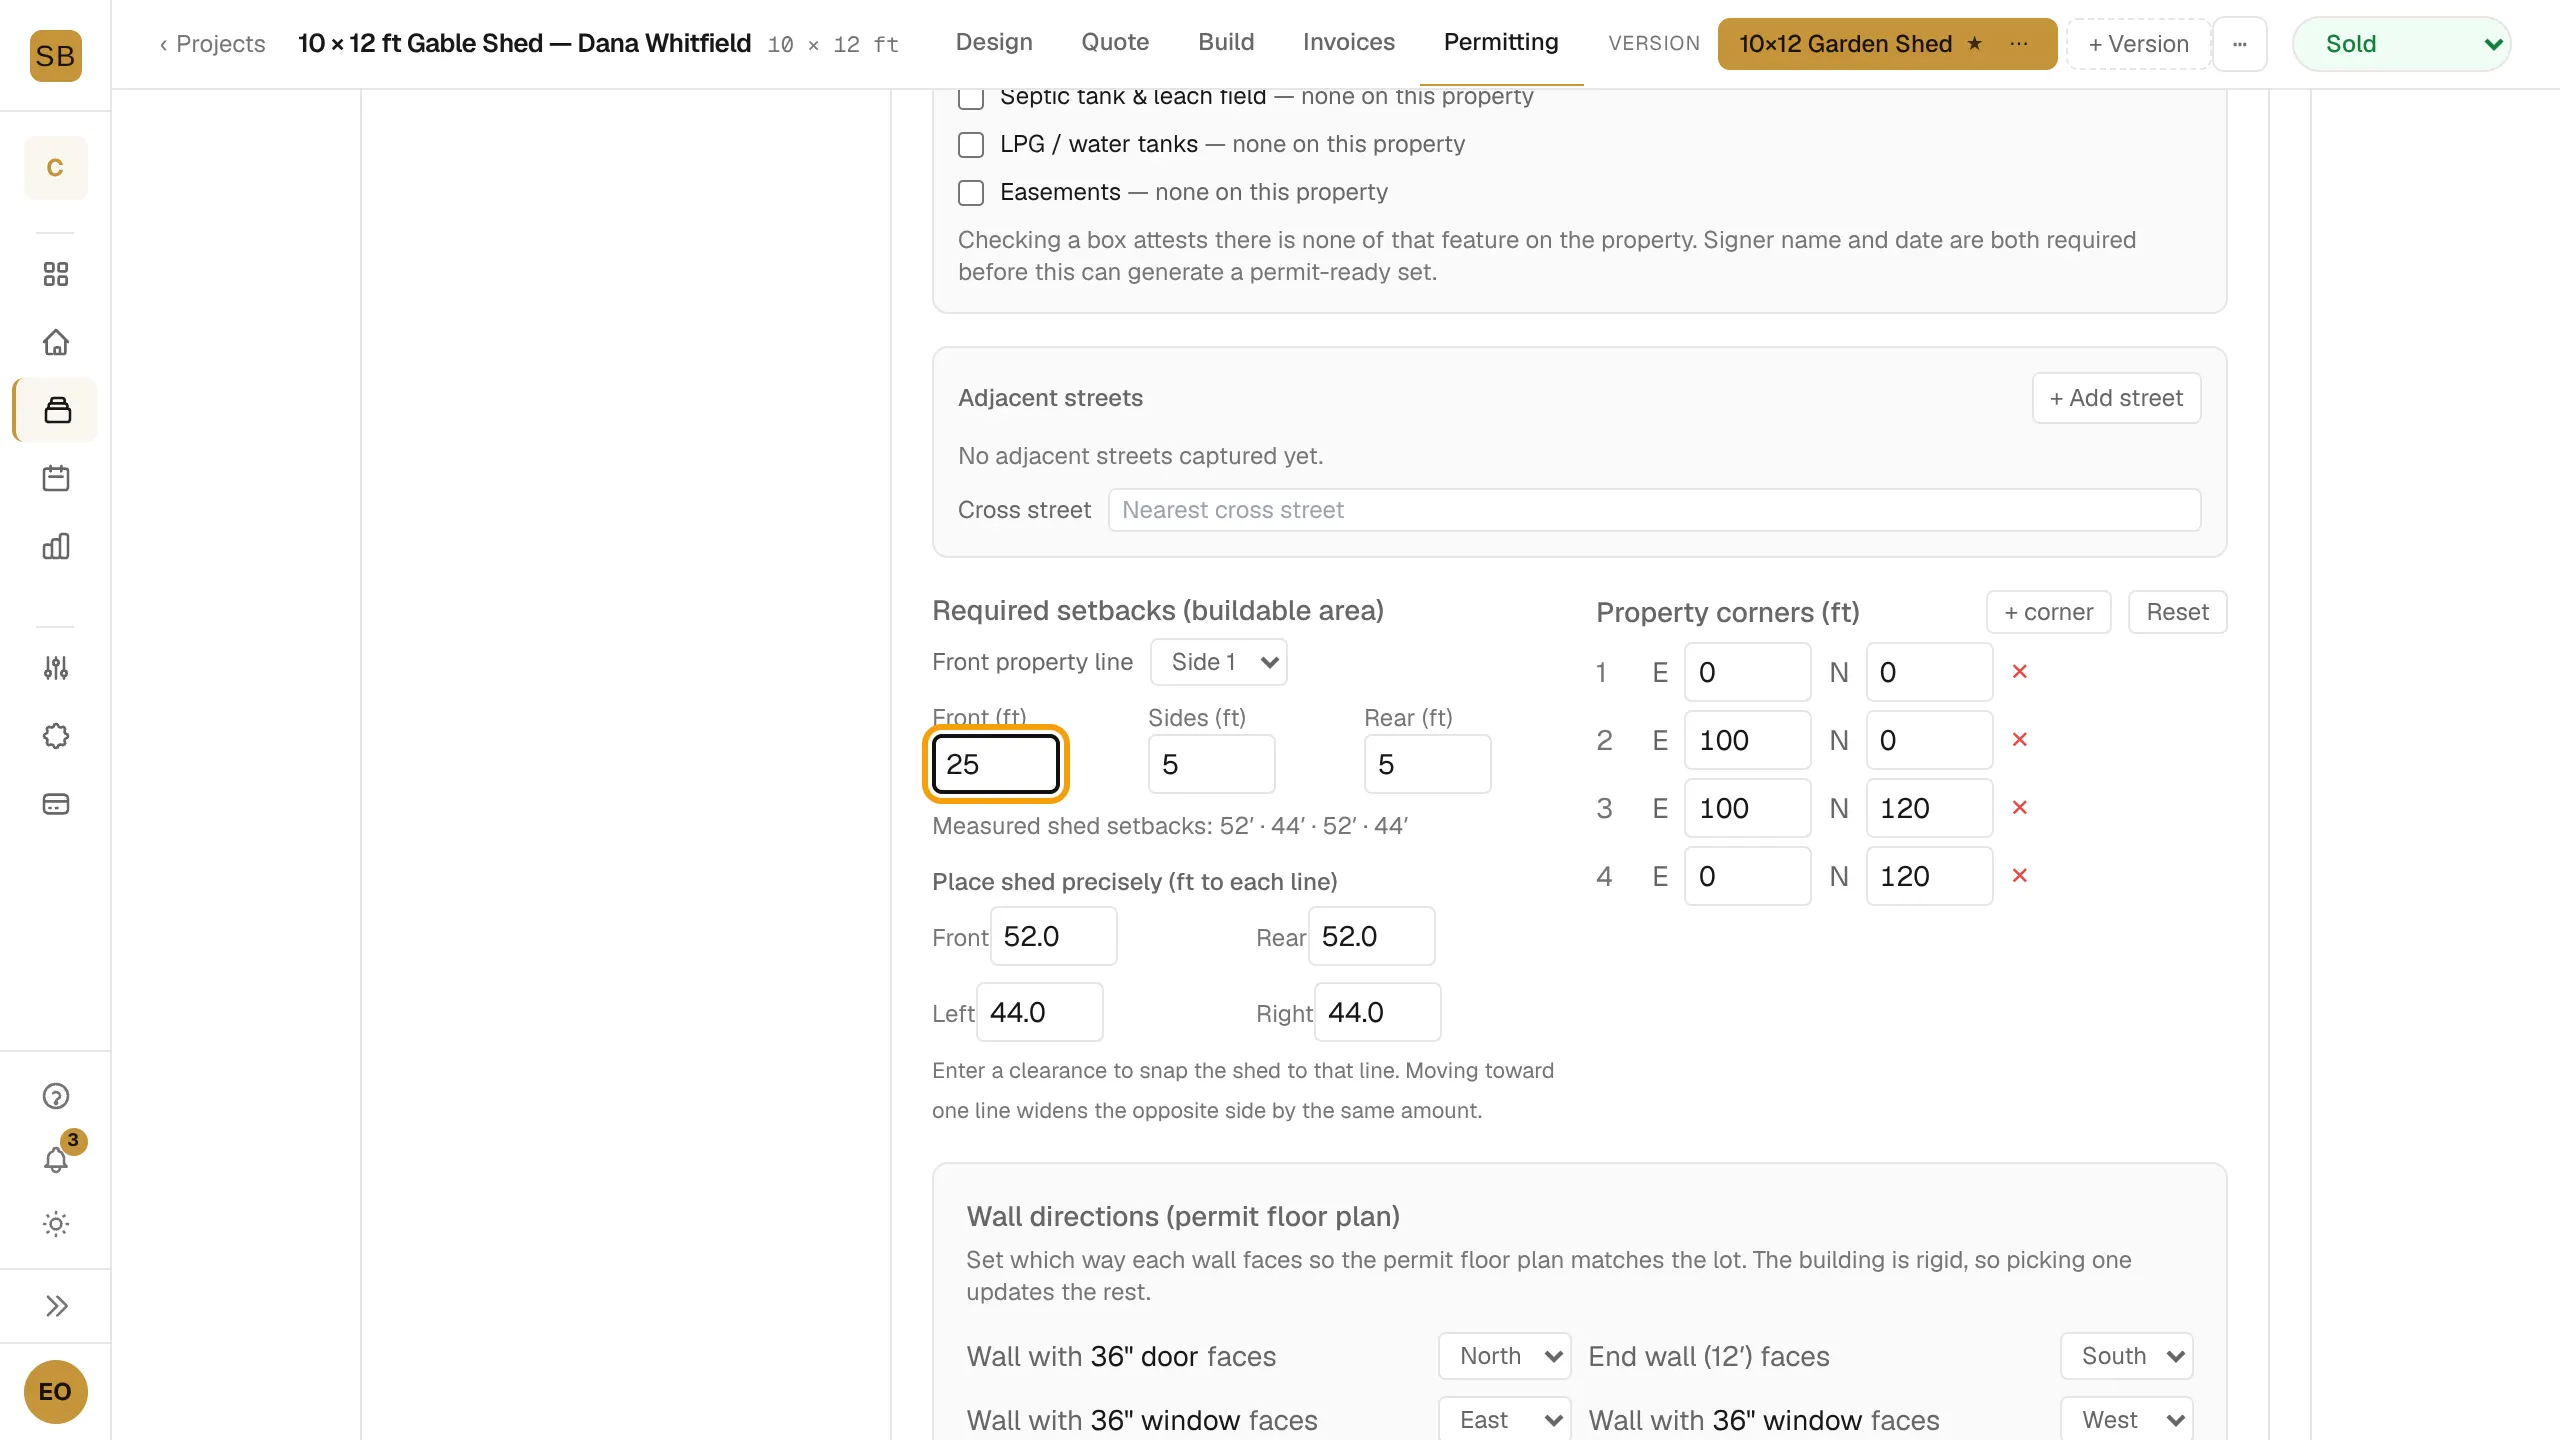
- Under Property corners (ft), edit the corners. Use + corner to add one or Reset to start over.
- Drag a square handle on a side to resize, or a circle on a corner to reshape.
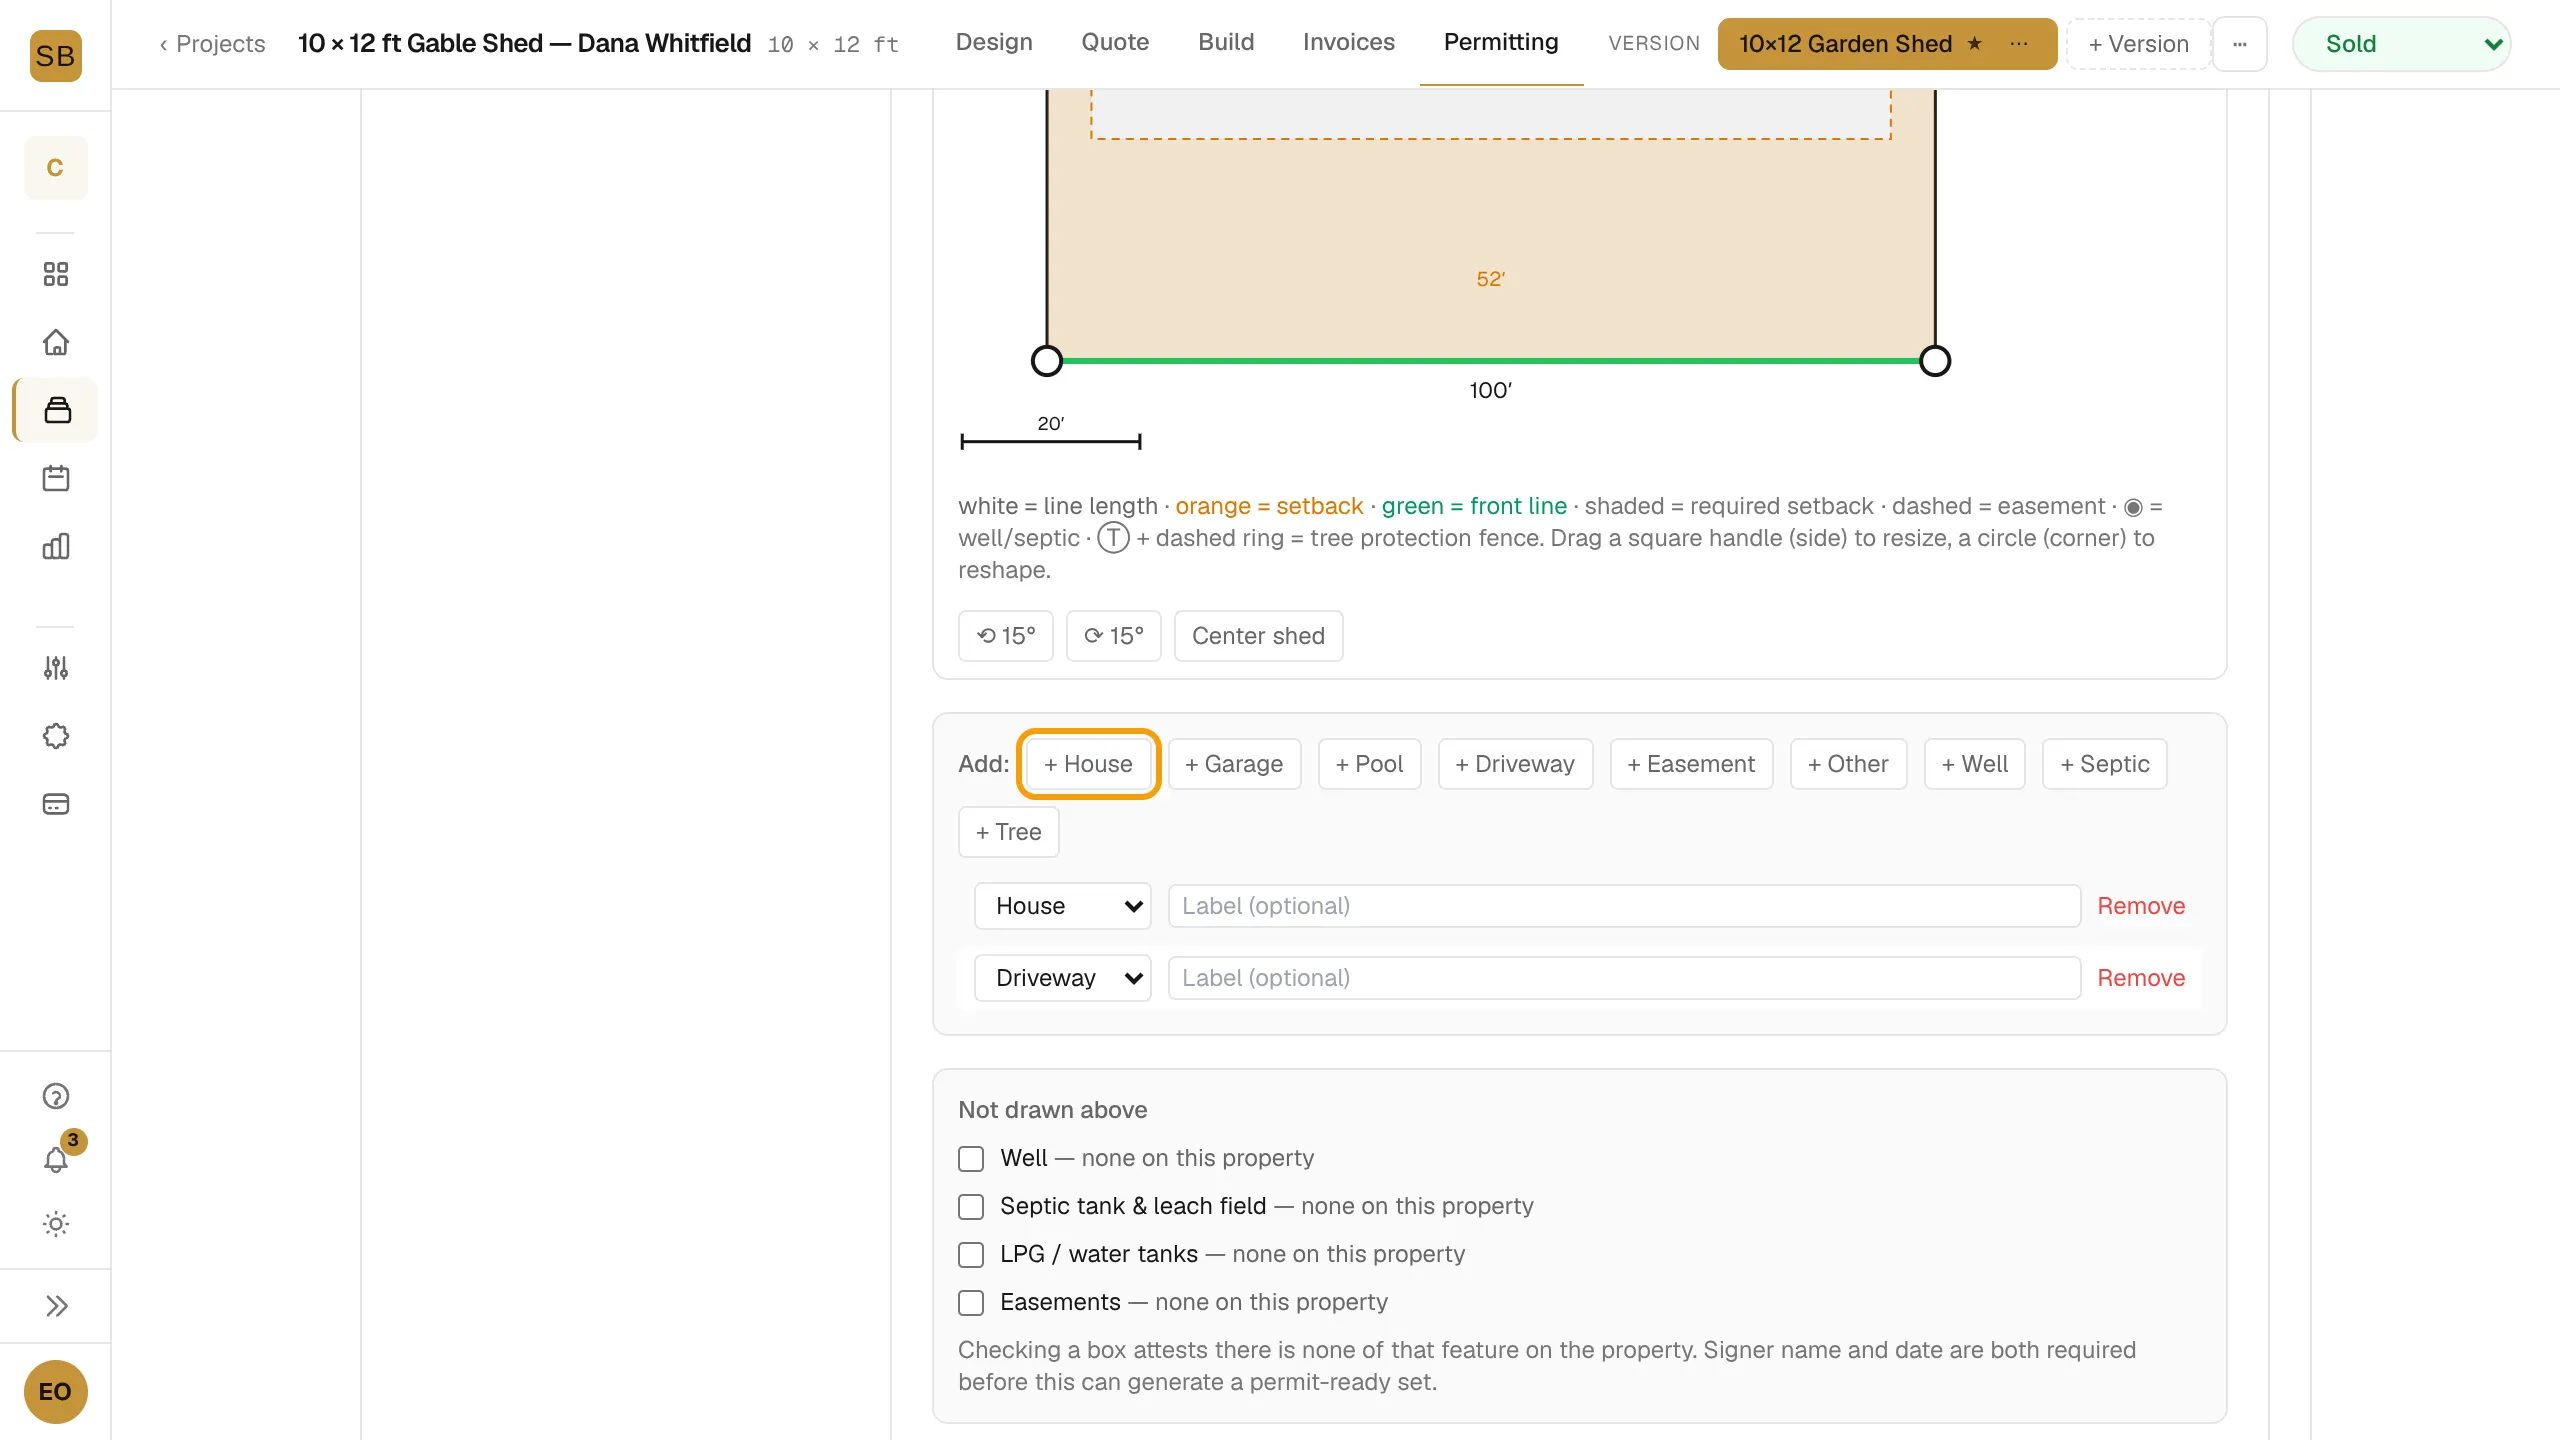
- Under Add:, place existing features: + House, + Garage, + Pool, + Driveway, + Easement, + Other, + Well, + Septic or + Tree. Select Remove to delete one.
- For a tree, enter its Protection radius (ft), or its DBH (in) and Height (ft).
- Under Adjacent streets, select + Add street and enter the street name and ROW (ft). Add the Cross street.
Place the building and set setbacks
- Drag the building into place. Use ⟲ 15° and ⟳ 15° to rotate it, or Center shed to center it.
- Under Required setbacks (buildable area), choose which side is the Front property line, then enter Front (ft), Sides (ft) and Rear (ft).
- Under Wall directions (permit floor plan), set which way each wall faces.
Save and confirm
- Select Save draft to keep your work without confirming.
- When everything matches the survey, tick I've checked every boundary line and distance against the survey. They match. and select Confirm site plan.
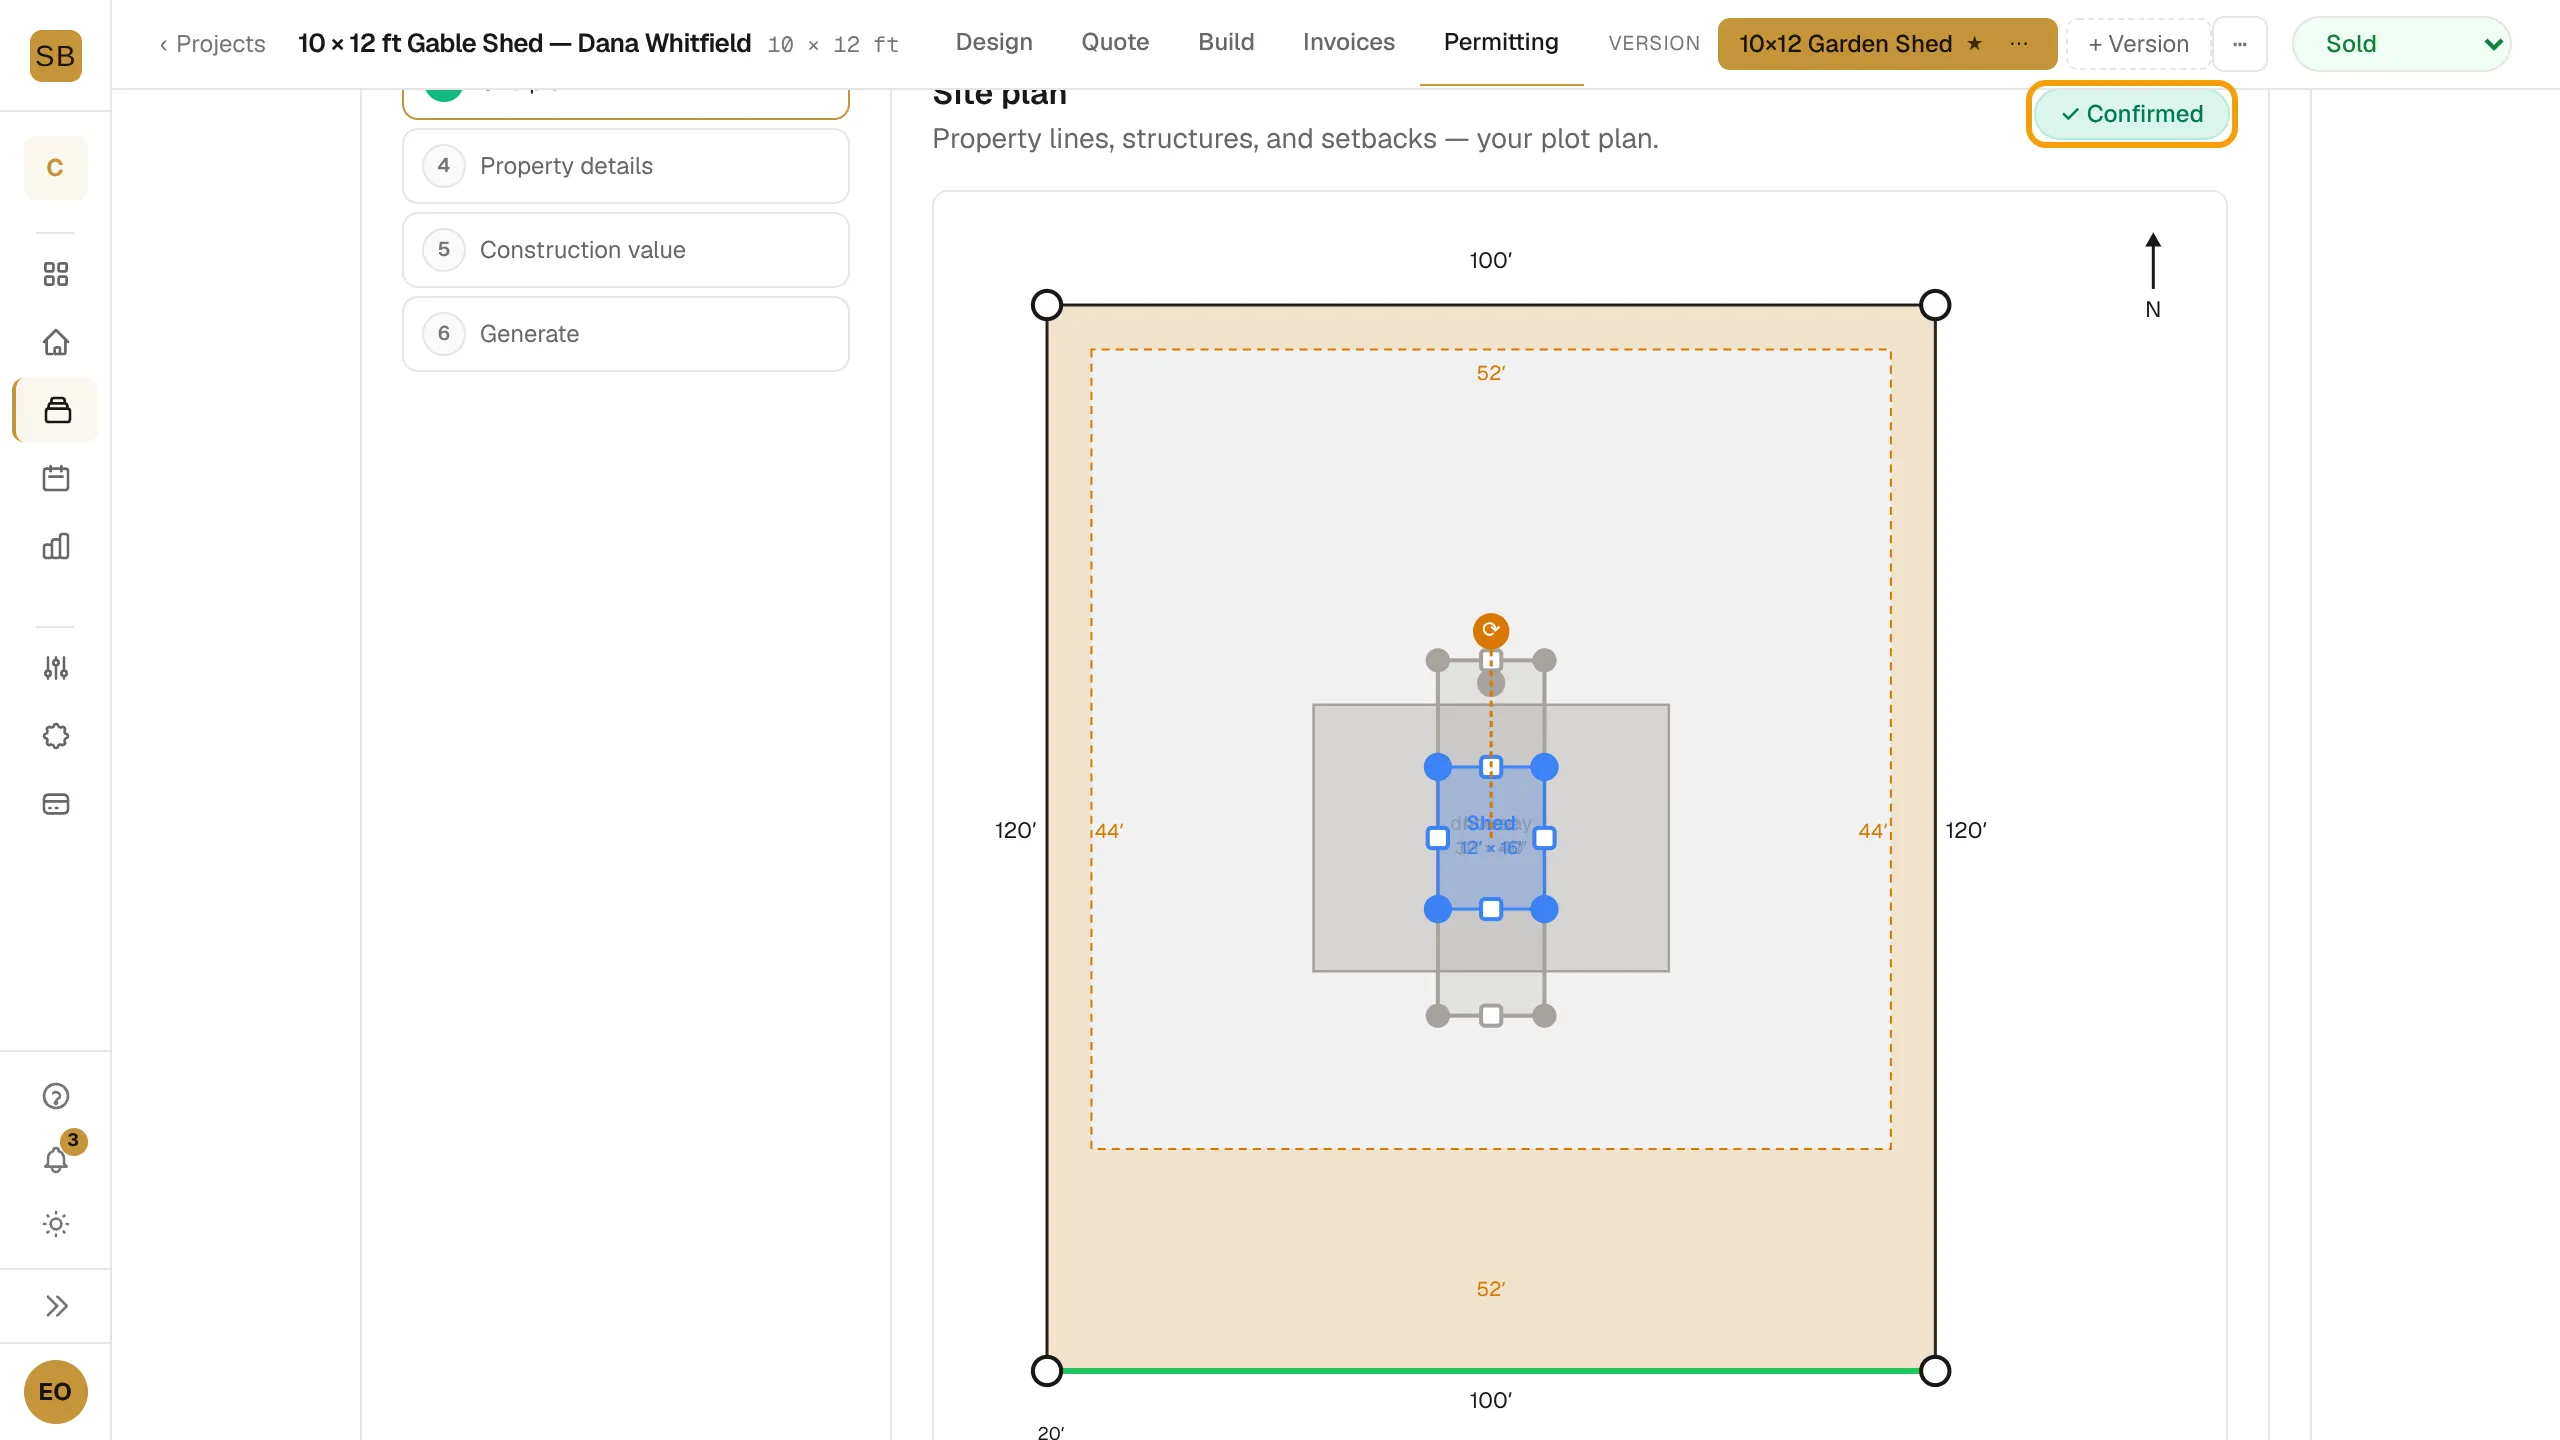
The badge changes from Not confirmed to ✓ Confirmed.
Owners, admins and estimators can edit the site plan.