The 3D tab in the Design workspace shows your building as you change it. A toolbar floats over the top of the view.
Drag to orbit the model and scroll to zoom. Select Reset view to put the camera back. The compass shows which way is north.
Render modes
The toolbar has three render modes:
- Framing: the studs, rafters and joists
- Finished: siding, roofing and trim, as built
- Inside: a view into the interior
Select one to switch. You drag doors and windows in Finished. See Add doors, windows, dormers and skylights.
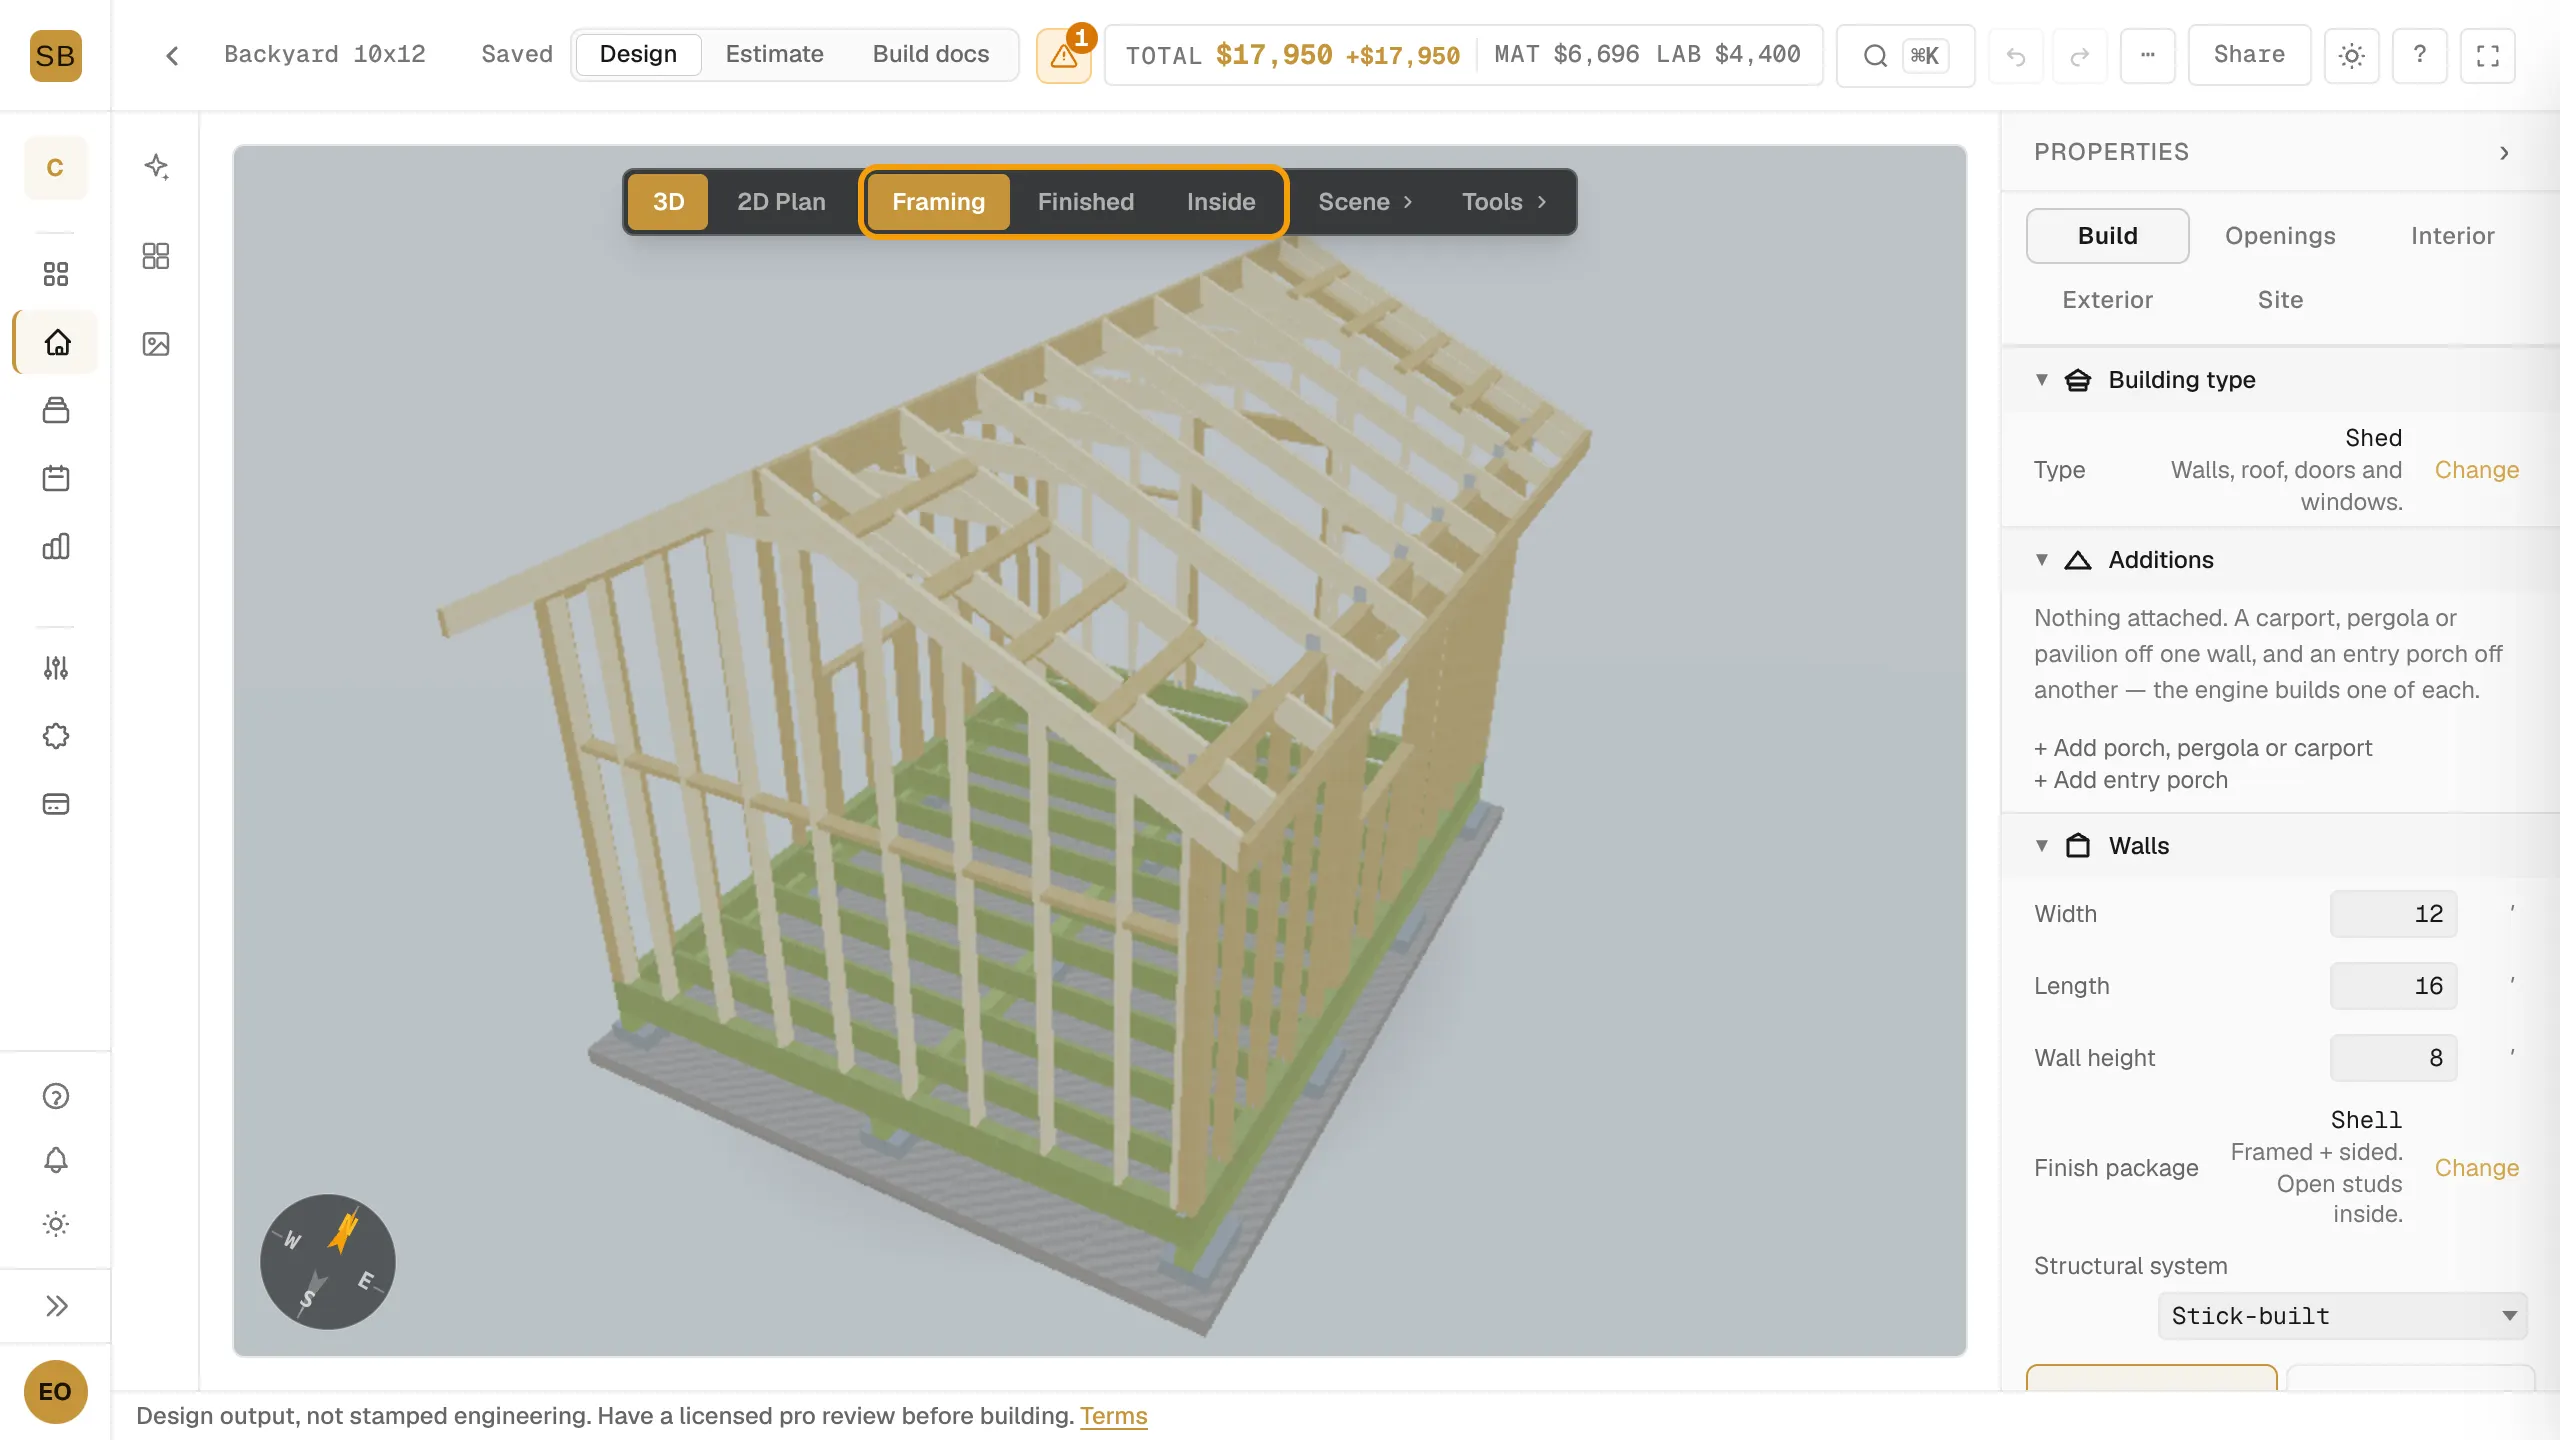
Scene
Select Scene in the toolbar.
- Layers (Framing only): show or hide framing layers. Select Only on a row to isolate it, or Show all to bring them back.
- The scene picker changes the setting around the building.
- Lighting: pick Auto, Morning, Midday, Evening or Night. Set the Time and Date to see the sun at that moment.
- The photo button shows your backyard photo behind the building.
- Photos opens the gallery of your AI photos.
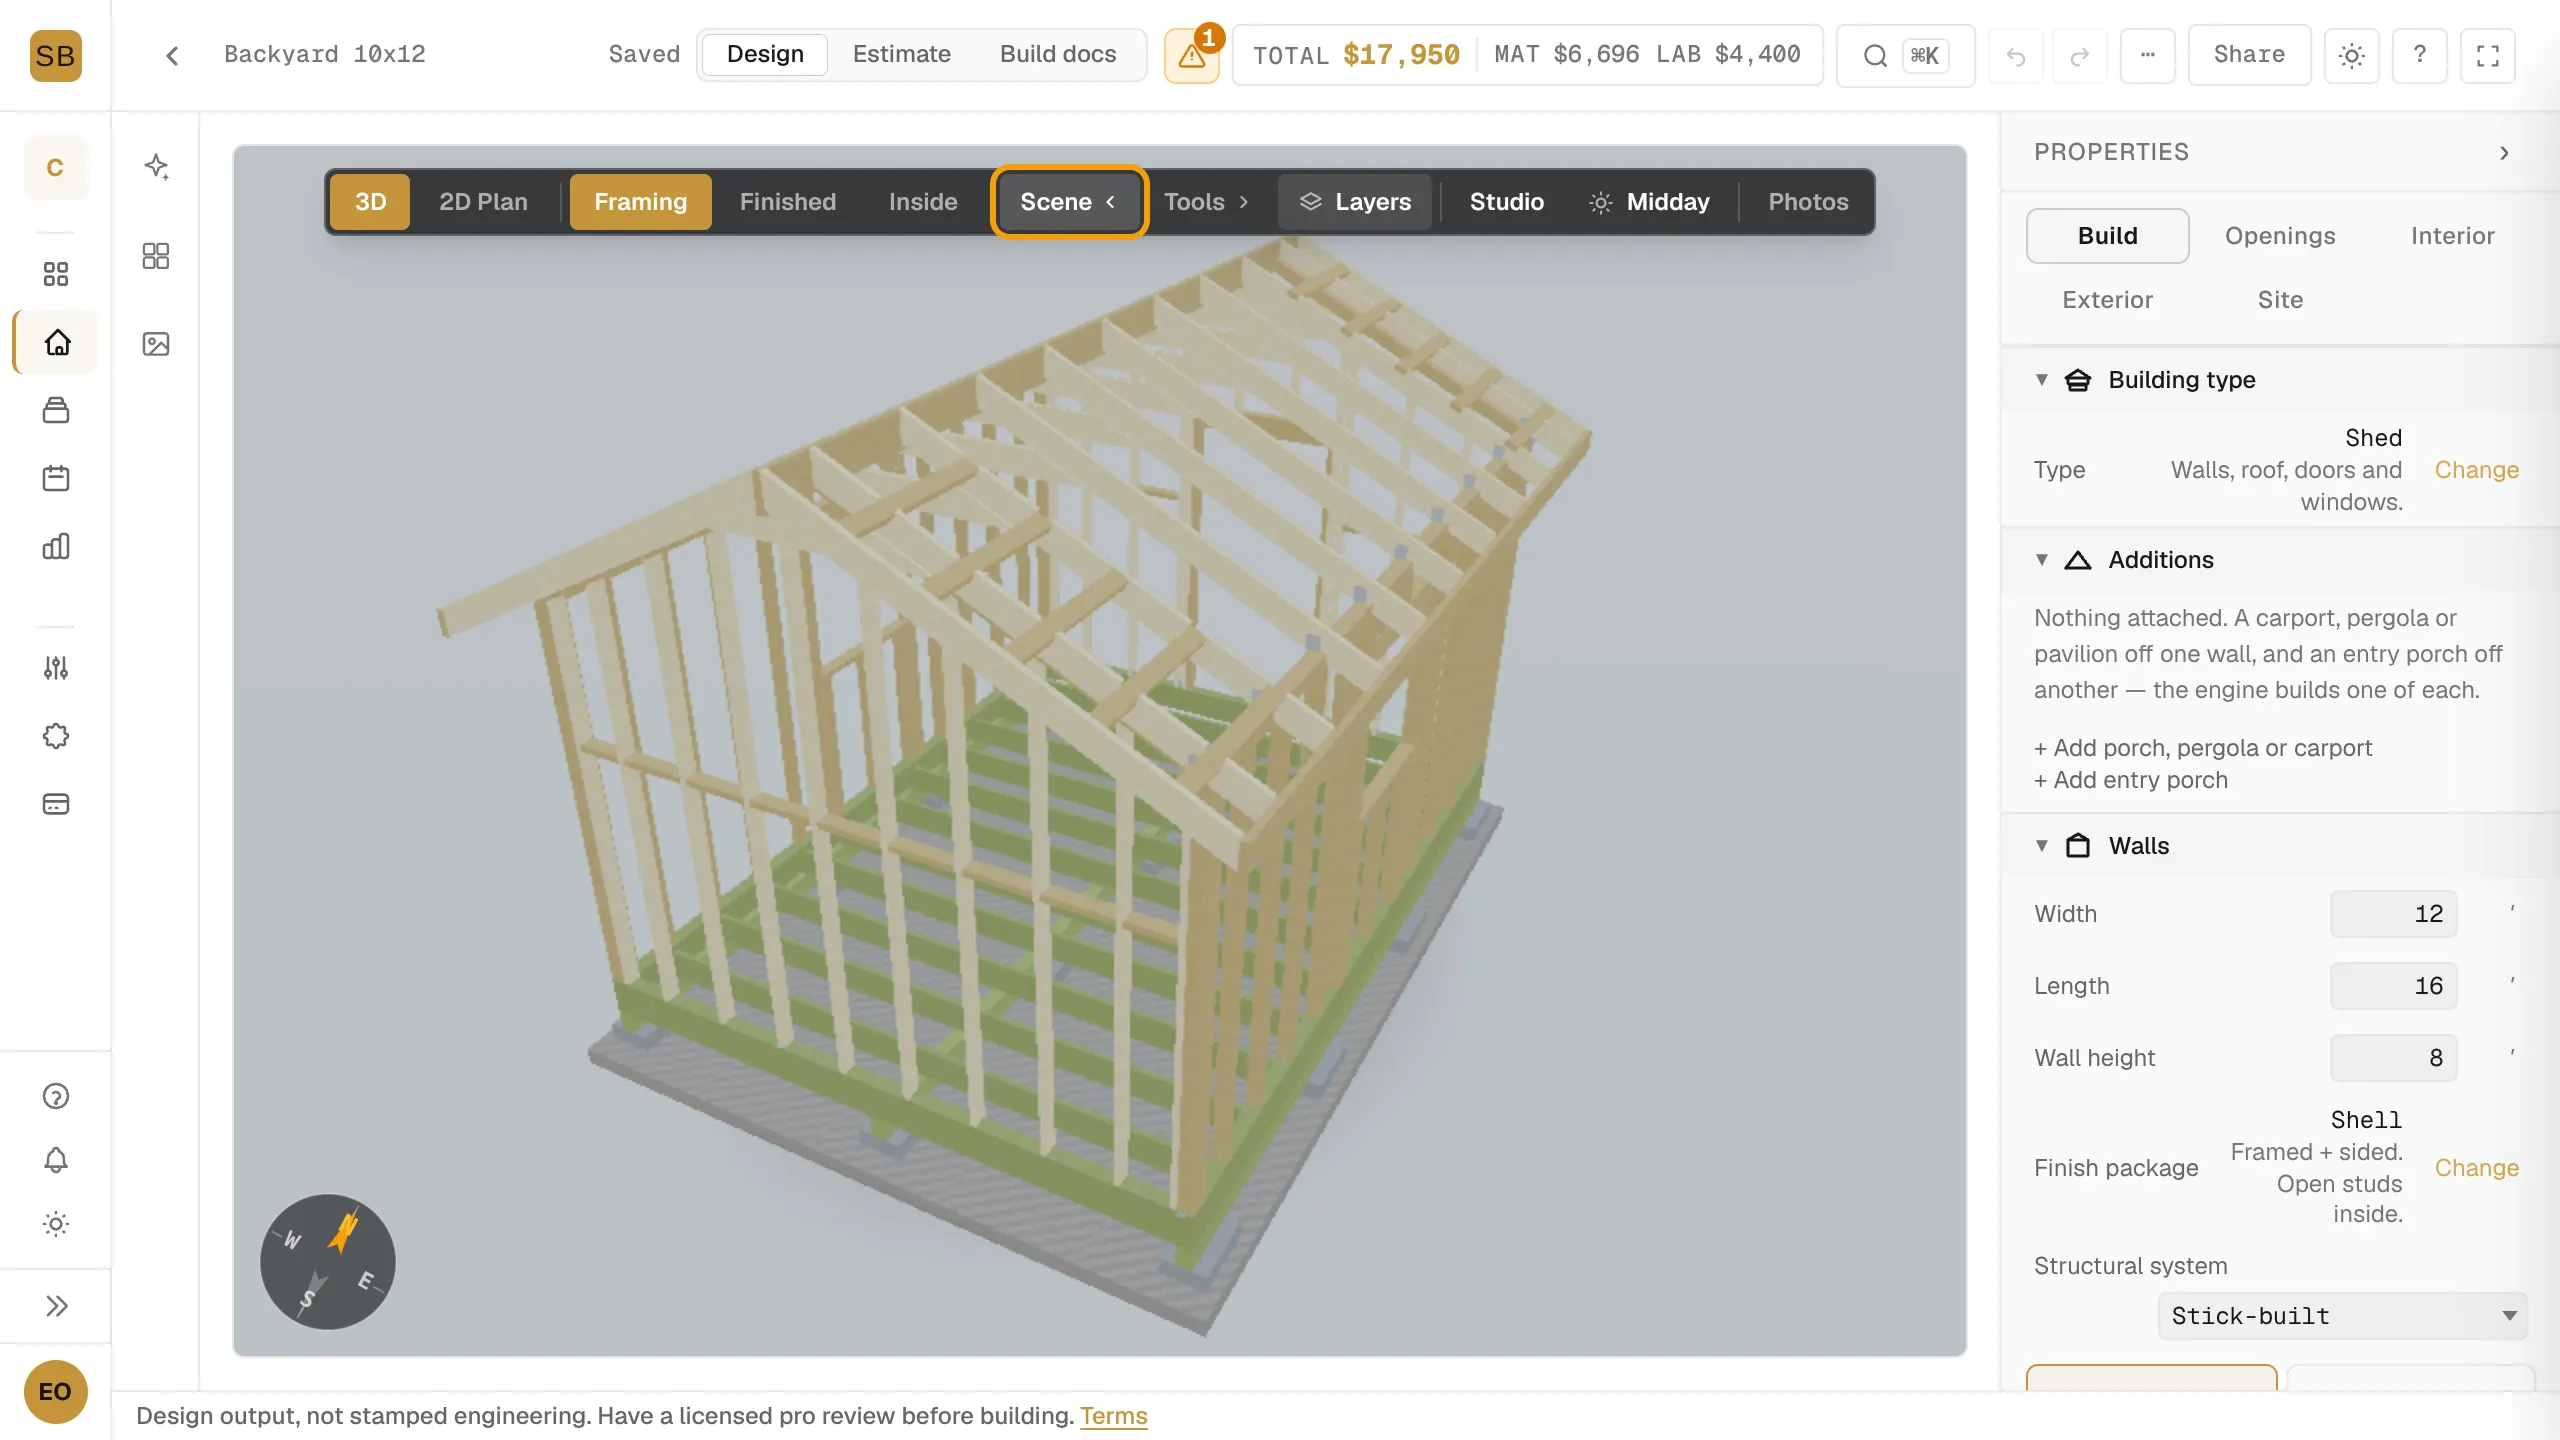
Measure
- Select Tools, then the tape measure.
- Click two points on the model to measure between them.
- Press Esc to stop measuring.
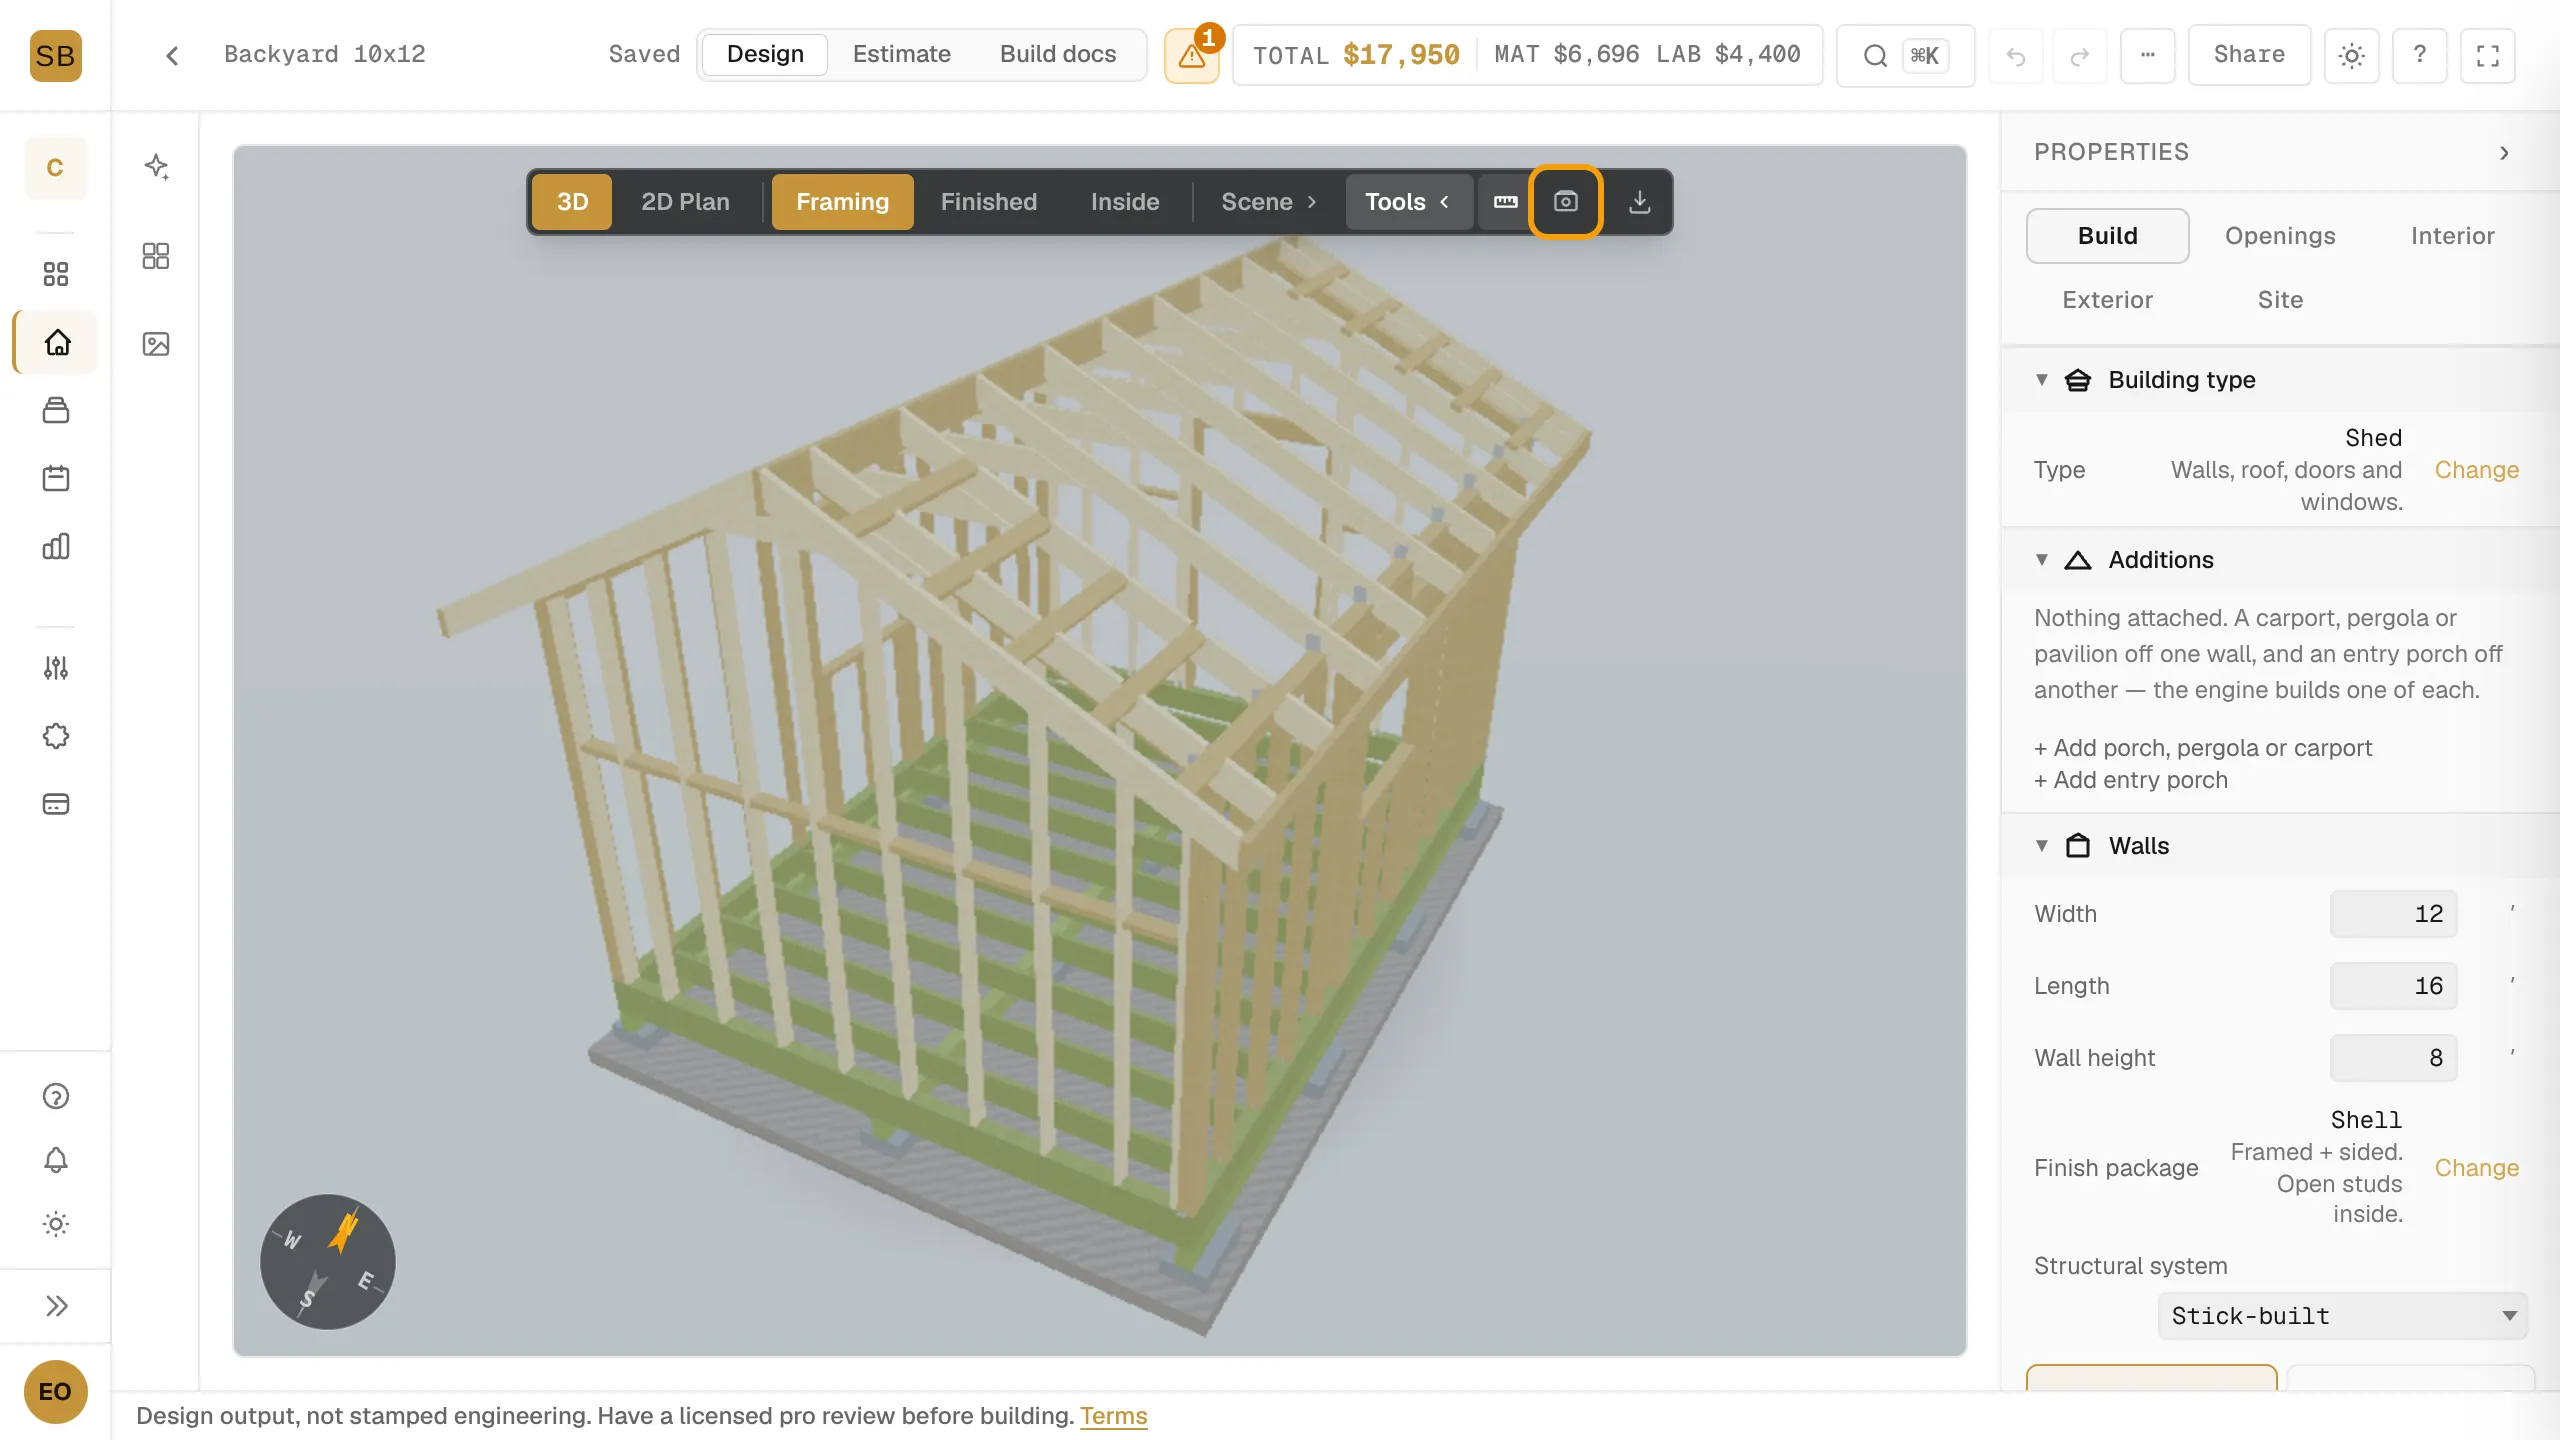
Snap an AI photo
- Frame the view you want.
- Select Tools, then the camera button (Snap Photo).
- Add instructions if you like, then select Render.
- The photo lands in Photos. On the newest photo, select ↻ Re-render to try again with changed instructions. Select Download All to save them.
Reference photos
Select Photos in the left rail.
- Backyard reference photos: upload a photo of your yard. Select a thumbnail to make it active. The 3D background and the AI photo use it.
- Inspiration photos: upload a shed you like, then select Adjust toward this look. The assistant updates the roof, doors, windows and colours it can see.
You need to save your design before you can upload photos.
Export to CAD and 3D files is also under Tools. See Export DXF, SVG or 3D models.