You can take your design into other software as 2D CAD drawings or as a 3D model. Use it to share with a drafter, mark up drawings, render the building, or 3D-print a model.
Open the export menu
- Select Design in the workspace switcher, then 3D.
- In the floating toolbar over the 3D view, open Tools.
- Select the Export button.
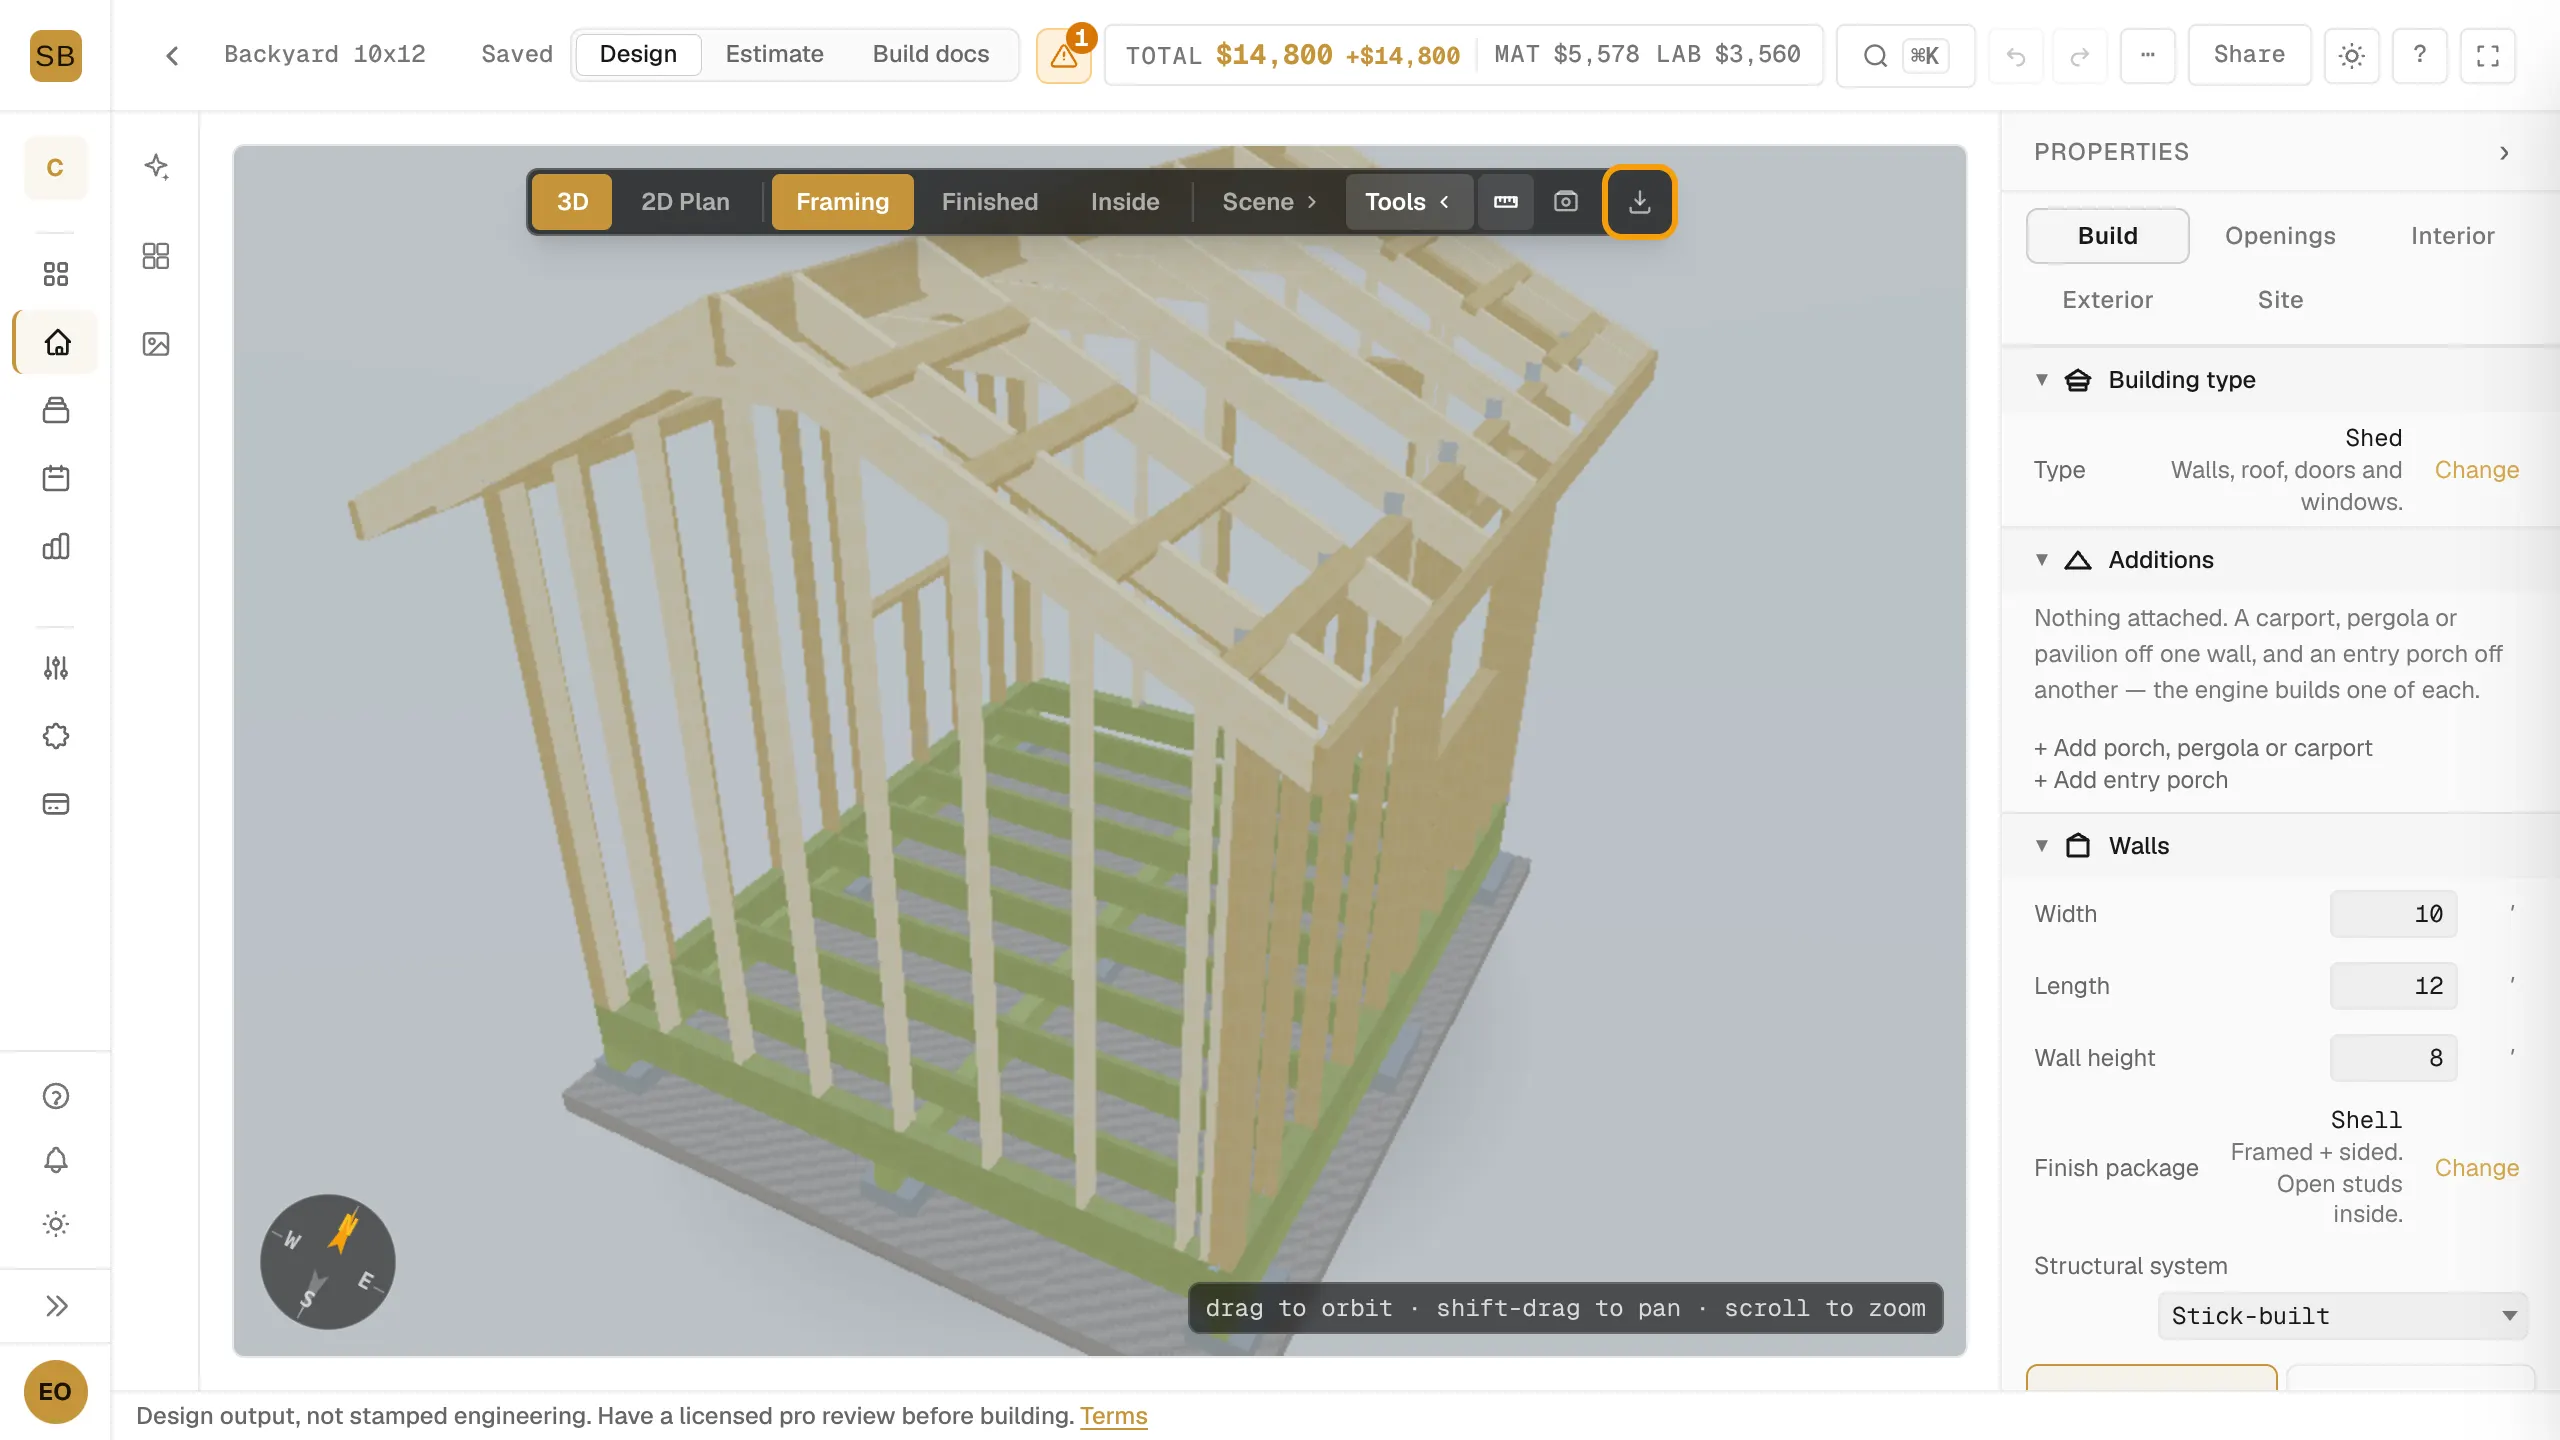
The button appears once you have started a design. It shows a lock when the build documents are locked.
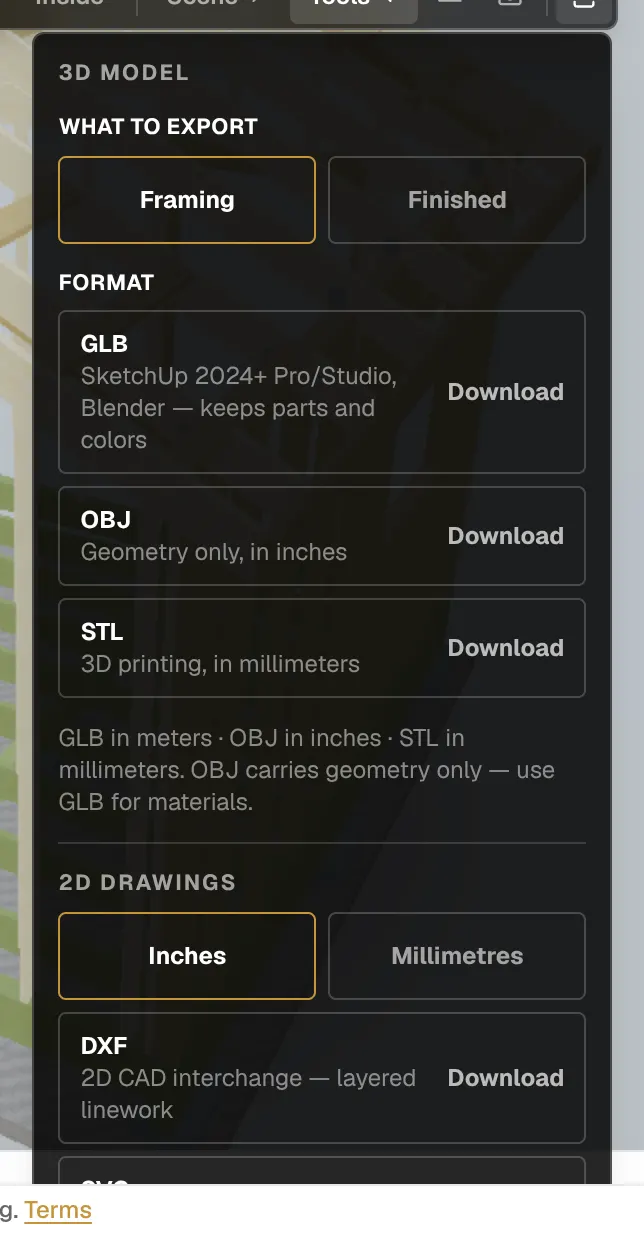
Export 2D drawings
- Under 2D drawings, pick Inches or Millimetres.
- Select Download next to DXF or SVG.
| Format | What you get |
|---|---|
| DXF | Layered CAD linework at 1:1. One file holds the floor plan, the foundation and roof plans, all four elevations, and the wall, floor and loft framing. |
| SVG | A vector drawing that opens in a browser. |
The drawings use the design's own orientation, not true north. The menu lists anything the file leaves out, such as roof framing, dormers, or porches in the elevations.
DXF is the standard 2D exchange format for CAD software. We do not export DWG.
Export a 3D model
- Under 3D model, pick What to export: Framing (every stud, rafter and joist as a named part) or Finished (siding, roof, doors and windows).
- Select Download next to a format.
| Format | Notes |
|---|---|
| GLB | Keeps the parts and their colours. |
| OBJ | Geometry only, in inches. |
| STL | For 3D printing, in millimetres. |
When export is locked
Export unlocks with the drawings and the cut list. See Get drawings and the plan set.