The build guide turns your design into an ordered set of phases, from foundation and layout to the roof. Each phase lists its steps, the tools, the safety notes, the drawings and the cuts it needs. It is written for the design you have open.
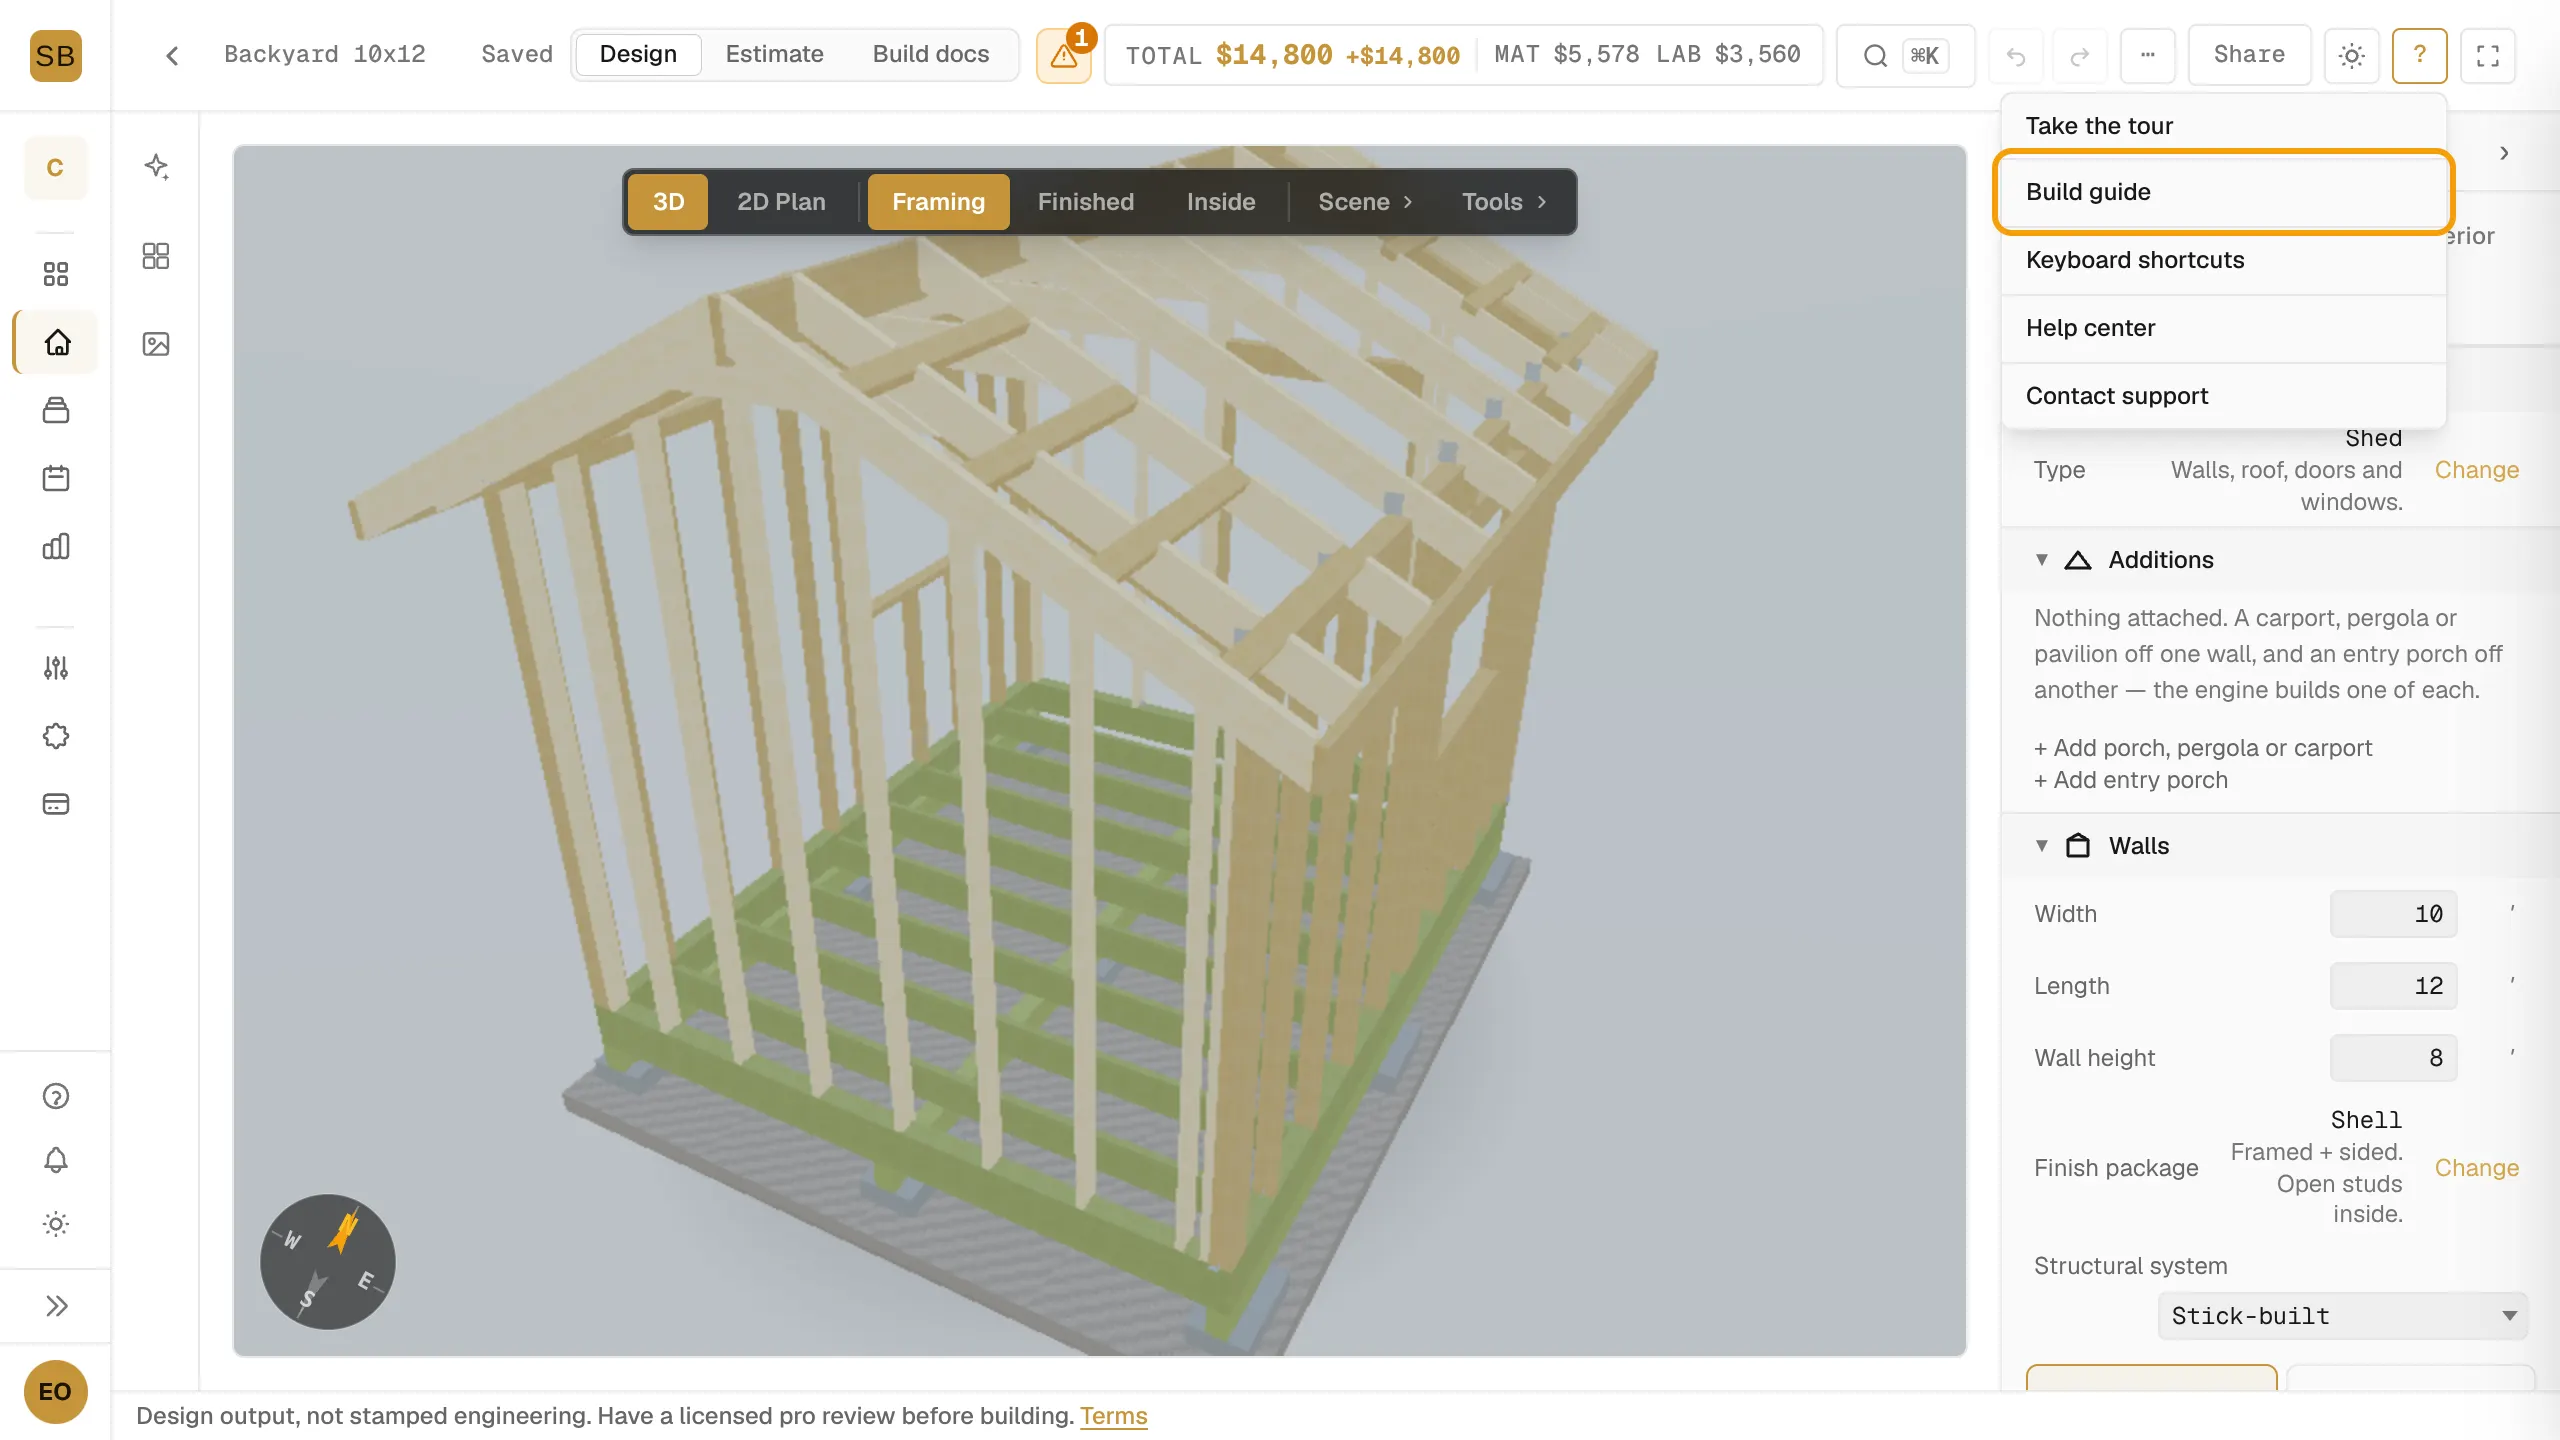
Open the build guide
- Open the ? menu in the top bar and select Build guide. On a narrow screen it is in the ⋯ menu.
- Or select Build docs, then DIY build guide (open) in the Documents section of the properties panel.
Select ← Builder to go back to the designer.
Work through a phase
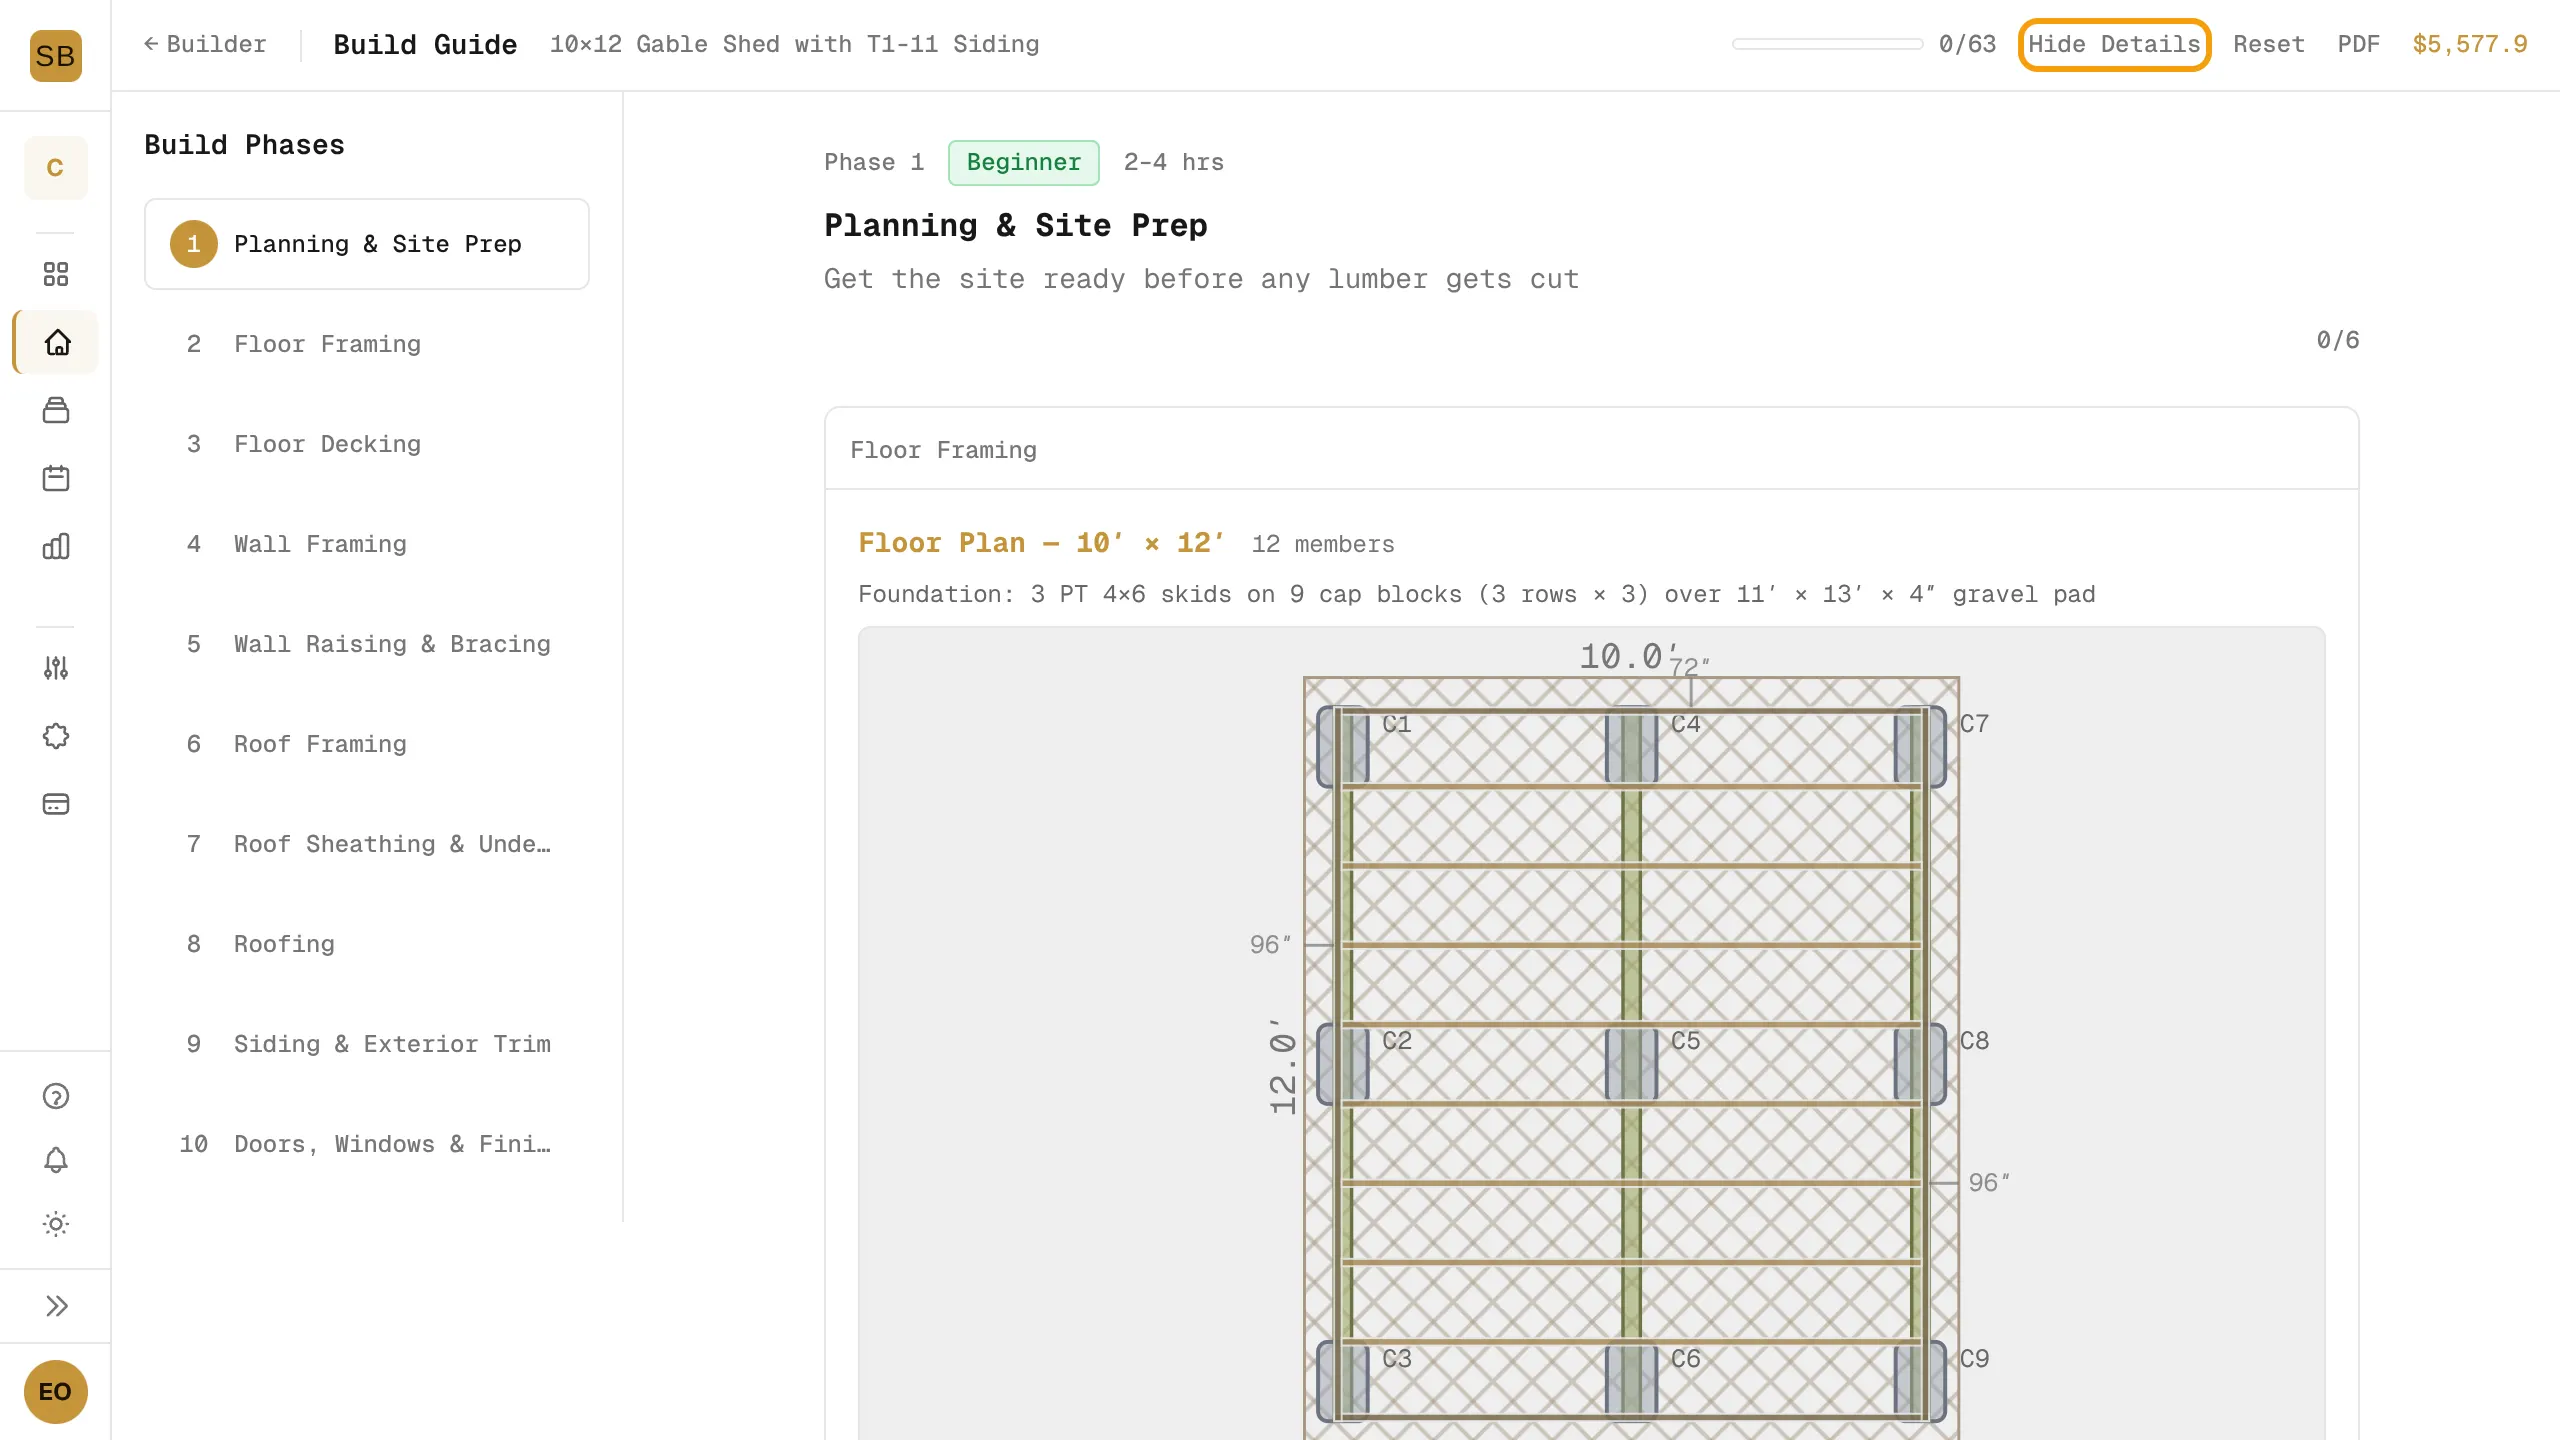
- Pick a phase from the list on the left. On a phone, open it with the menu button.
- Read the Safety notes before you start.
- Use the framing drawings and the cut list shown in the phase.
- Tick each step as you finish it, then the checkpoints at the end.
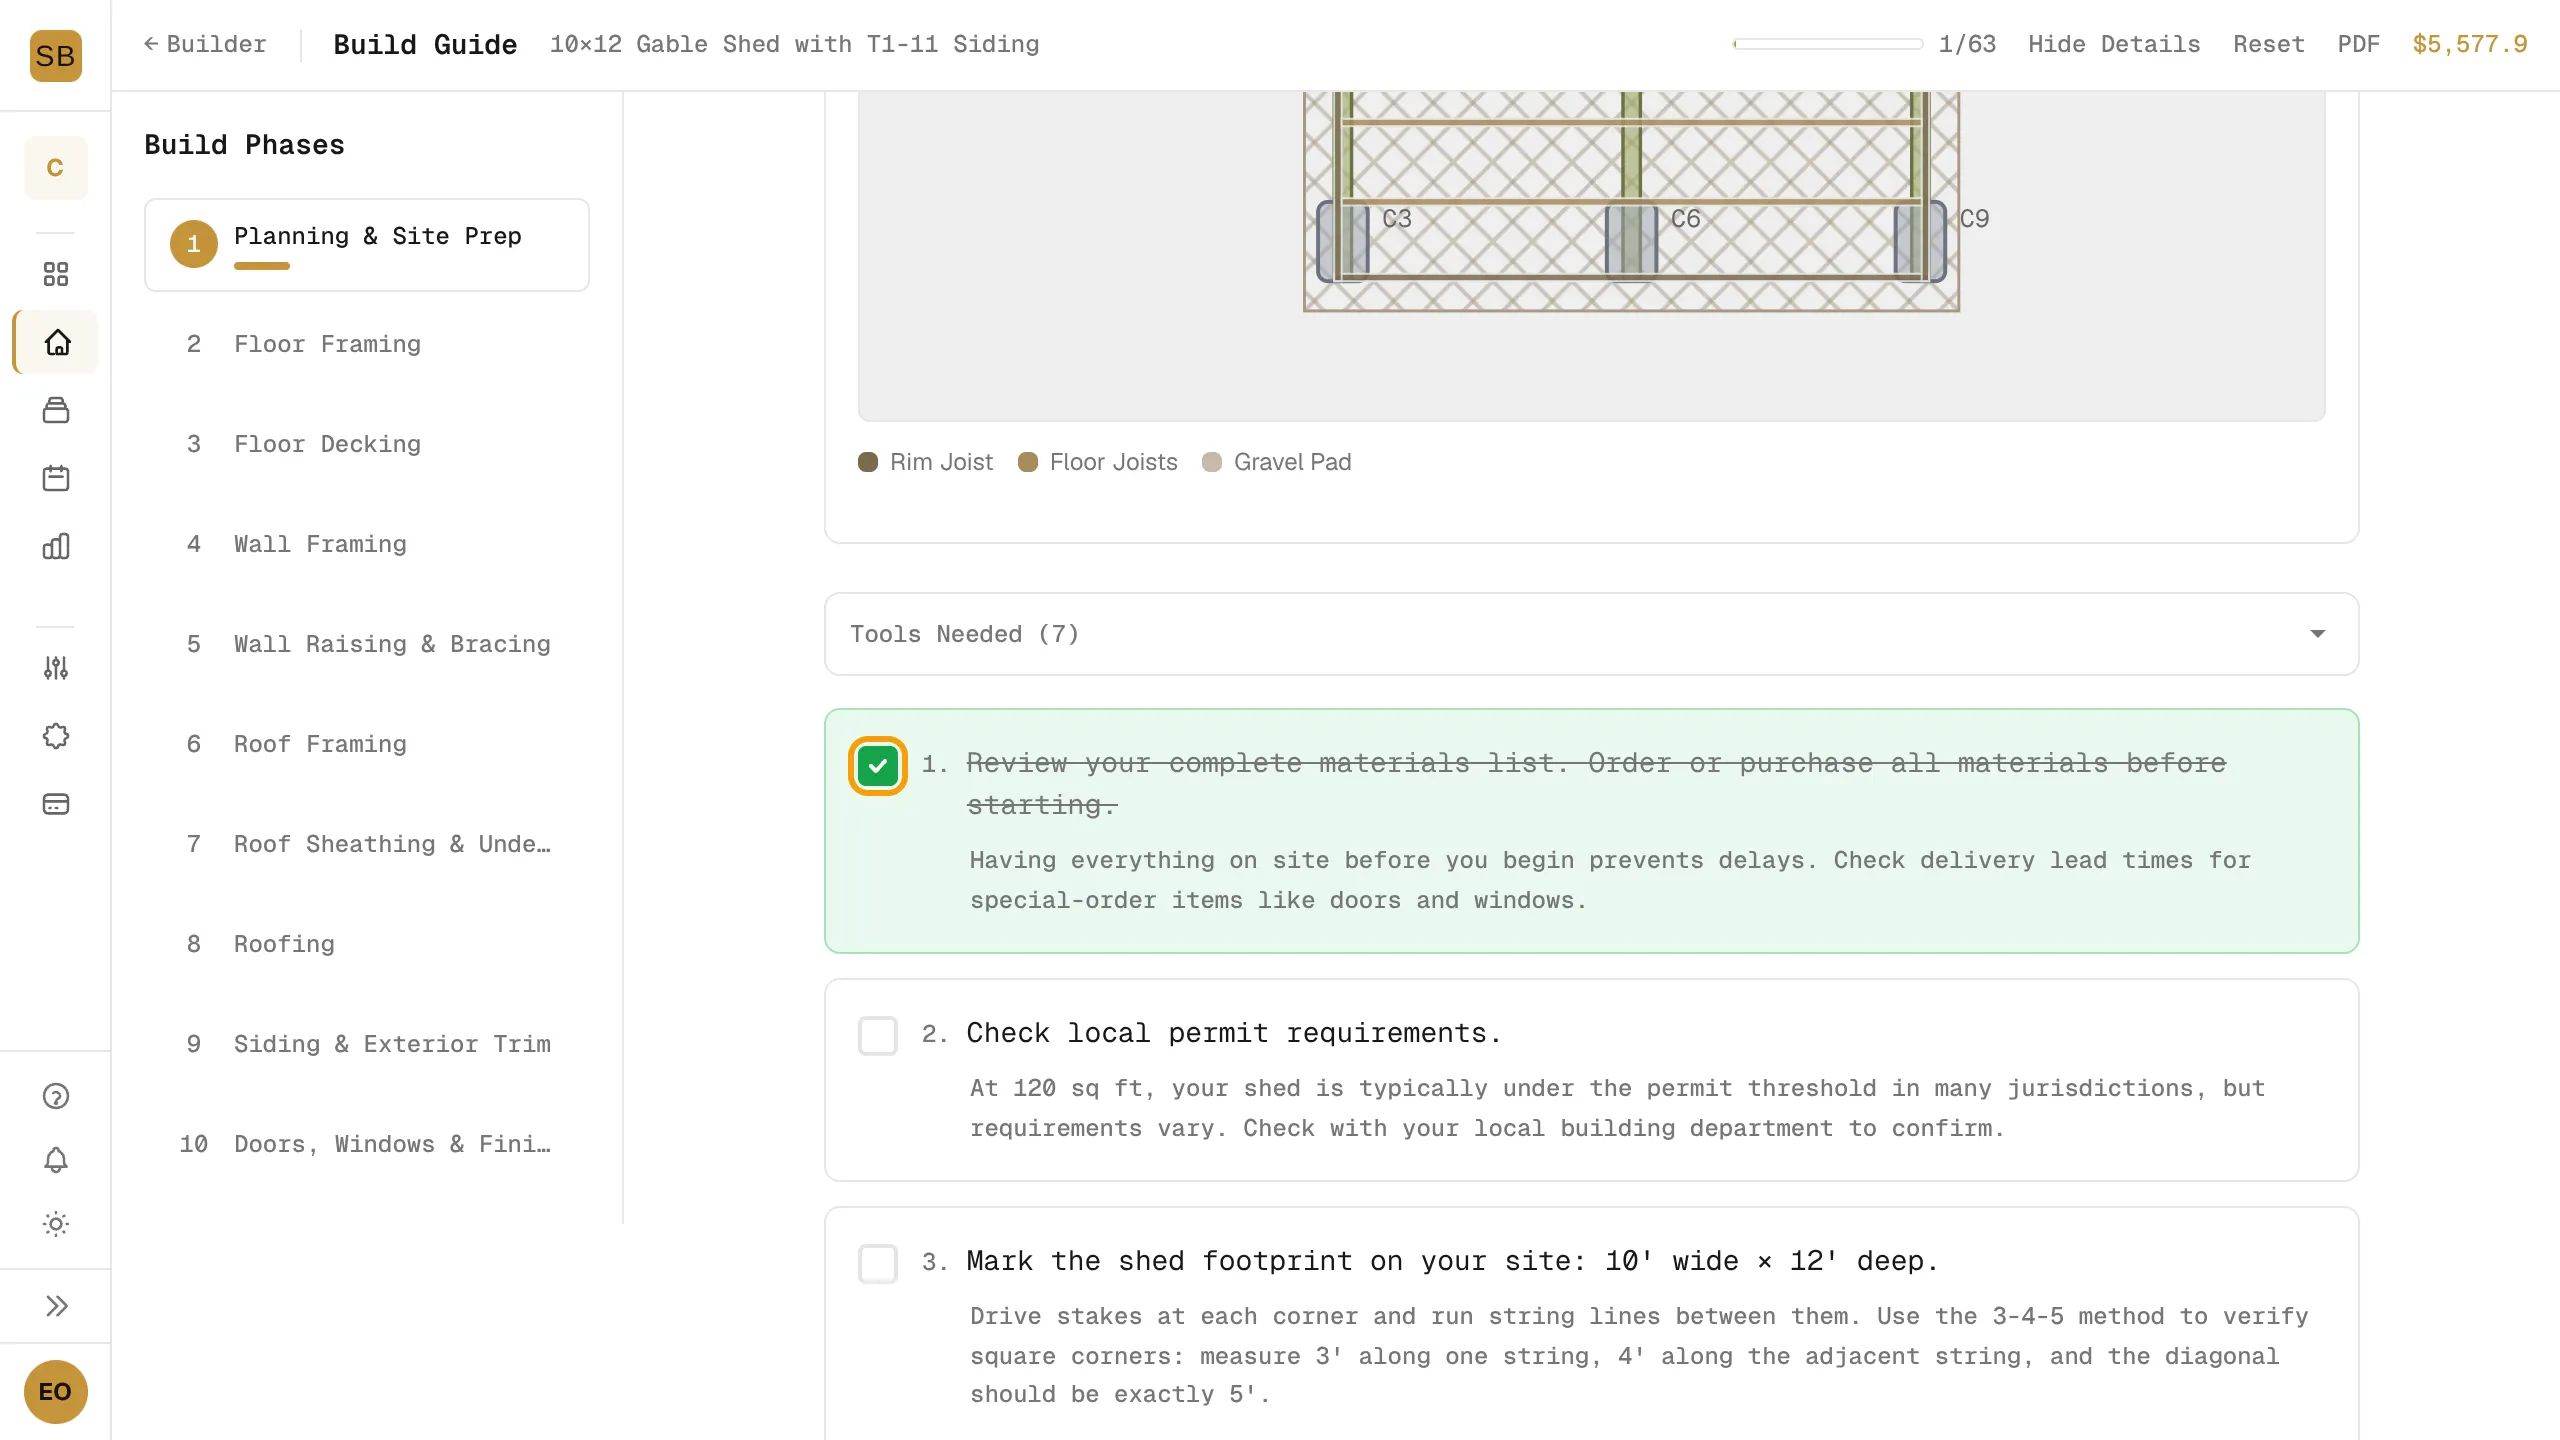
- When every step and checkpoint is ticked, select Mark Phase N Complete.
The bar in the header shows how many steps you have done in total.
Header controls
| Control | What it does |
|---|---|
| Hide Details / Show Details | Collapse or expand step details. |
| Reset | Clear all your progress. |
| Download the build guide as a PDF. |
The header also shows the estimated materials cost.
When phases are locked
You can read the first phase before the build documents unlock. Later phases show a notice instead, and the PDF button is hidden. They unlock with the drawings and the cut list. See Get drawings and the plan set or Unlock your plan set.