The cut list shows every framing piece in your design, how to cut it from stock lumber, and how many boards to buy. Use it at the lumberyard and on the saw.
Open the cut list
- Select Build docs in the workspace switcher.
- Select the Cut List tab.
- The header shows the board count, the number of cuts, the waste percent, and how much of the waste is reusable offcut.
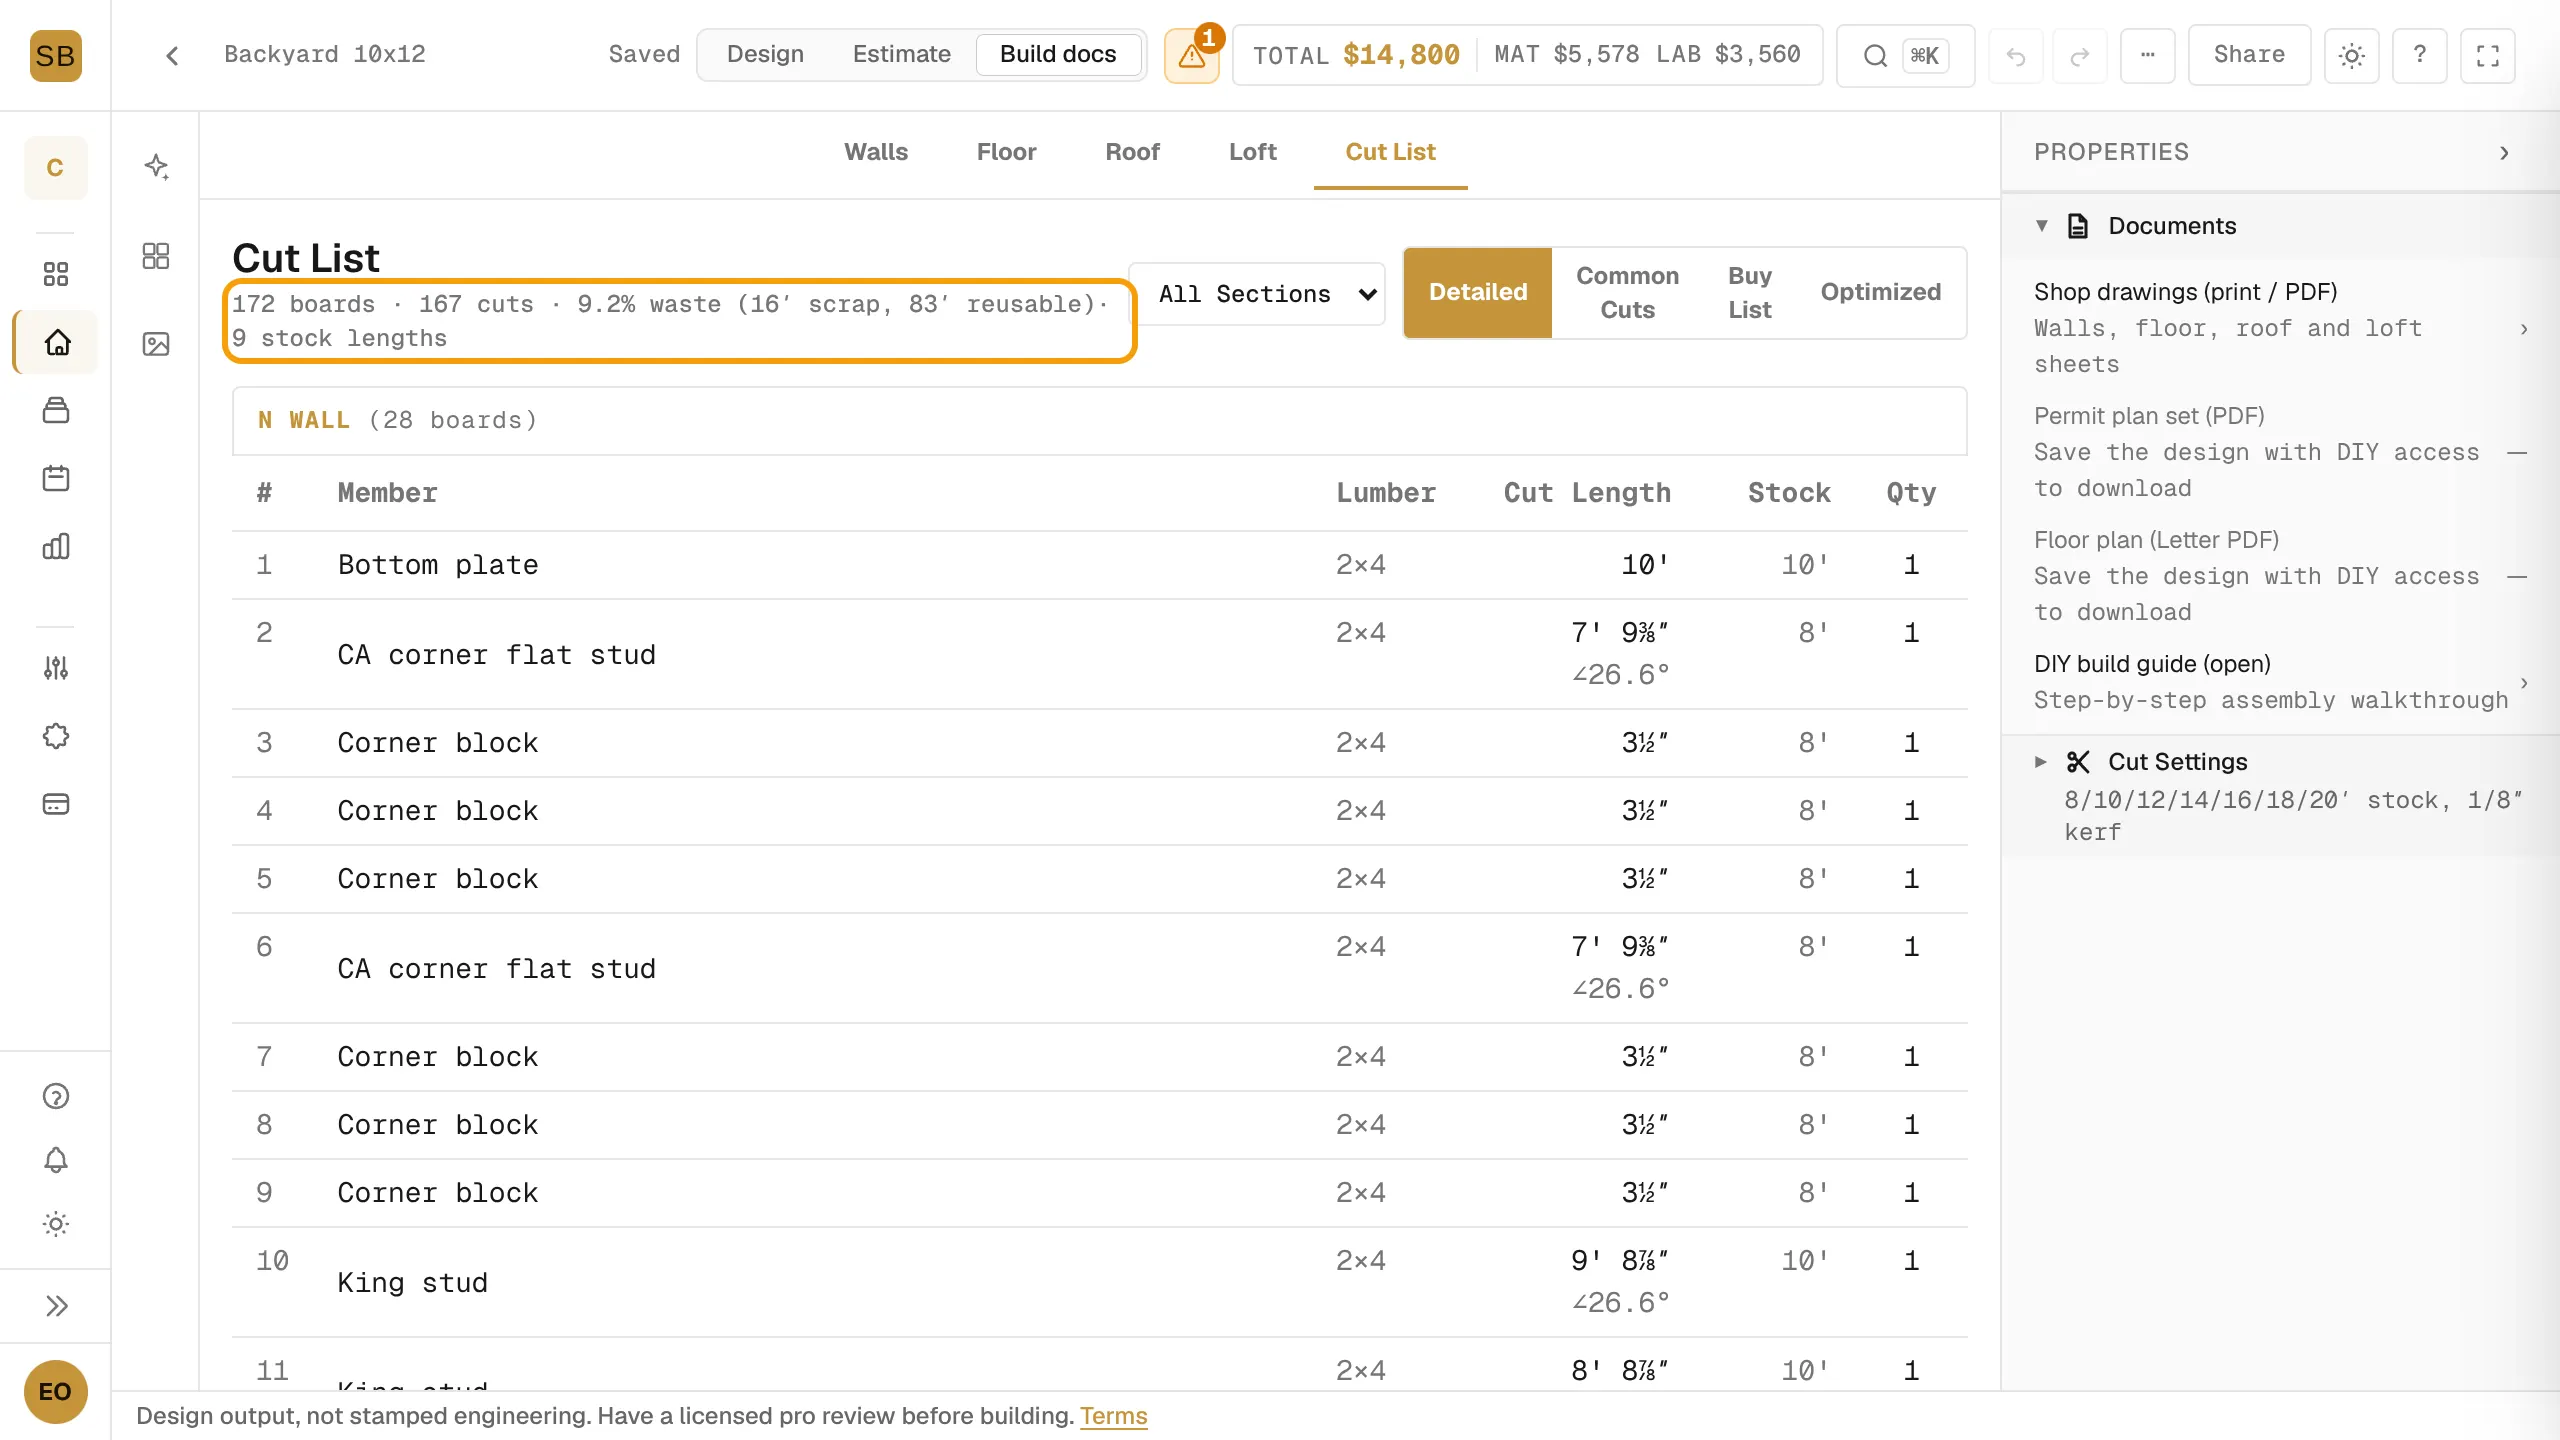
Pick a view
| View | Use it to |
|---|---|
| Detailed | See each piece by section: member, lumber, cut length and quantity. |
| Common Cuts | Group identical cuts so you can batch them. |
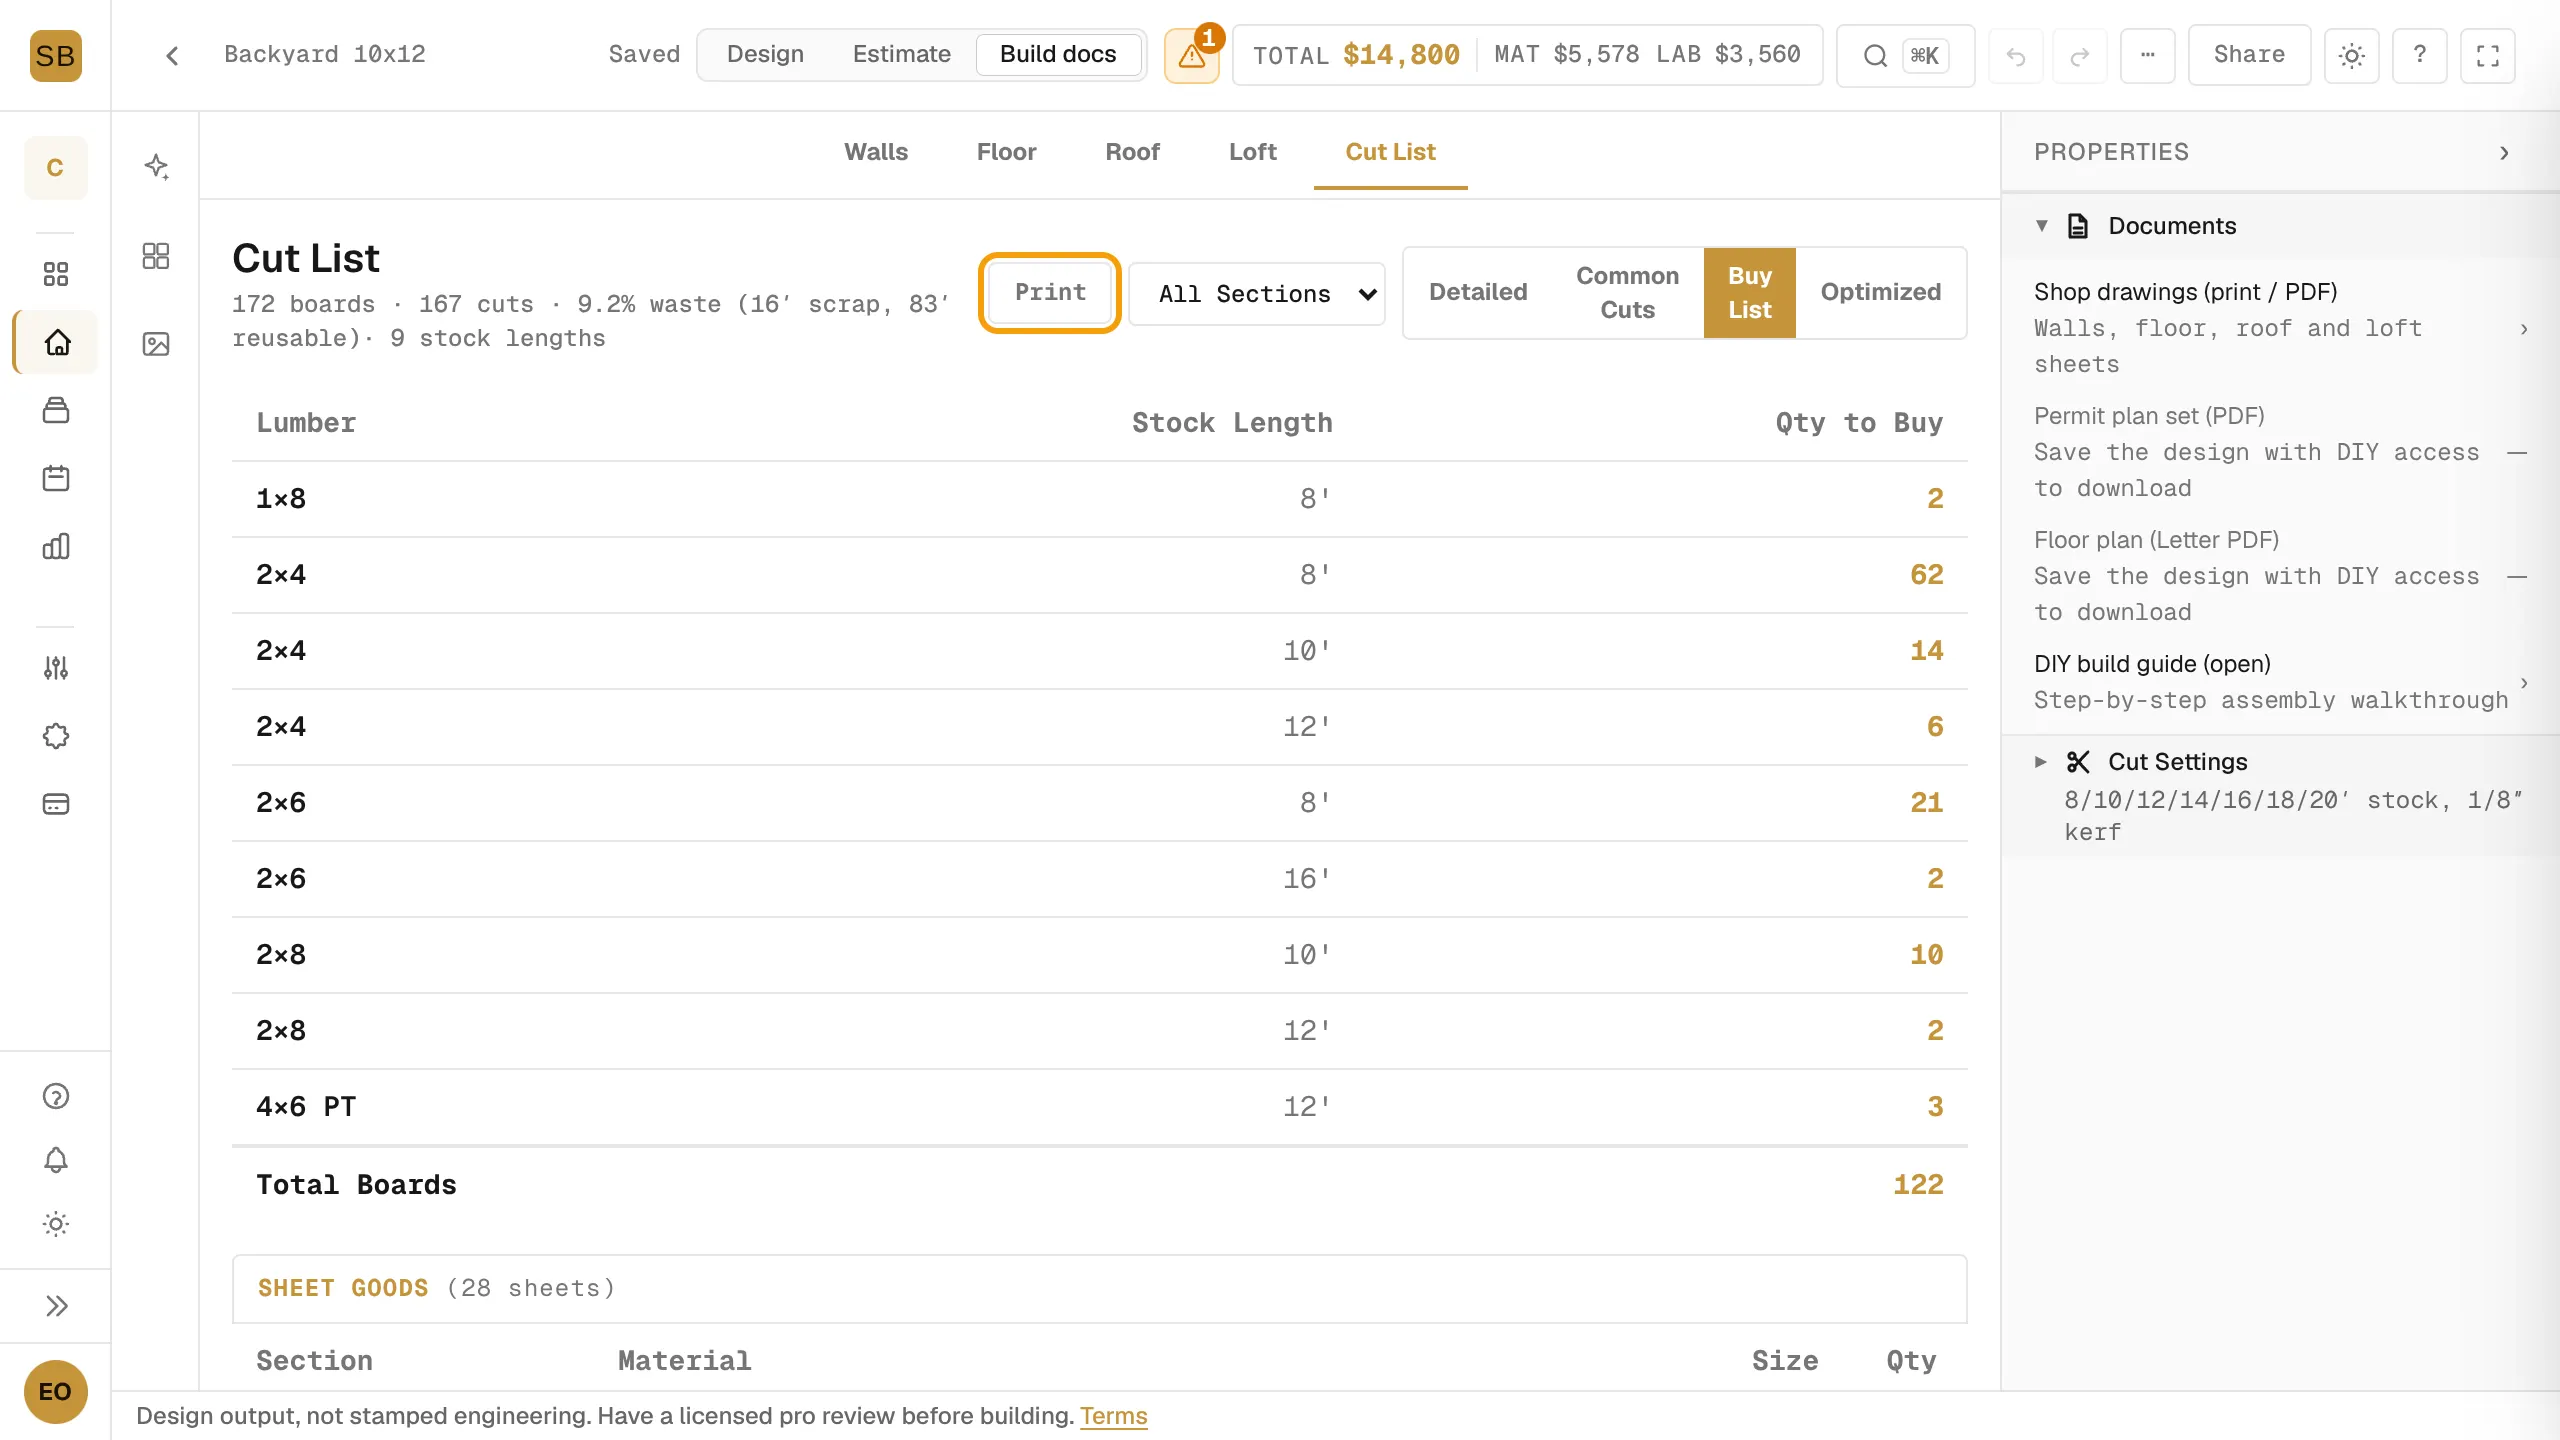
| Buy List | See how many boards of each stock length to buy. |
| Optimized | See which cuts come out of which board. |
Use the All Sections menu to show one section, such as the walls or the roof.
Below the views you also find Sheet Goods and the Sheathing Layout, which shows how panels fit each surface.
Print the buy list
- Select the Buy List view.
- Select Print.
Change the cut settings
- In Build docs, open Cut Settings in the properties panel.
- Set Kerf width: 3/32" (thin) or 1/8" (std).
- Set Min offcut, the shortest drop you keep: 4, 6, 8 or 12 inches.
- Under Stock lengths, tick the board lengths your supplier stocks. At least one must stay ticked.
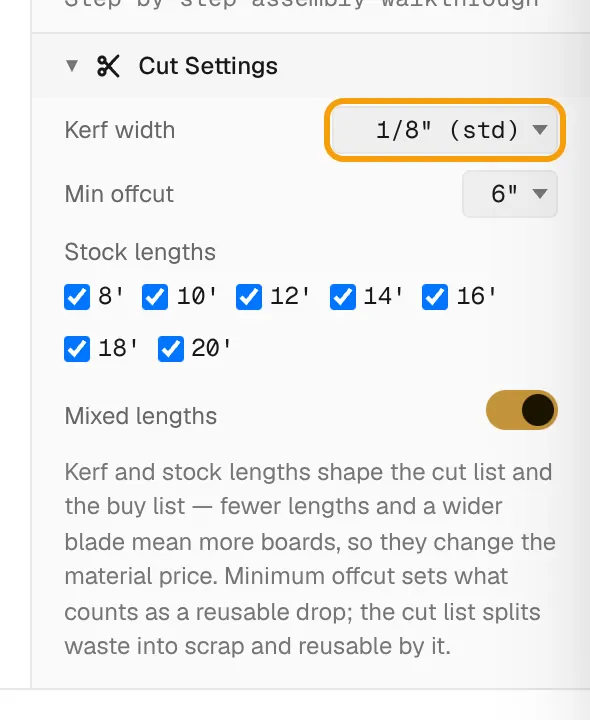
The cut list and the buy list update right away.
When the cut list is locked
A locked cut list shows a few preview rows and a notice. It unlocks with the rest of the build documents. See Get drawings and the plan set, or Unlock your plan set if you are designing your own shed.