Each sold job is billed in milestones, such as a deposit, rough-in and final payment. Your customer pays each one from a pay link. Payments go to your own Stripe account.
Invoices are on the Builder and Pro plans and during a trial. They live on the project's Invoices tab, which appears once the project is Sold.
Connect your Stripe account
Do this once so customers can pay online. Only the workspace owner can.
- Select Billing in the sidebar.
- Go to Invoice Payments (Your Stripe Account).
- Paste your Publishable Key, Secret Key and Webhook Secret from Stripe.
- Select Save Keys.
- Copy Your Webhook URL and add it in your Stripe Dashboard under Developers → Webhooks, with the events listed on the page.
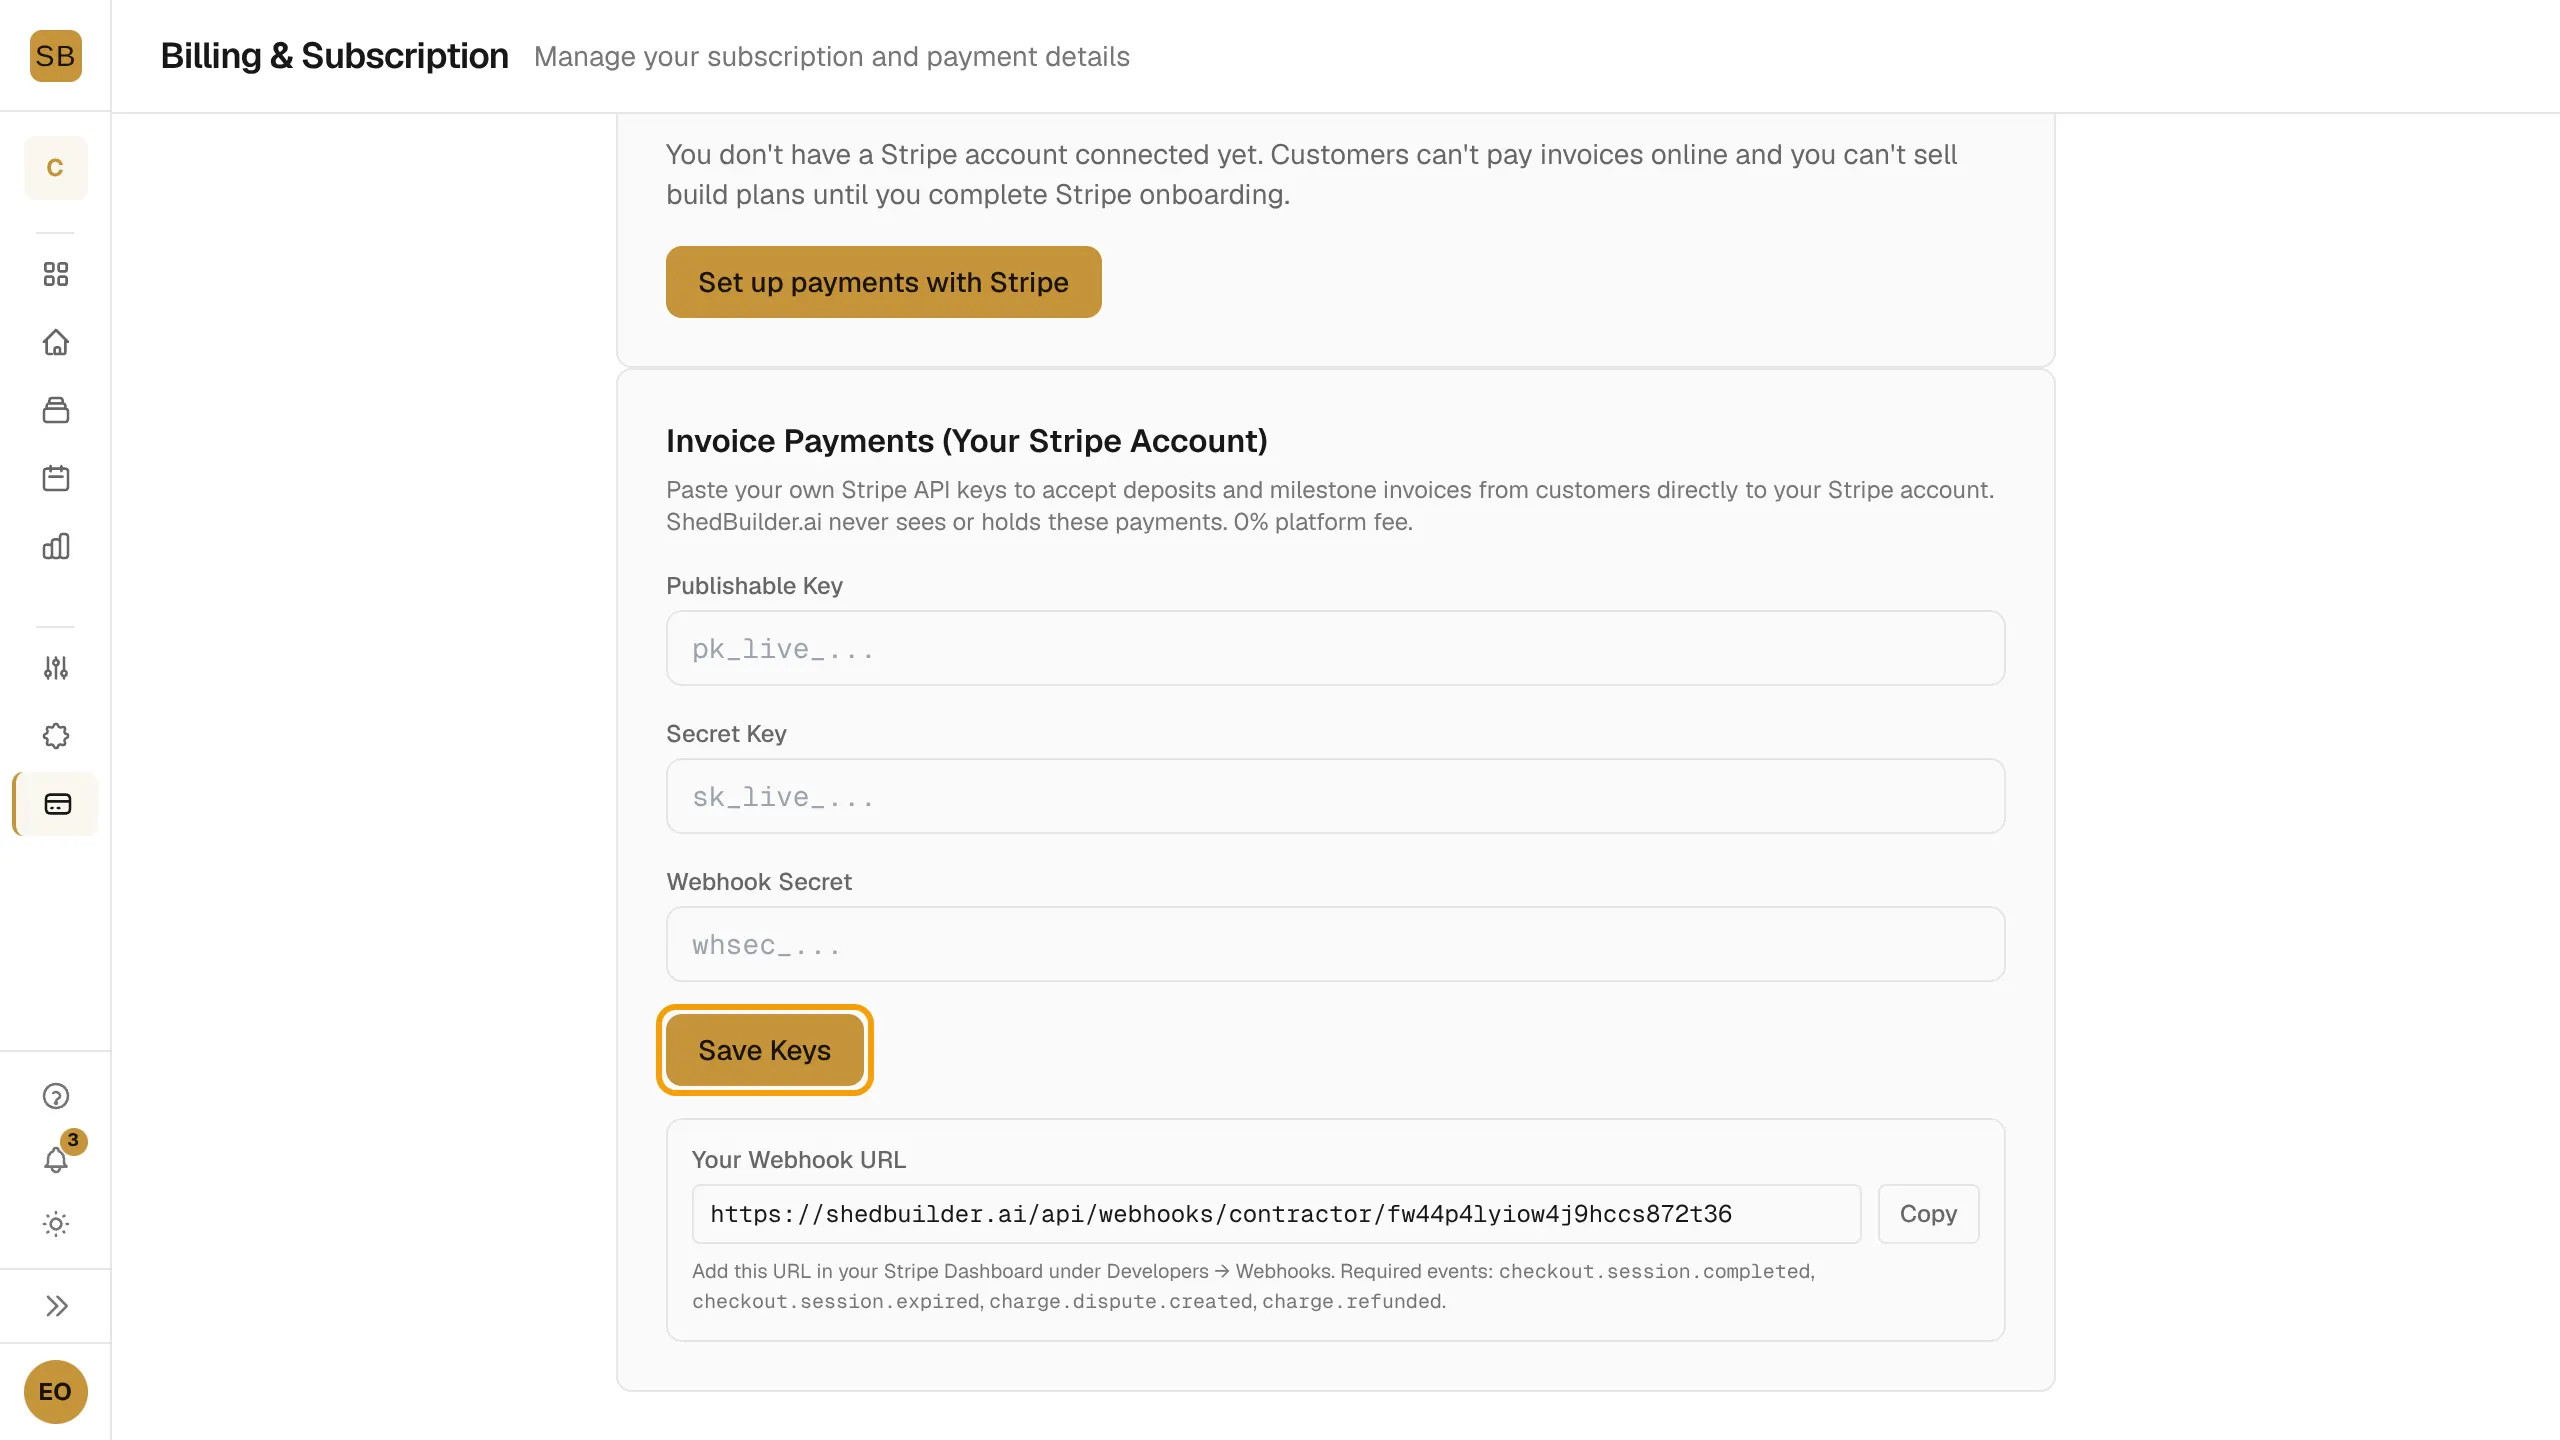
Customers pay you directly. The app shows a 0% platform fee on invoice payments.
Invoices from an accepted quote
When the customer accepts a quote, the milestones from its payment schedule become invoices. The deposit is offered to the customer right after they sign.
Add and send an invoice
- Open the project and select the Invoices tab.
- Select + New invoice.
- Enter a Milestone label, an Amount (USD) and a Percent (0–1). Add a Description (optional).
- Select Create invoice.
- Select Send to email the customer. Use Pay link to open the pay page yourself.
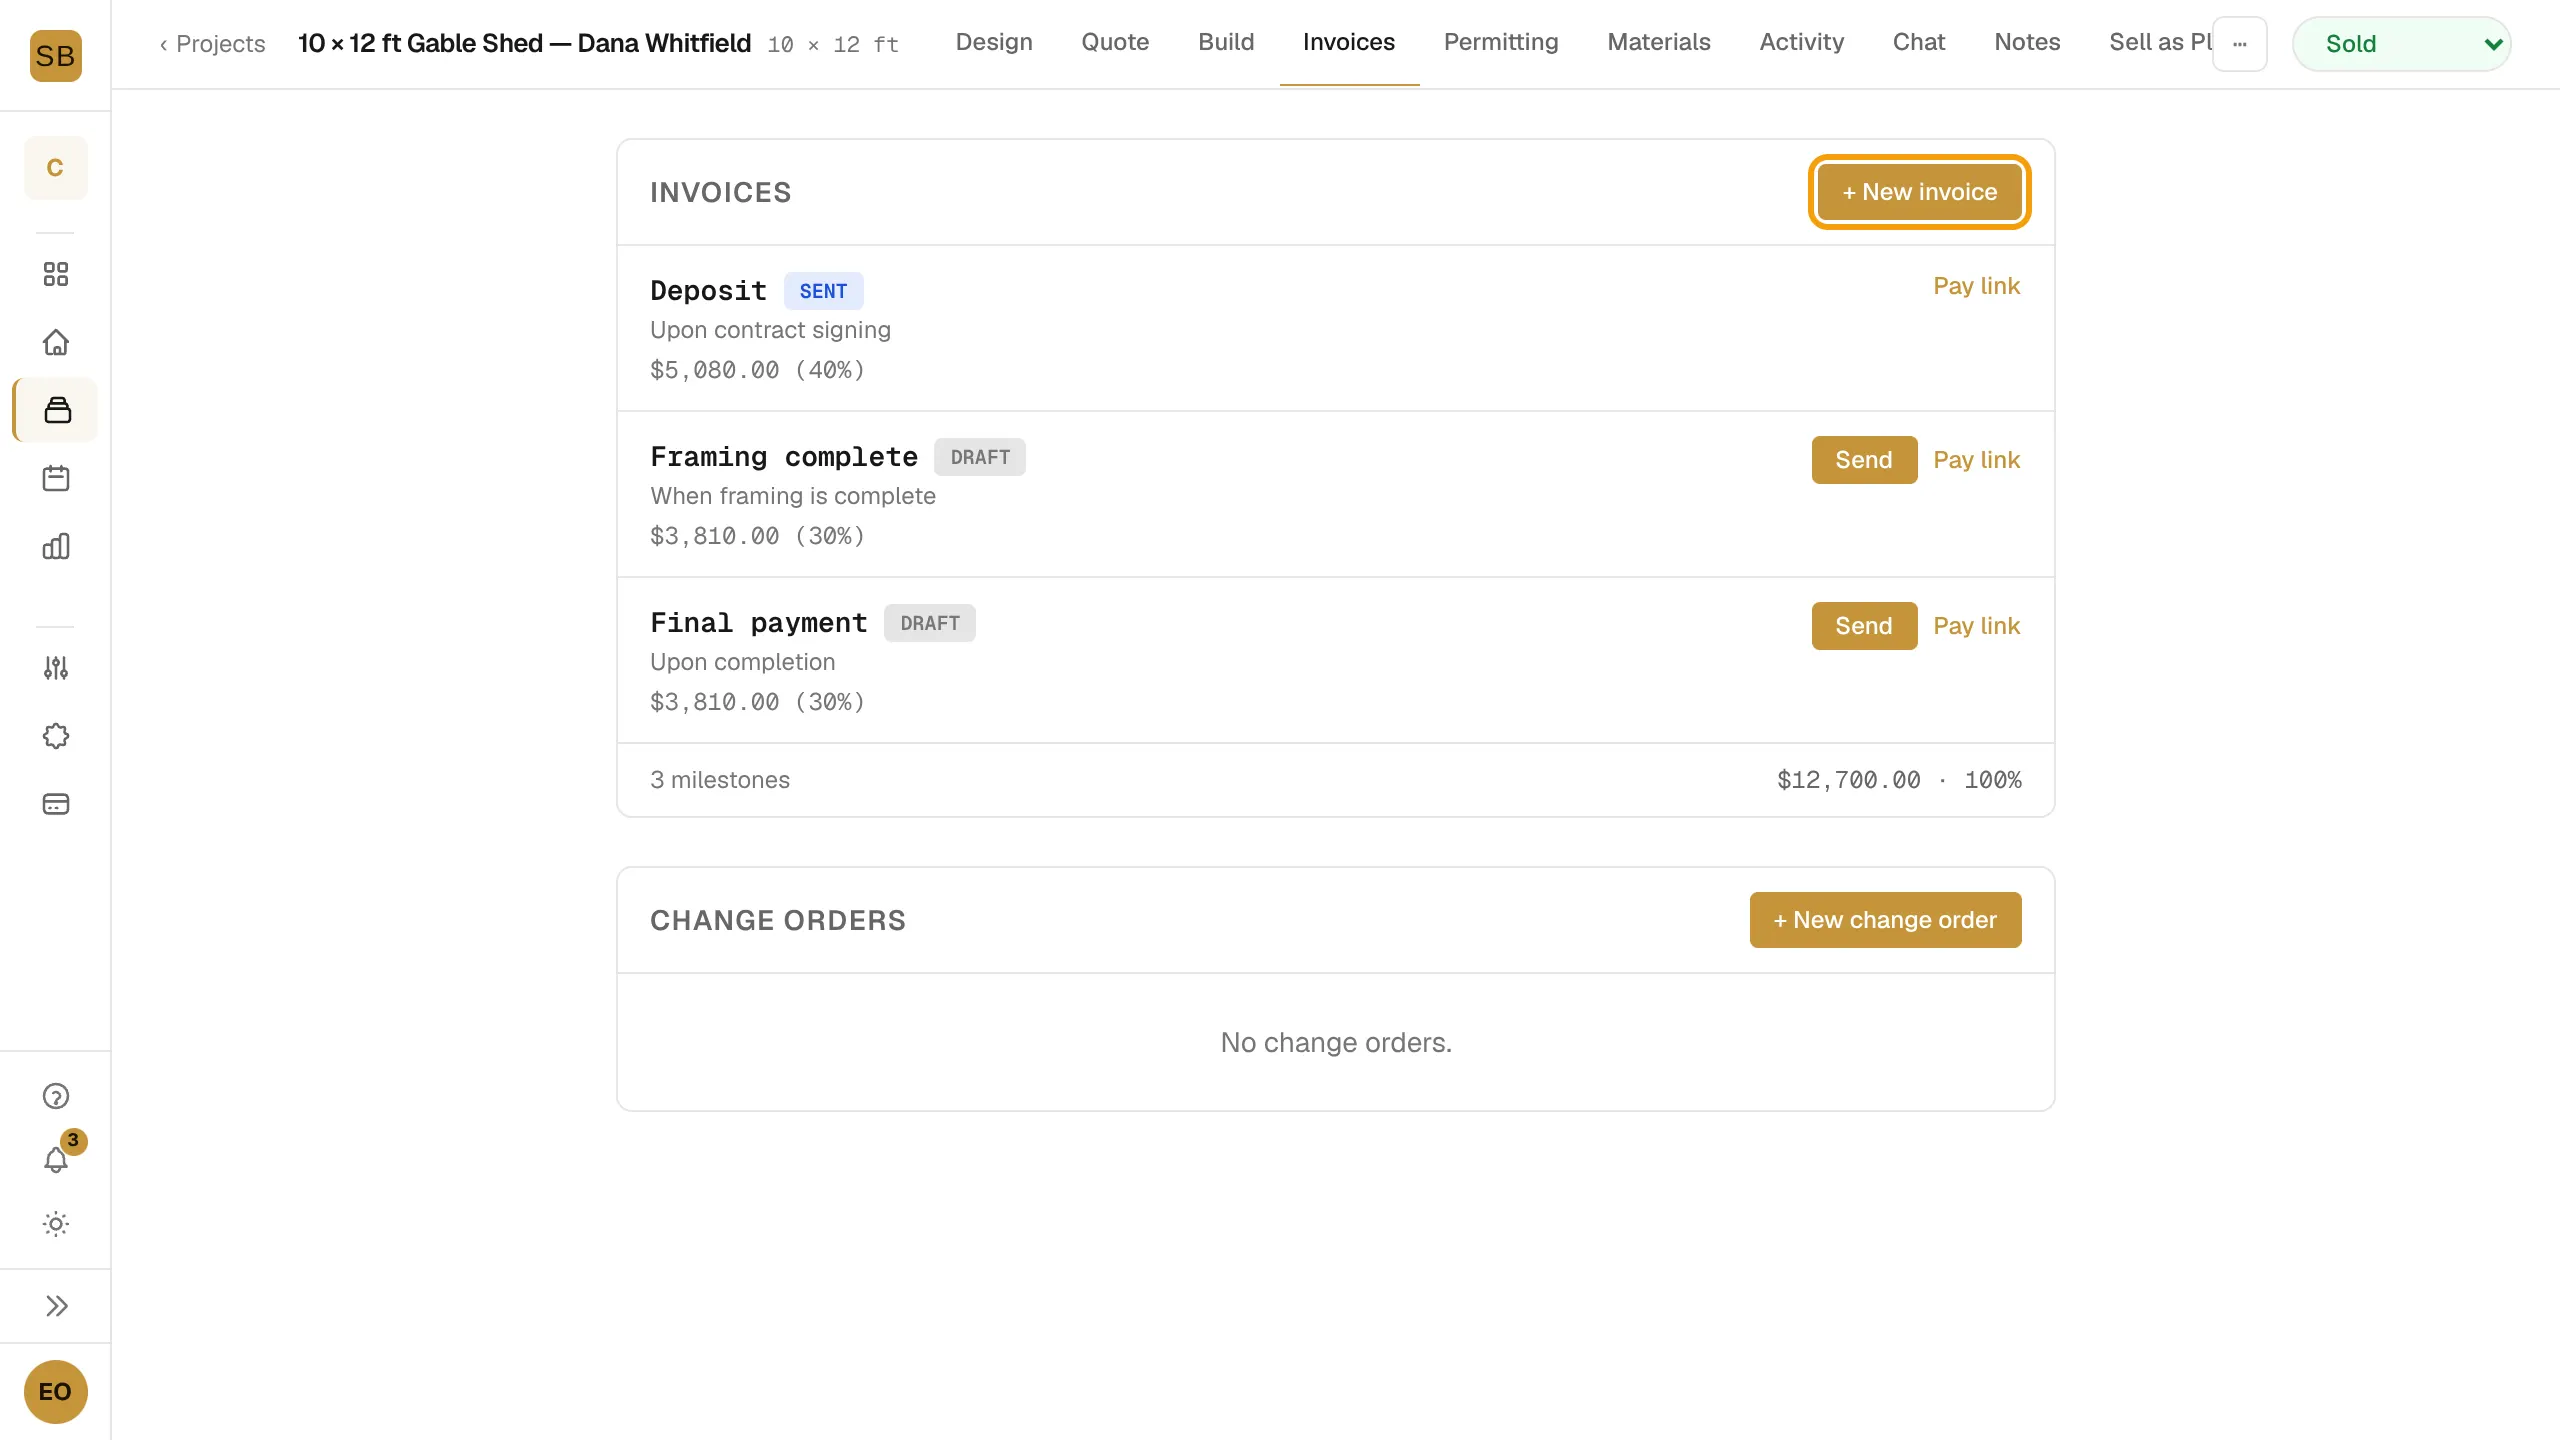
The list totals your milestones and warns you if they don't total 100%. An invoice the customer has disputed with their card issuer is marked disputed.
Track payment
The Build tab shows Build status: how many milestones are paid, the amount collected against the contract total, a progress bar, and the next payment due.
What your customer sees
The pay page shows the milestone, amount and status. The customer selects the Pay button, which shows the amount, and checks out with Stripe. When it's done, the page shows Payment Complete.
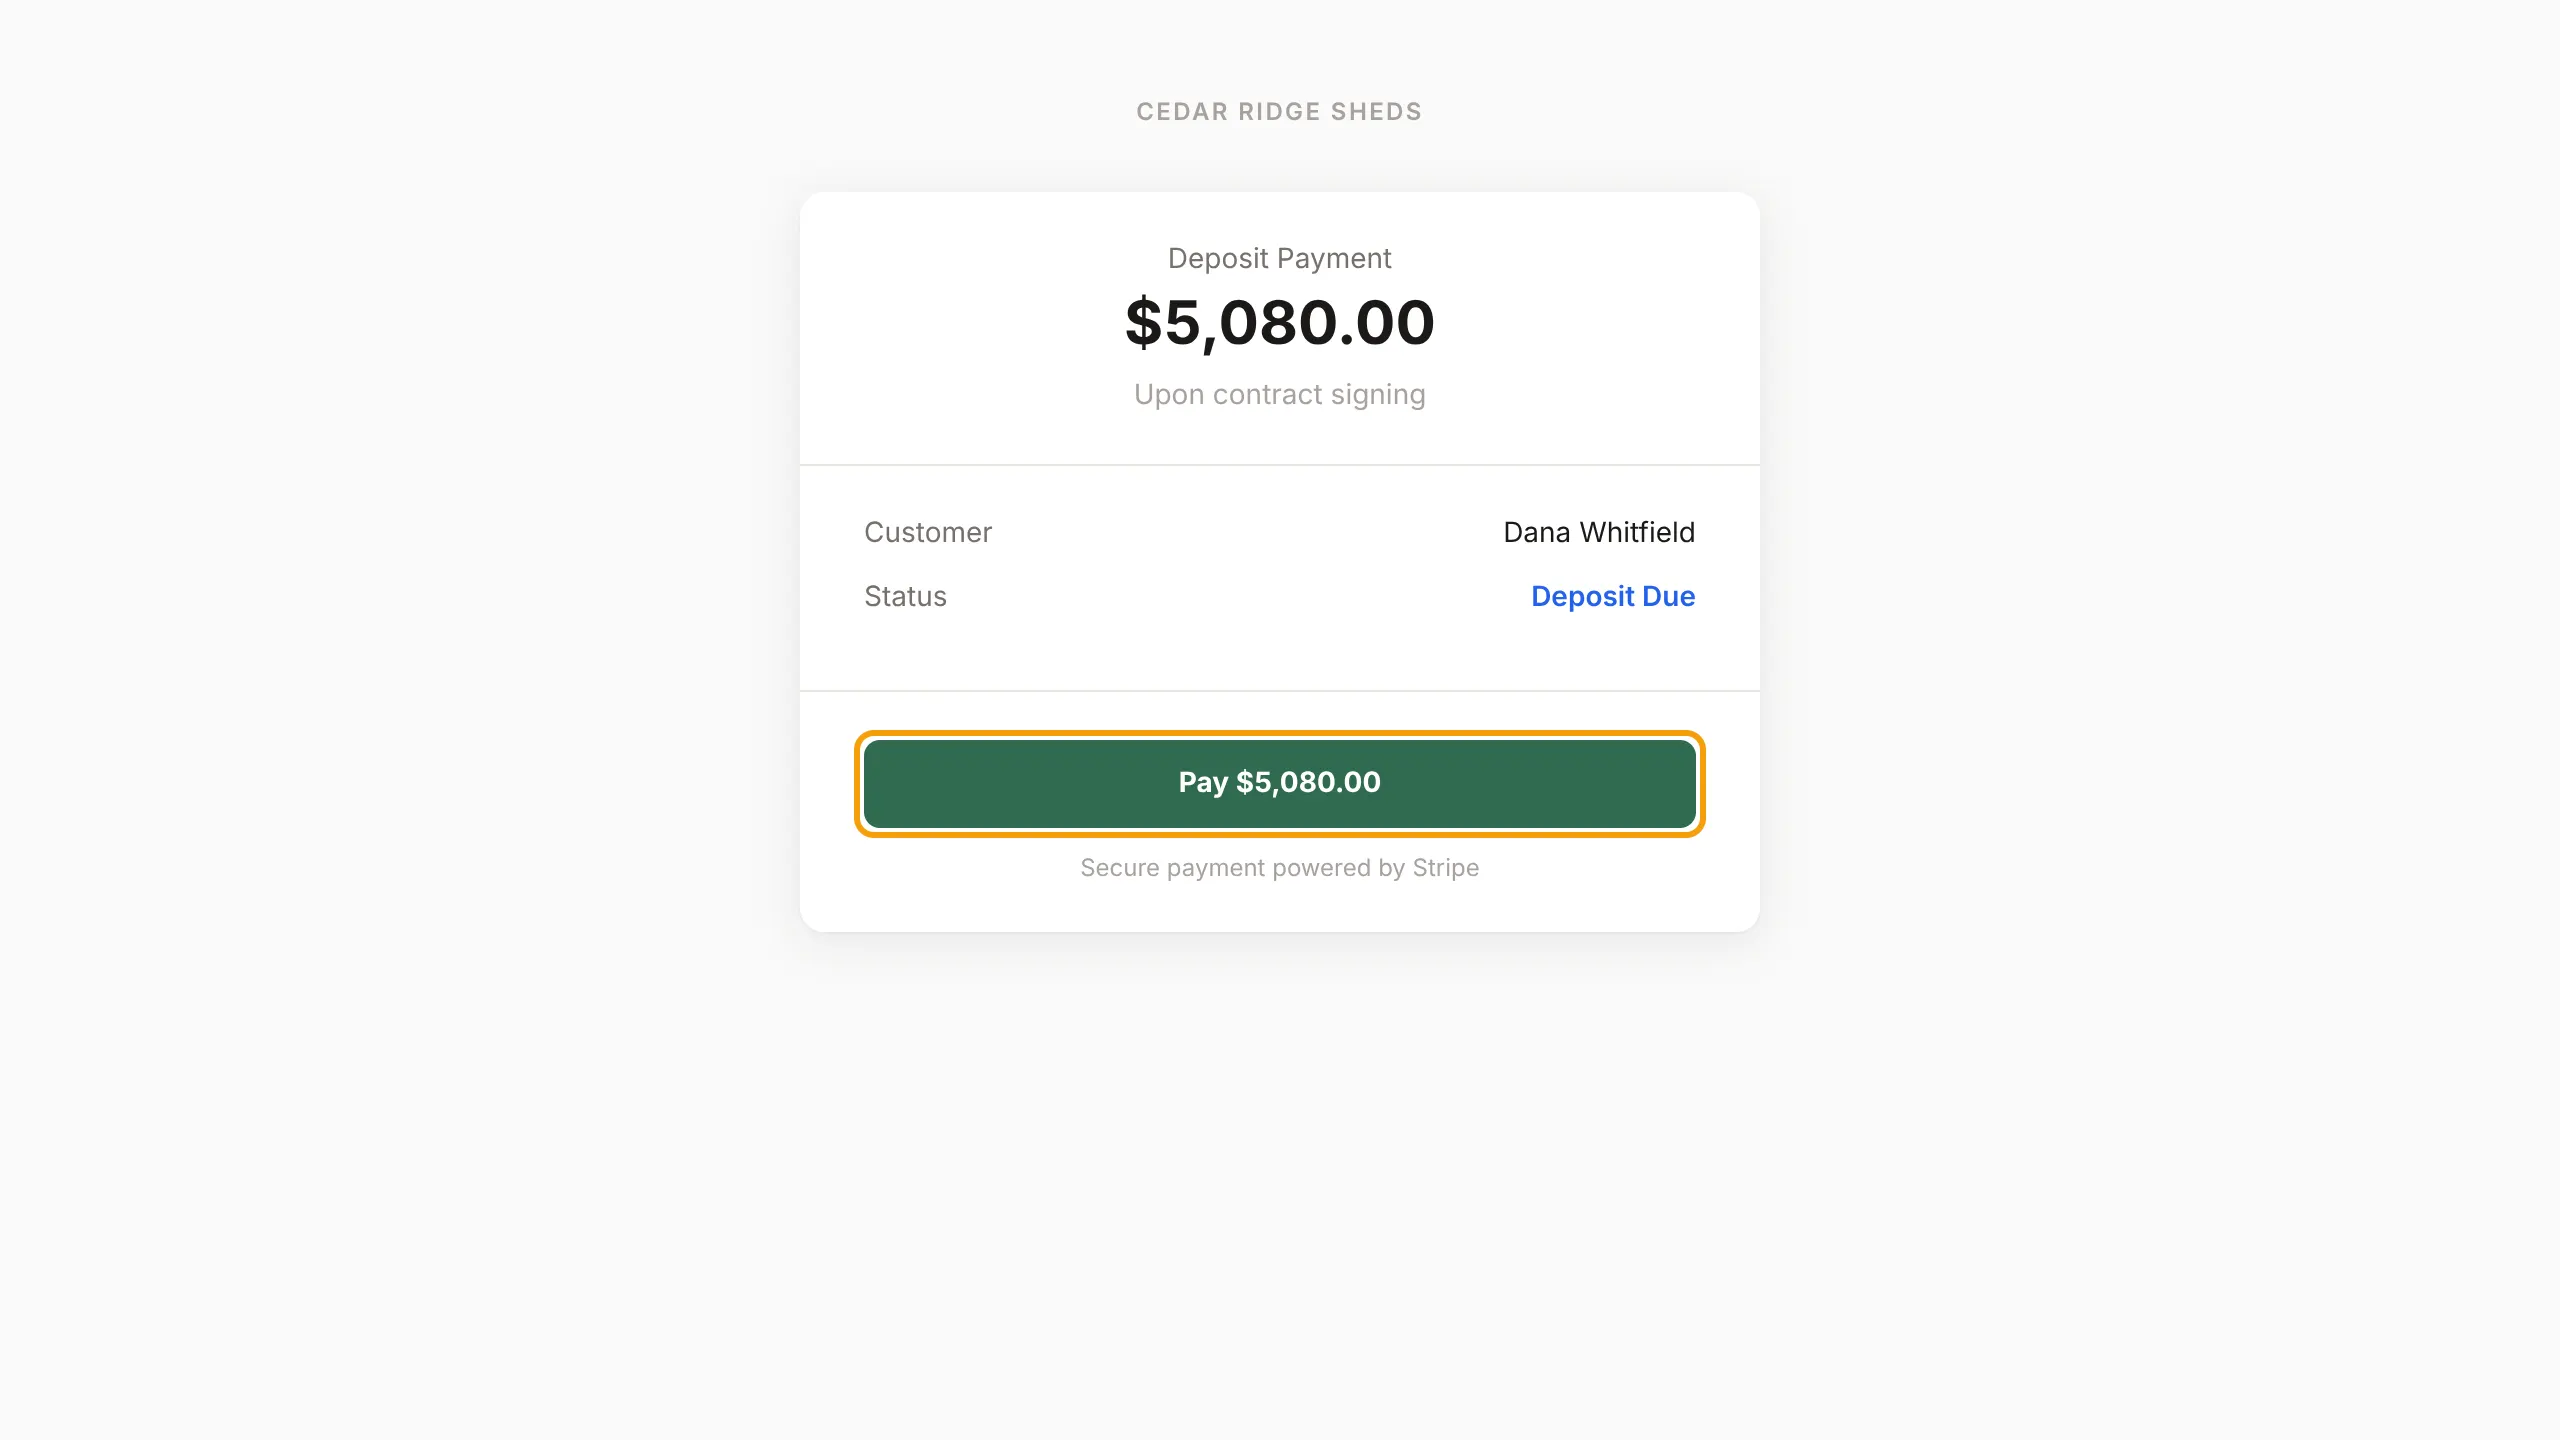
Approved change orders adjust these invoices. See Create and send change orders.
Only owners and admins can create and send invoices.