Presets are the starting designs customers pick from in your configurator. Each preset has a size, a roof, siding options and opening packages, plus a price range. Presets are on every plan.
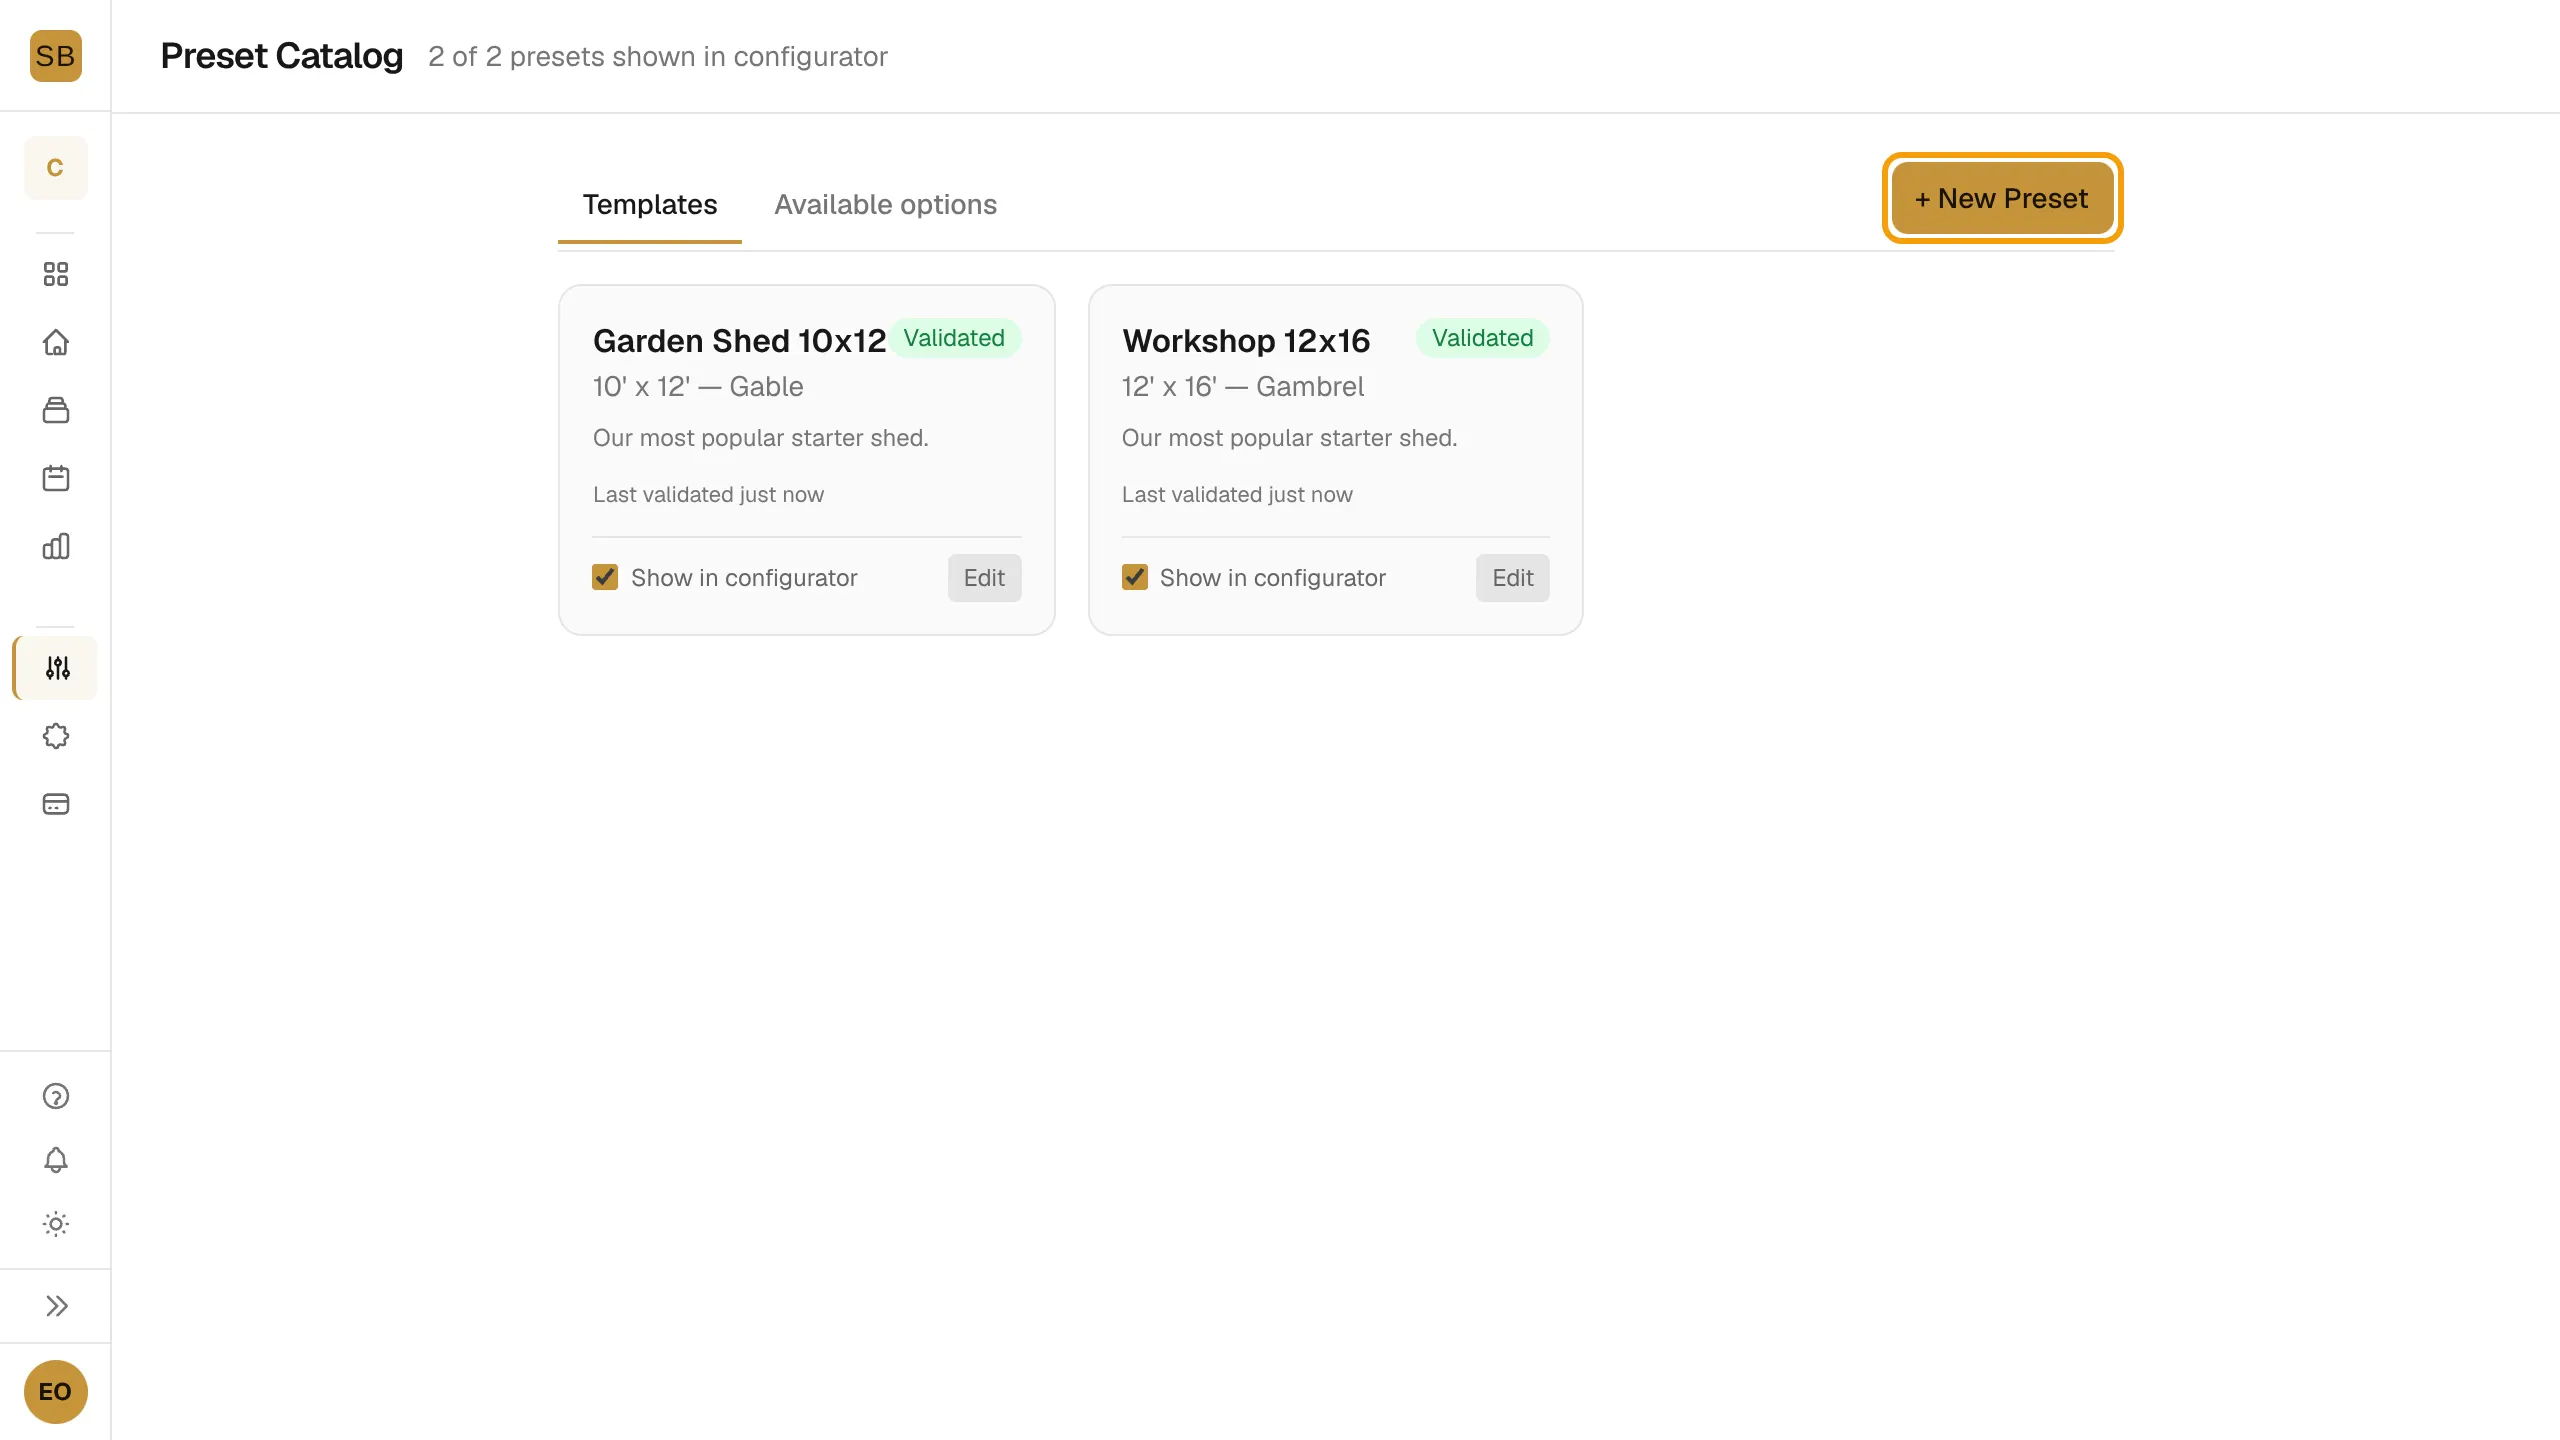
Open Presets in the sidebar. The page is called Preset Catalog and has two tabs, Templates and Available options.
Add a preset
- On Templates, select + New Preset.
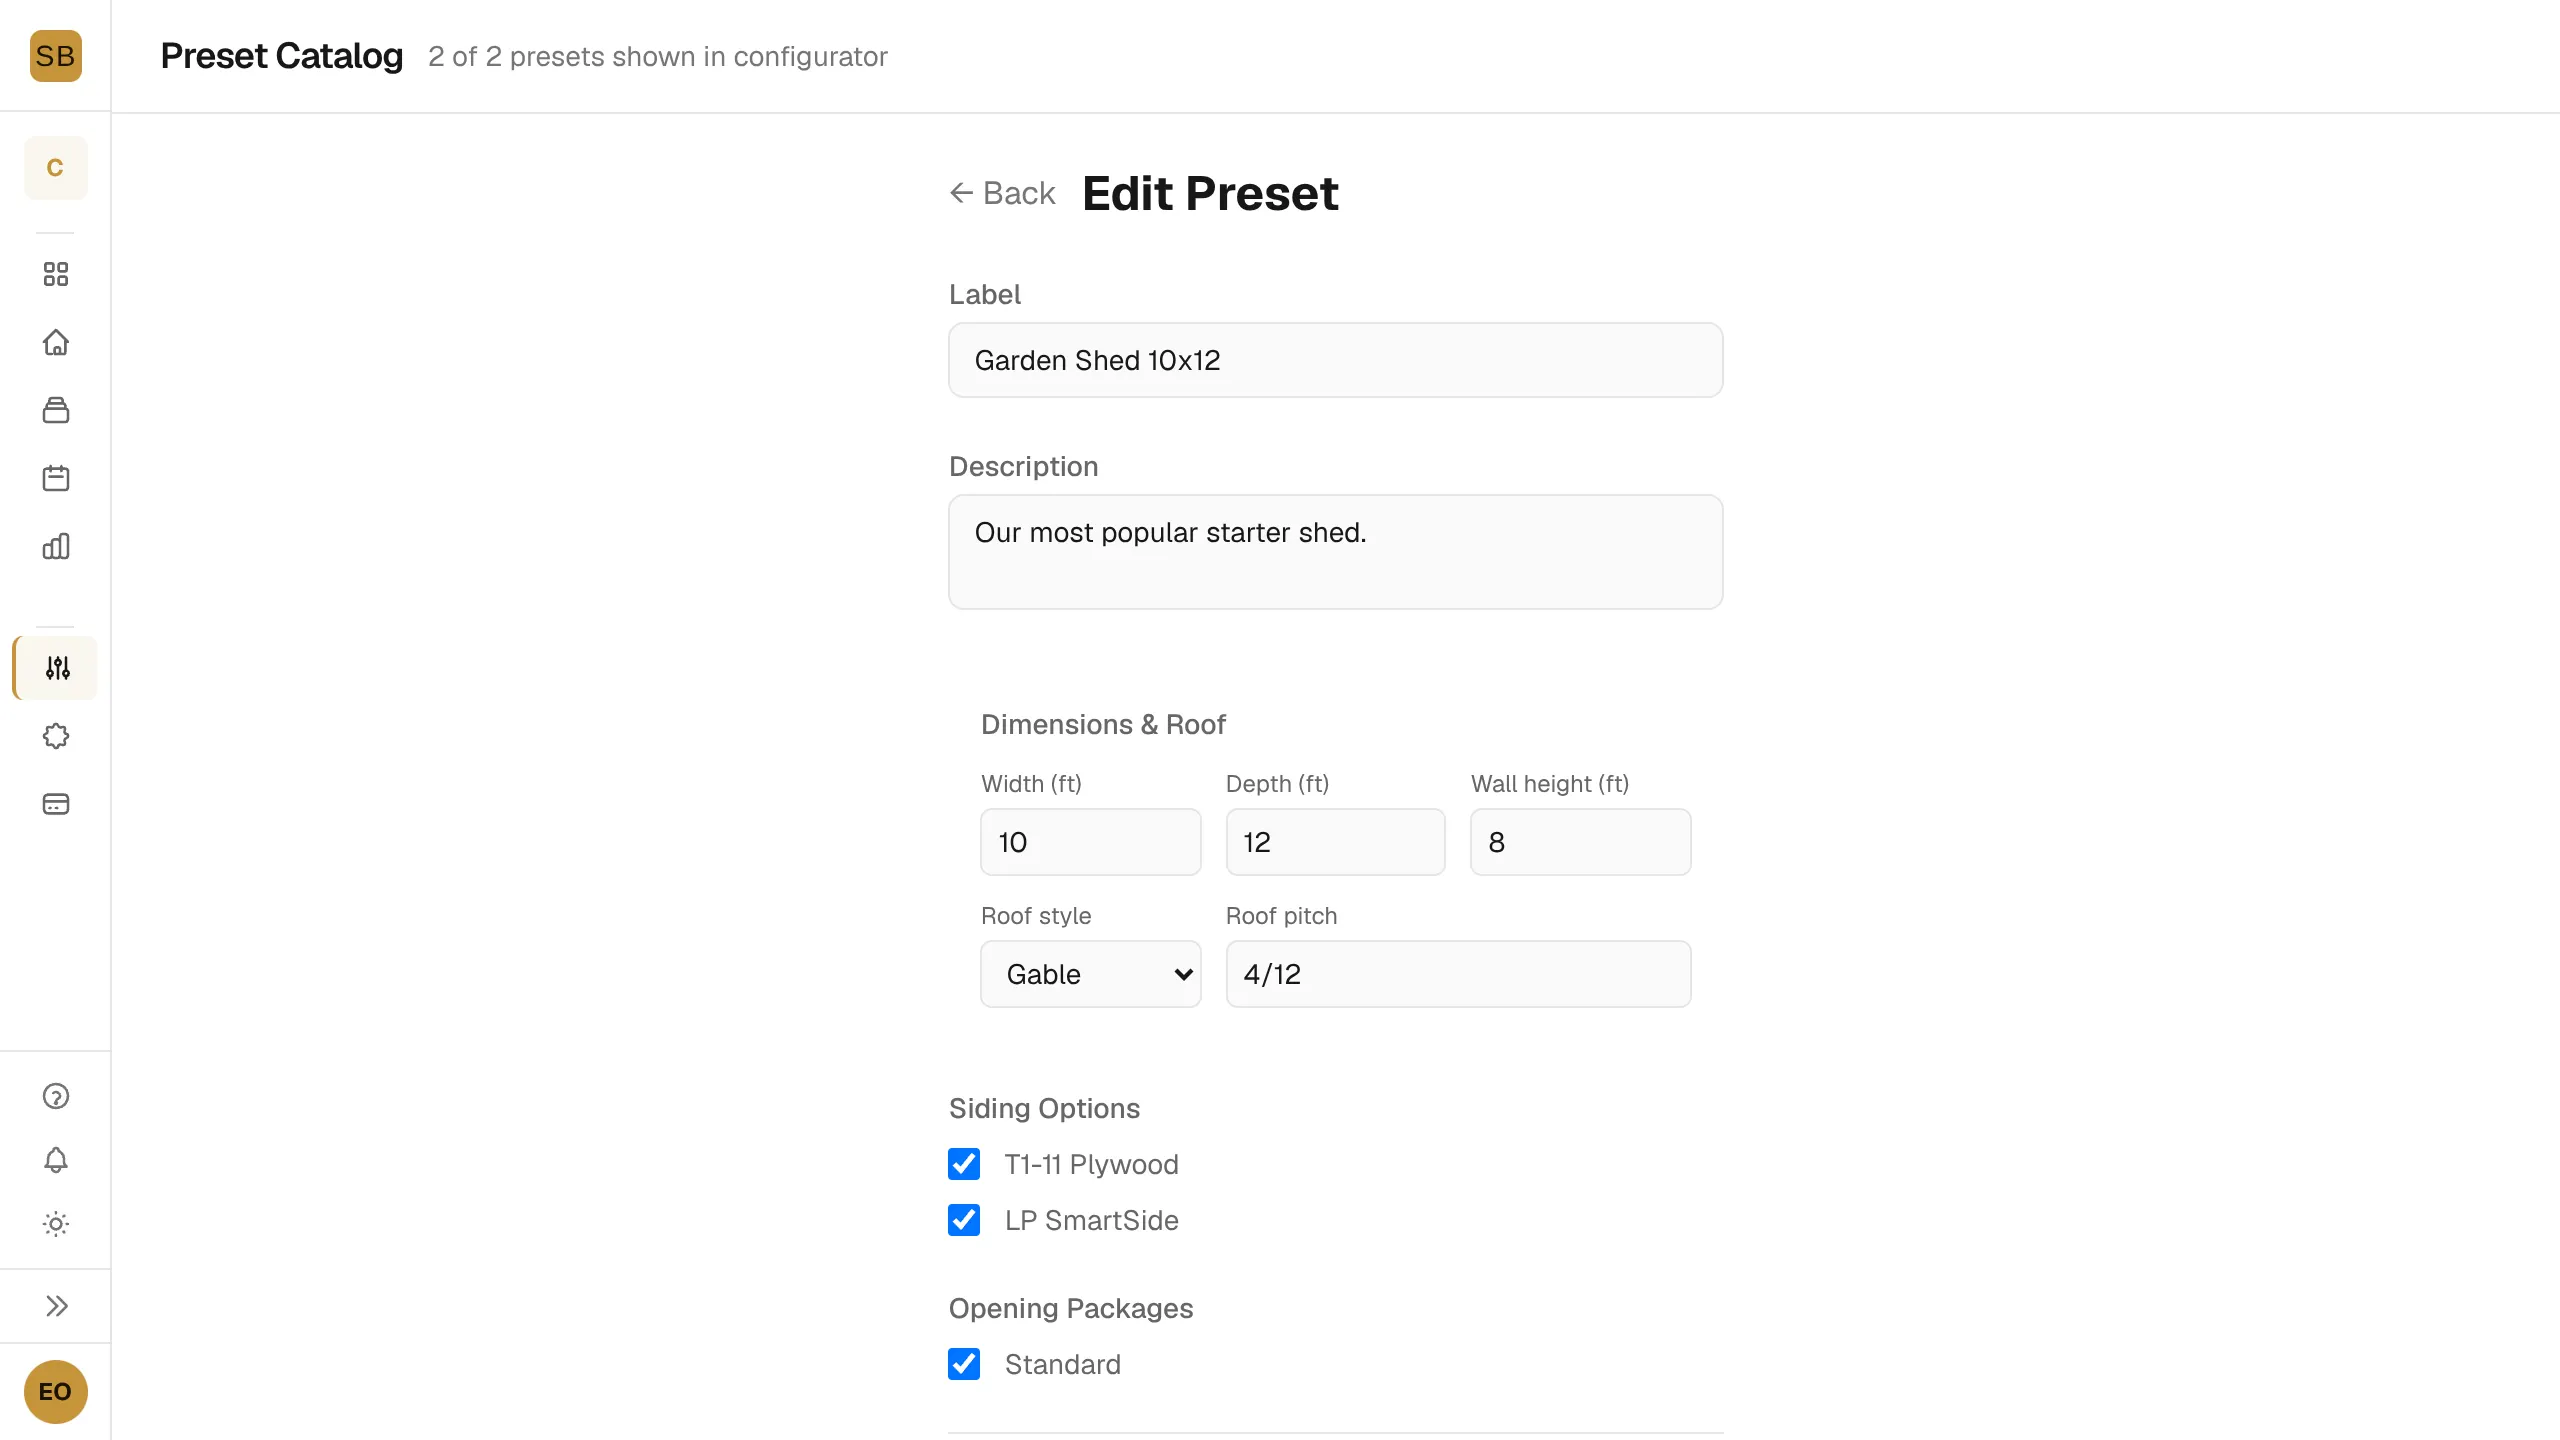
- Enter a Label, an optional description, and the dimensions and roof.
- Select Create preset.
Edit a preset
- Select Edit on a preset card.
- Change the Label, Description or Dimensions & Roof.
- Under Siding Options, tick the sidings to offer. If the list is empty, select Add standard siding options.
- Under Opening Packages, tick the packages to offer. If the list is empty, select Add a standard opening package.
- Select Save changes.
- Select Check pricing math to price the preset.
A preset needs at least one siding option and one opening package before it can be priced. Changing the dimensions clears validation, so save first and then check pricing again.
Validate and show a preset
Each card shows Validated or Needs Validation. Validated presets show their price range.
- Select Validate on any card marked Needs Validation.
- Tick Show in configurator to offer the preset to customers. Untick it to hide the preset.
Cards marked Template are system templates. They are read-only.
Show your saved designs
Designs you saved as templates from the Designer appear under Saved designs. Tick Show in configurator to offer one as a complete starting point. See Save, undo, duplicate and organize designs.
Limit the options customers see
- Open the Available options tab.
- Turn options on or off under Roof styles, Roof materials, Siding types, Wall framing, Lumber species, Foundation types and Optional features.
- Select Save changes. Reset to defaults turns everything back on.
At least one option in each group must stay on.