Your workspace runs from the sidebar on the left. This article shows what each item is for, what the dashboard tells you, and where to go first.
The sidebar
The sidebar has two groups, Main and Workspace.
| Item | Group | What it is for |
|---|---|---|
| Dashboard | Main | Your home page, at /dashboard. |
| Designer | Main | Your designs list and the 3D designer. |
| Projects | Main | Every lead and job in one pipeline. |
| Schedule | Main | Your calendar of builds. Marked Pro. |
| Analytics | Main | Quote reports. Marked Pro. |
| Presets | Workspace | The starting designs your configurator offers. |
| Settings | Workspace | Workspace details, branding, pricing and team. |
| Billing | Workspace | Your plan and payment details. |
| Roster | Workspace | Only in affiliate workspaces. |
To make the sidebar narrow, select Unpin sidebar at the bottom. Select Pin sidebar open to bring it back.
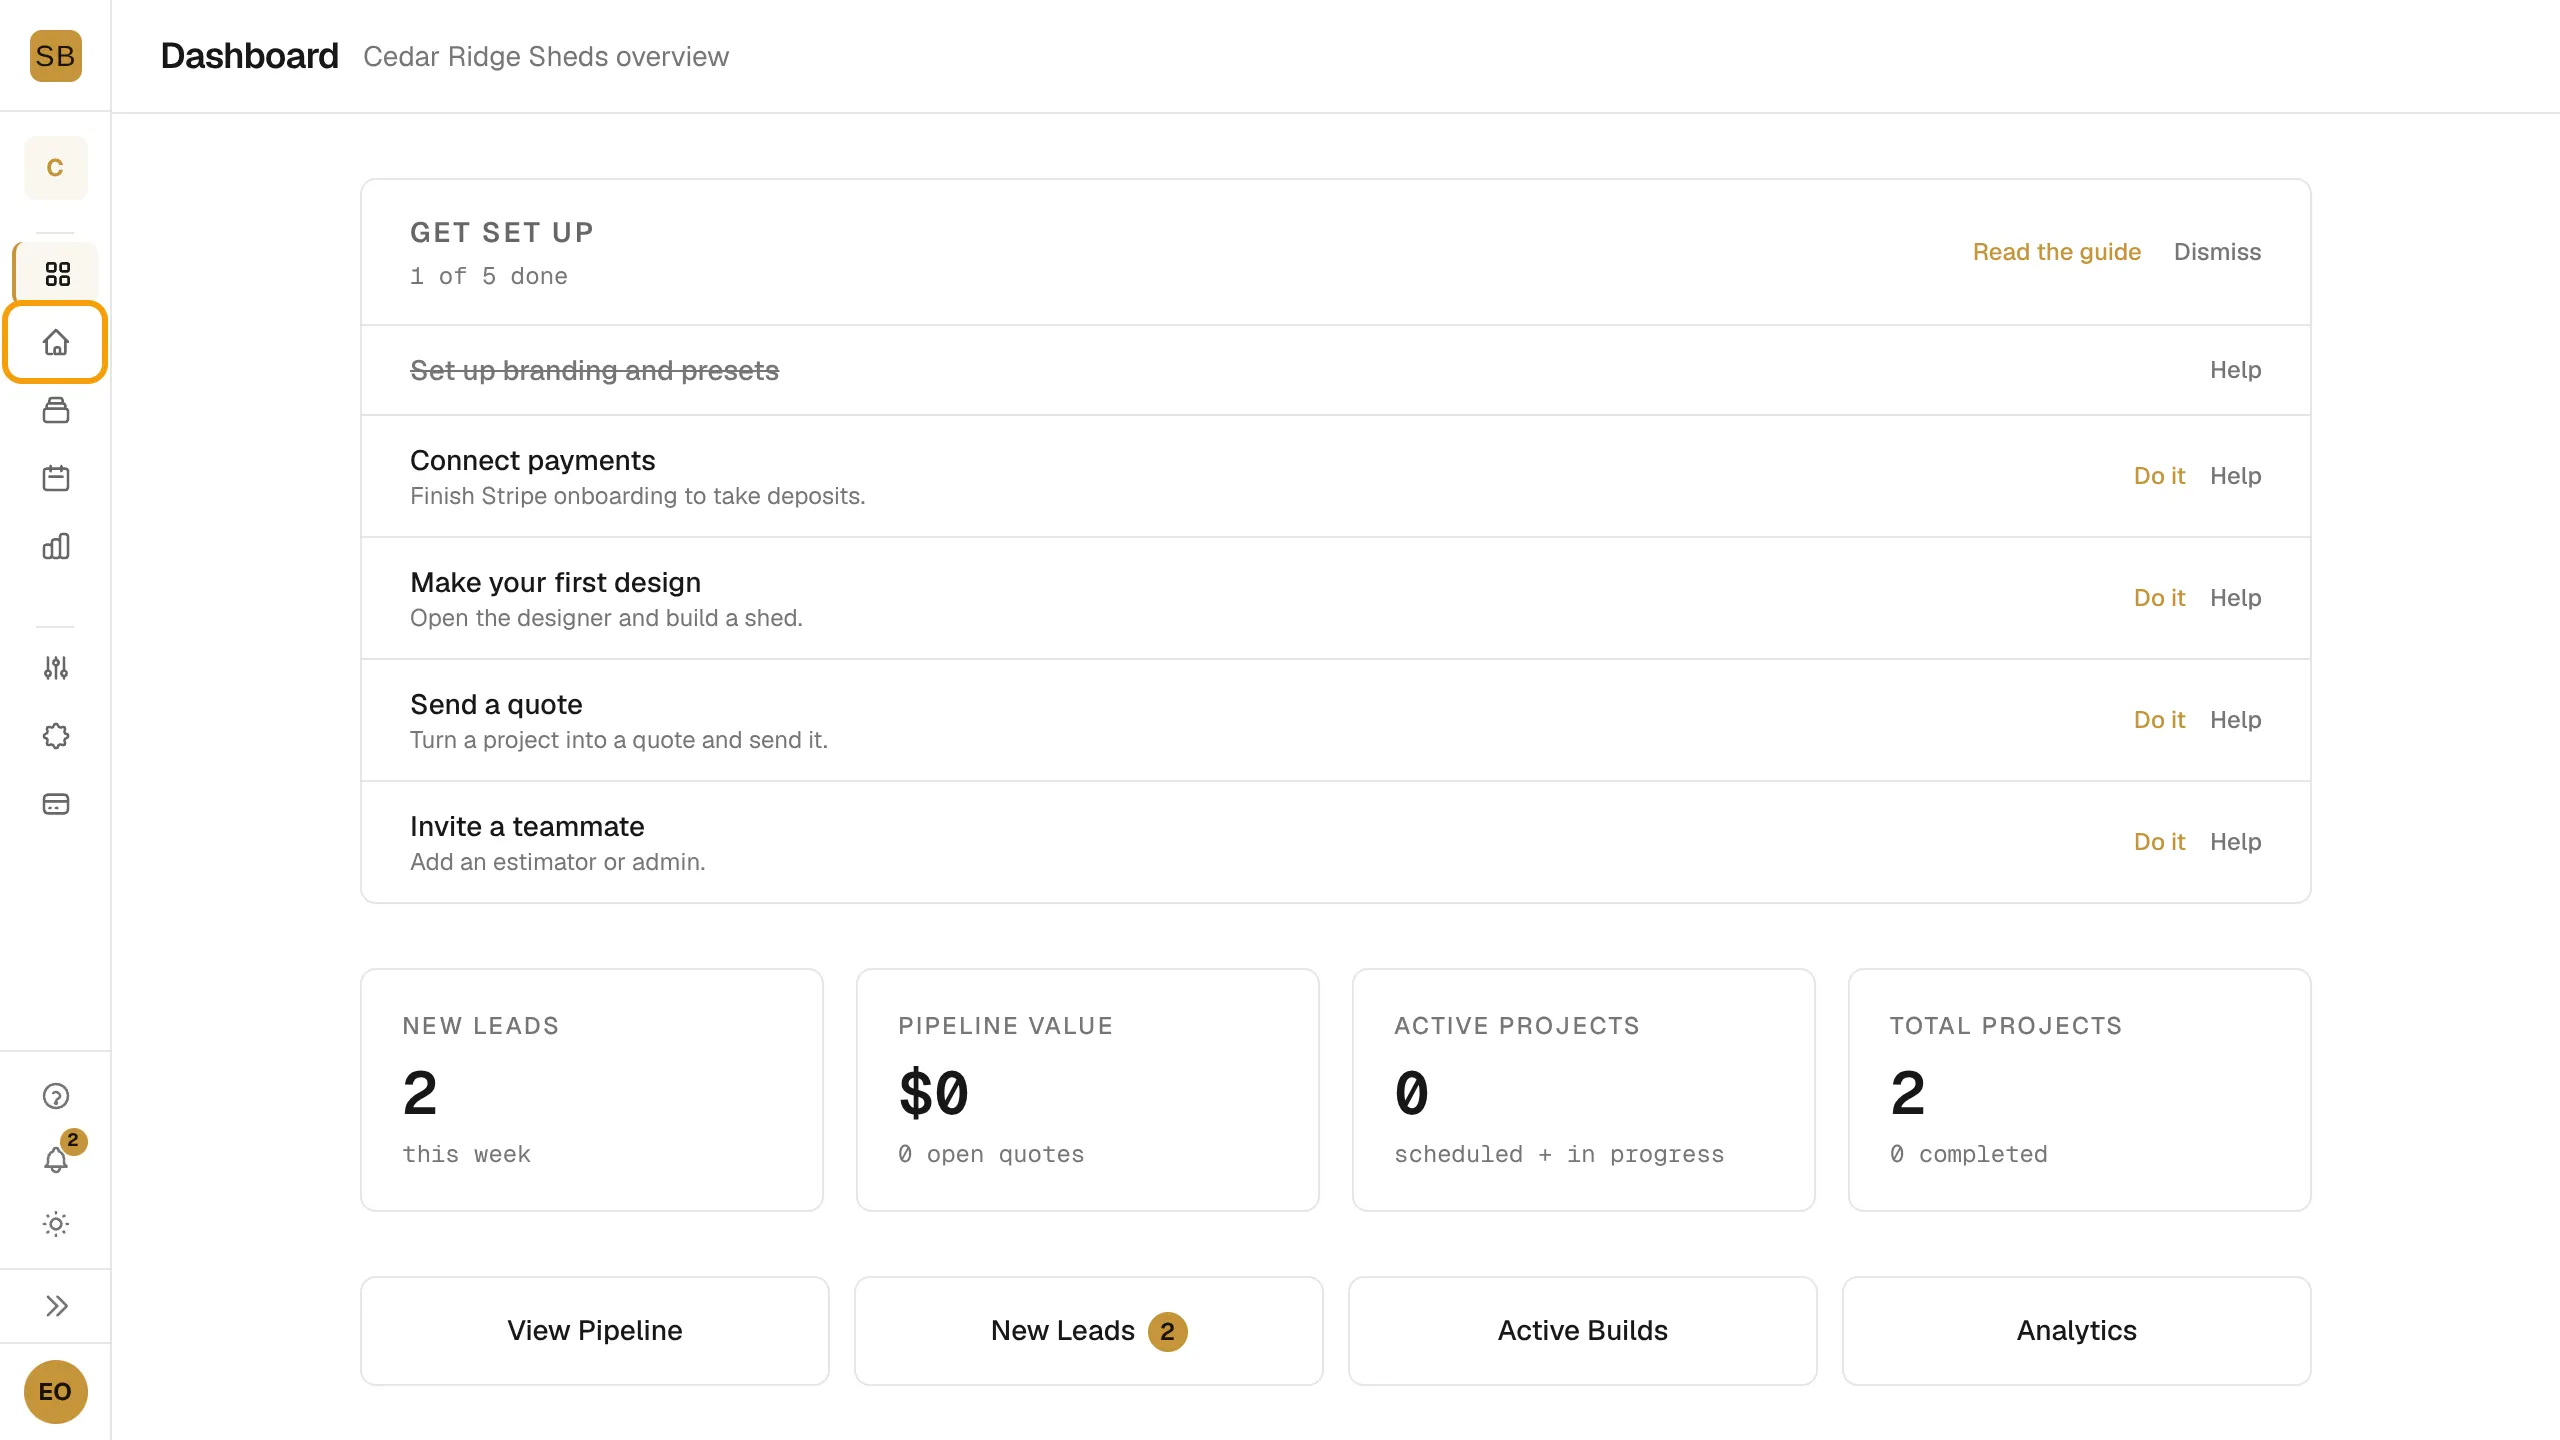
The dashboard
The top row shows New Leads, Pipeline Value, Active Projects and Total Projects. Below it are shortcuts to View Pipeline, New Leads, Active Builds and Analytics, then Recent Leads, Recent Activity and a count of projects by stage.
Work through the setup checklist
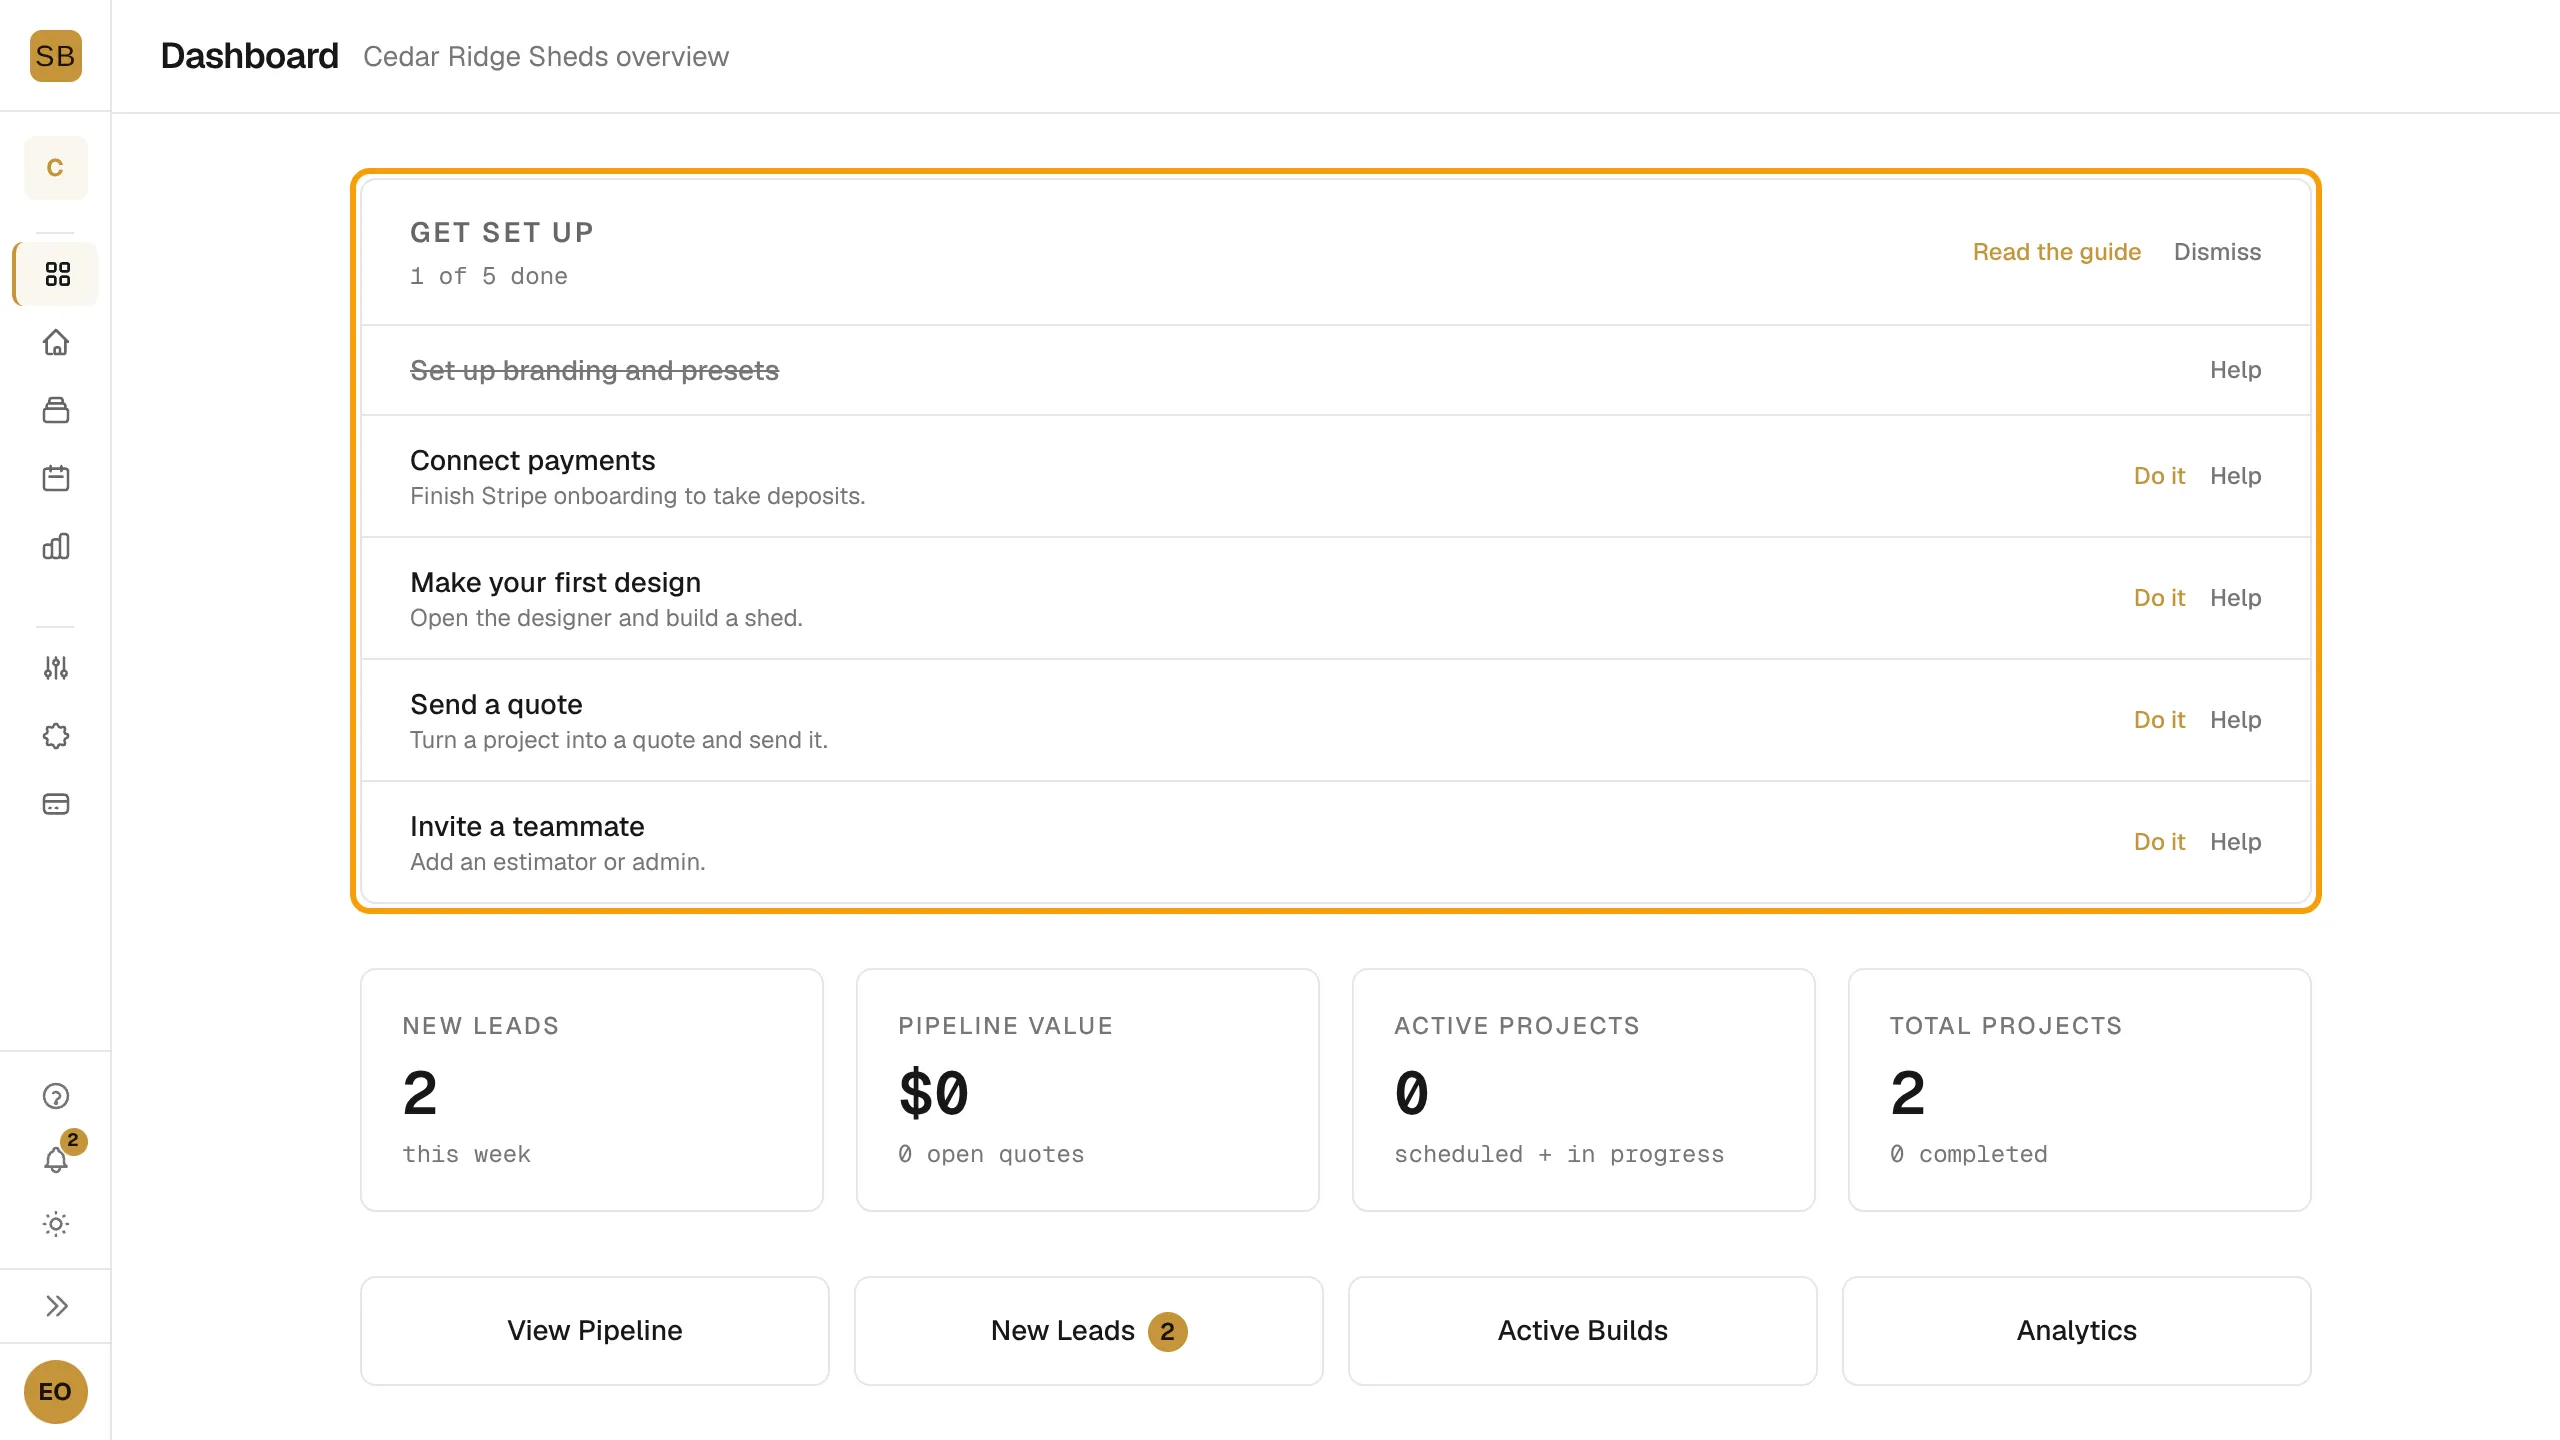
Owners and admins see a Get set up card on the dashboard until every step is done.
- Find the Get set up card. It shows how many steps are done.
- Select Do it next to a step to go to the page that finishes it. Select Help to read about that step.
- The steps are Set up branding and presets, Connect payments, Make your first design, Send a quote and Invite a teammate. The teammate step shows only on plans that allow more than one user.
- Select Dismiss to hide the card for good.
Start your first design
- Select Designer in the sidebar.
- Select + New Design, give it a name, and select Create.
- Describe the shed to the assistant in the left rail, or change it by hand in the properties panel on the right.
See Designer workspaces for the Design, Estimate and Build docs views, and Design with the AI chat for the assistant.
Set up your workspace
- Open Presets to choose what your configurator offers. See Set up presets for your configurator.
- Open Settings for your workspace details and branding.
- Open Billing to check your plan.
Get more help
Select the ? menu in the designer for the tour, the build guide, keyboard shortcuts and Contact support. See Get help.