Doors, windows, dormers and skylights live in the Openings tab of the properties panel. You add doors and windows with the AI chat, and move them in the 3D view.
Add a door or window
- In the AI chat, select the pin button. Its tooltip reads Click to place on wall.
- Click the wall in the 3D view where you want it.
- Describe it, such as "a 36-inch prehung door" or "two 24 by 36 windows".
- Send the message.
You can also skip the pin and name the wall in your message. See Design with the AI chat.
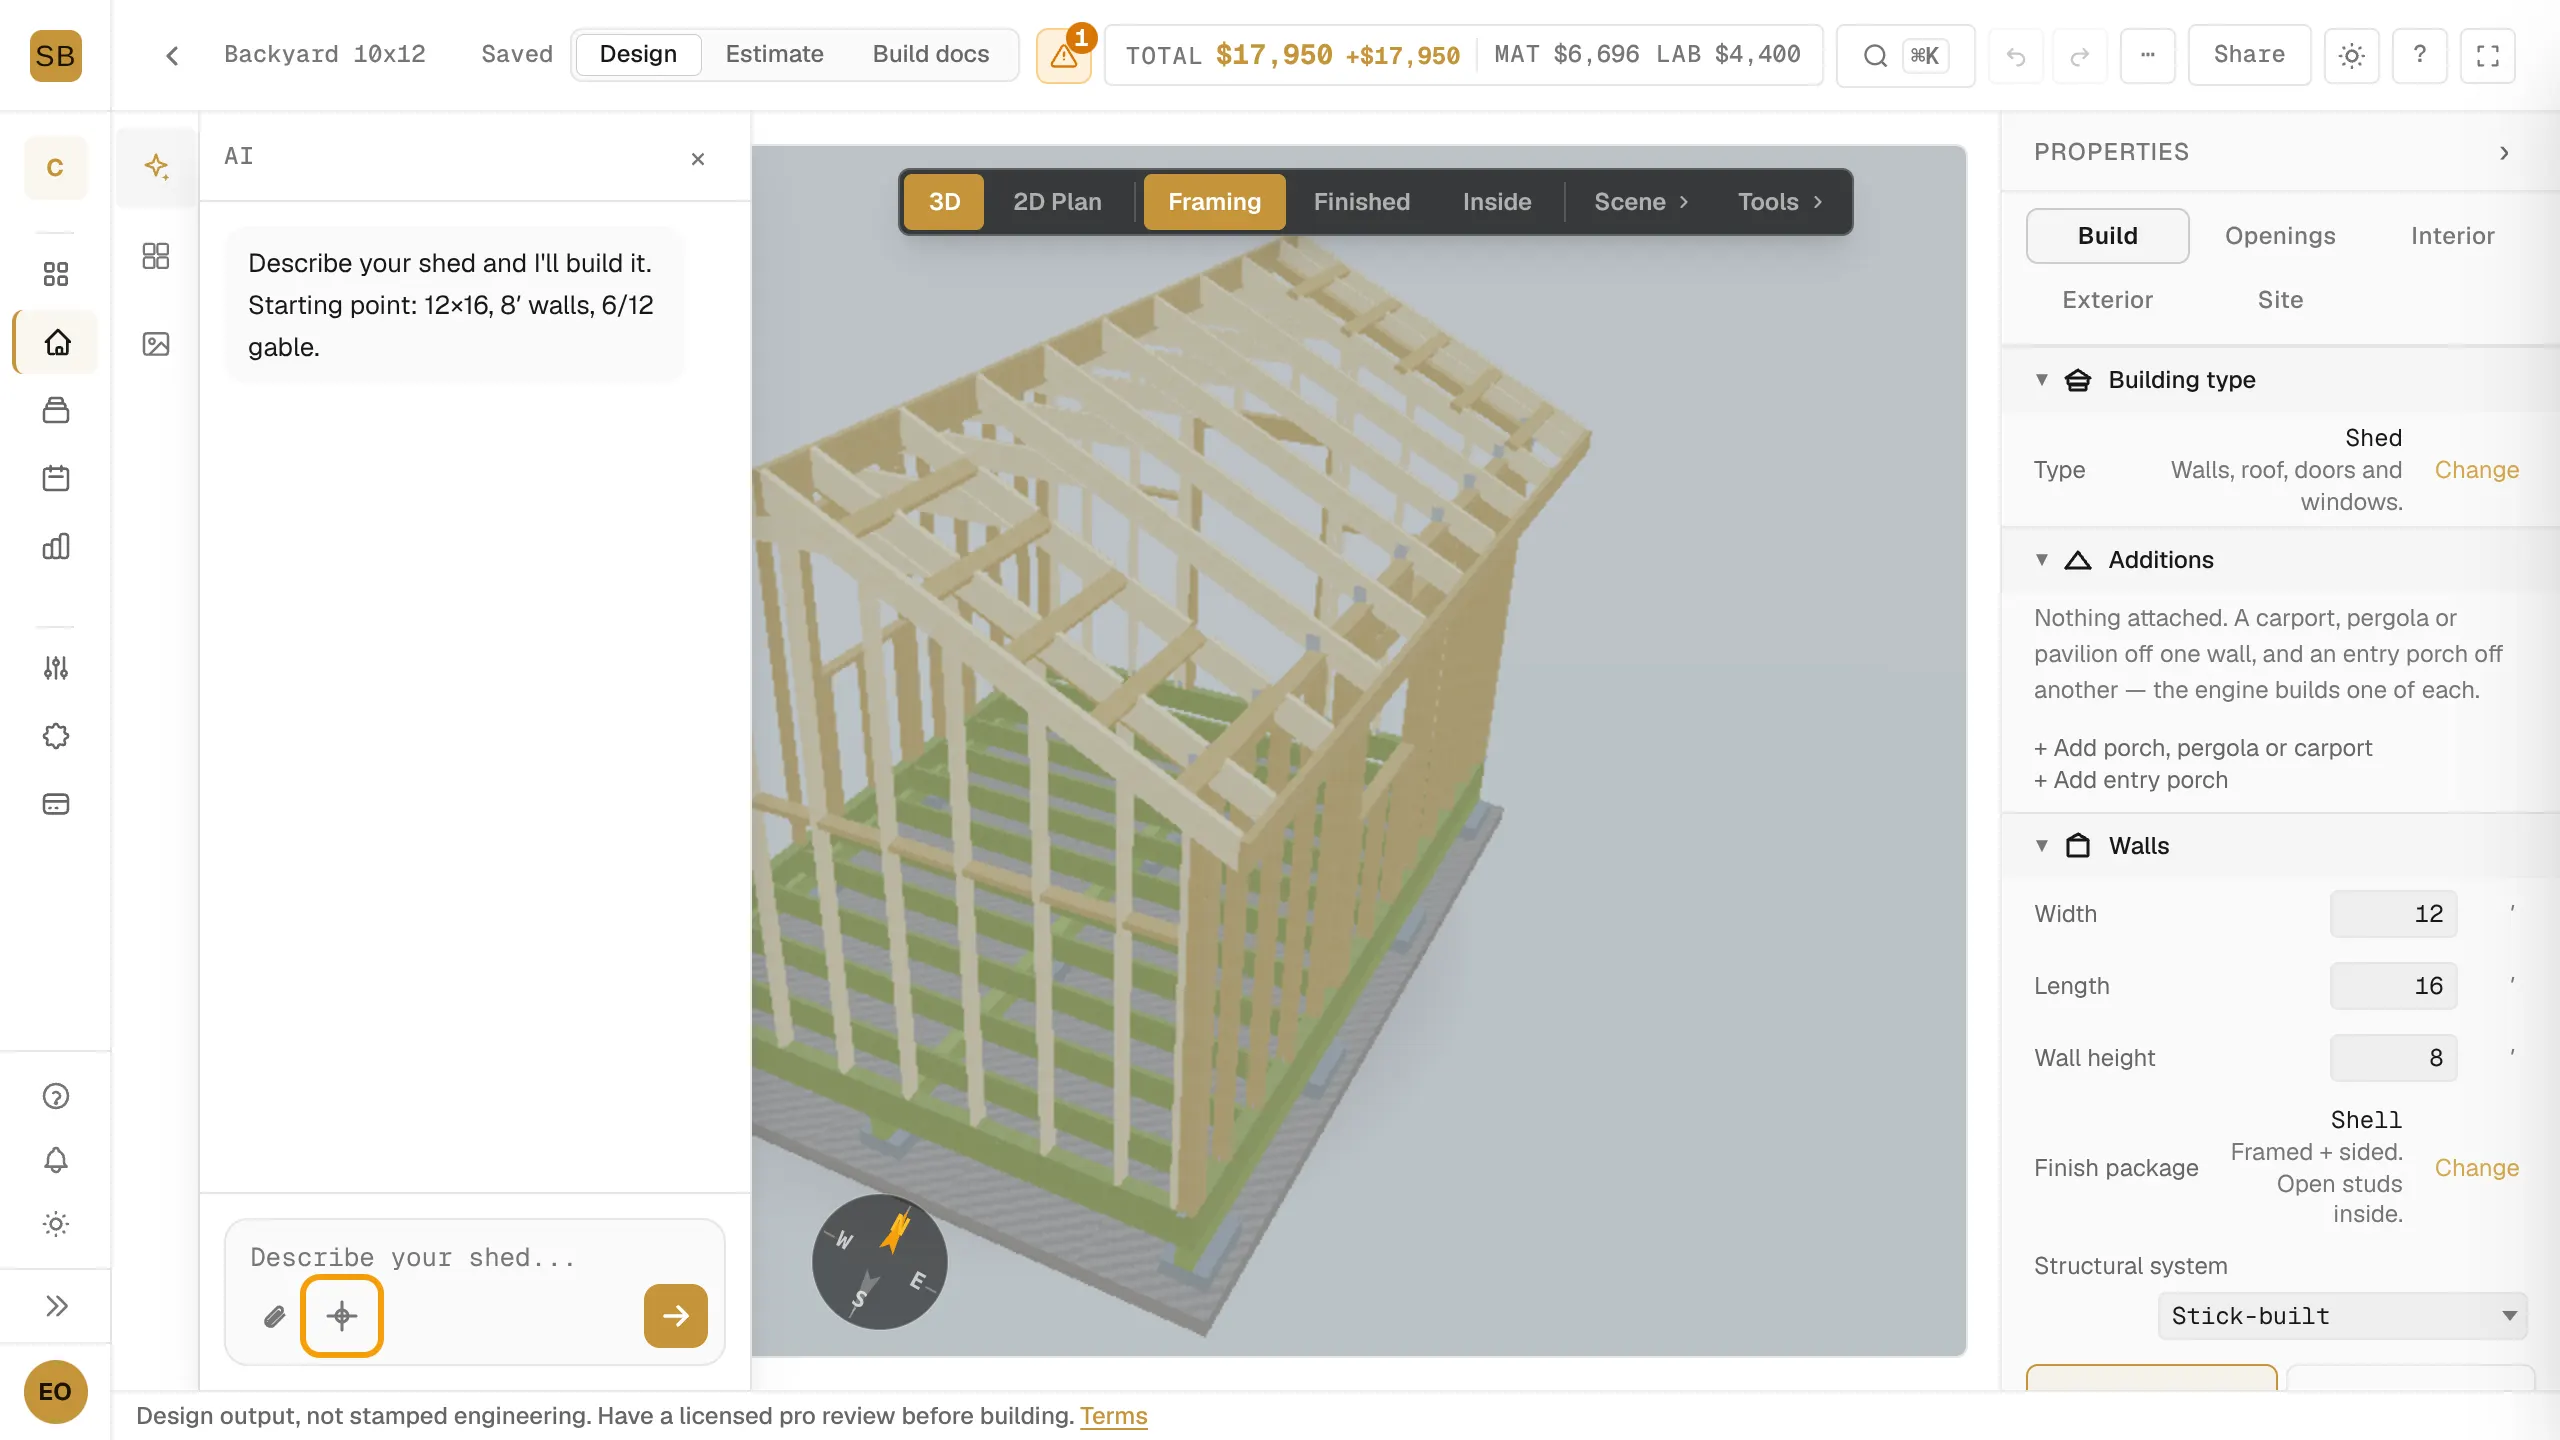
Move or remove one in 3D
These work in the Finished render mode.
- Hold a door or window and drag it. It snaps to a valid spot.
- To remove one, right-click it.
Edit a door or window
- Open Openings, then Doors & Windows. Openings are listed by wall.
- Select a row, such as Door 1.
- Change its settings:
- Door type or Window type
- Size. Pick Custom size… (estimated pricing) to enter your own width and height.
- Door style, hinge side and Swing for doors
- Jack studs and King studs
- Pet door
- Customer-supplied, when you buy the unit yourself
- Canopy, a small roof over the opening
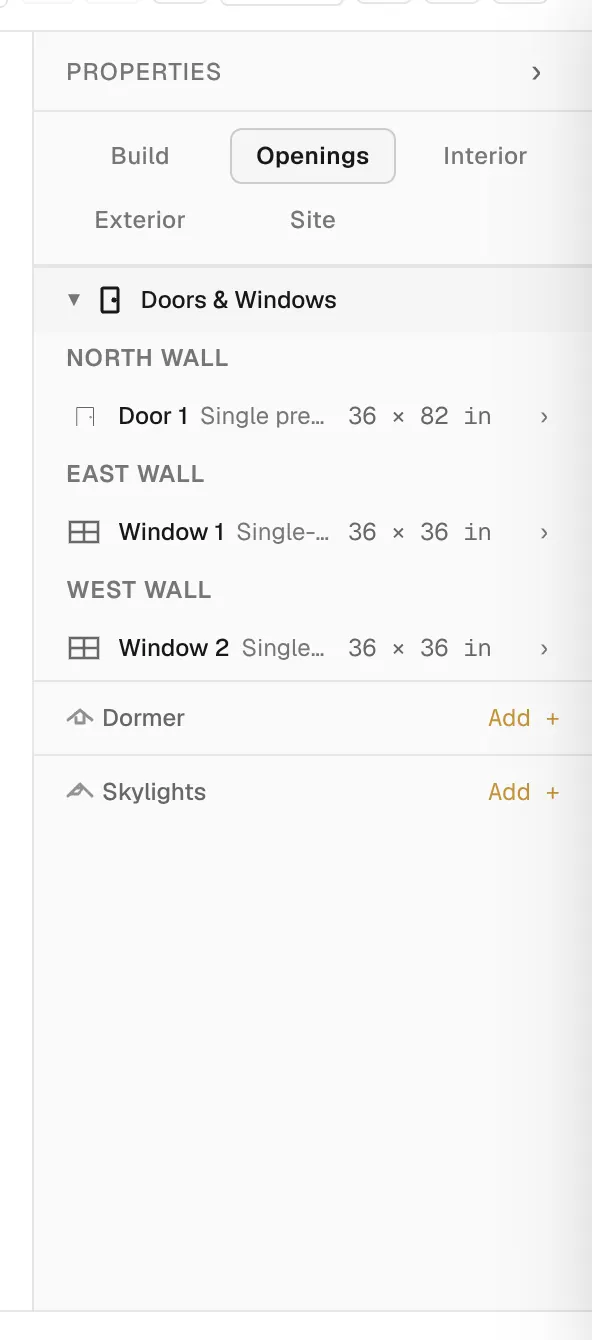
Add a dormer
- Open Openings and find Dormer.
- Select Add +.
- Set its Style (Shed or Gable), Roof side, Width and Front wall.
- Select + Add another dormer for more.
Add a skylight
- Open Openings and find Skylights.
- Select Add +, or Add skylight if you already have one.
- Set the Roof side, Type (Fixed or Venting), Width, Height, and its position Along ridge and Up slope.
If a roof cannot take a skylight, the row says why instead of Add +.
In a builder workspace, the Optional features on the Presets page decide whether dormers and skylights are offered. See Set up presets for your configurator.